Delicious Old-Fashioned Coconut Cream Pie Cups to Savor
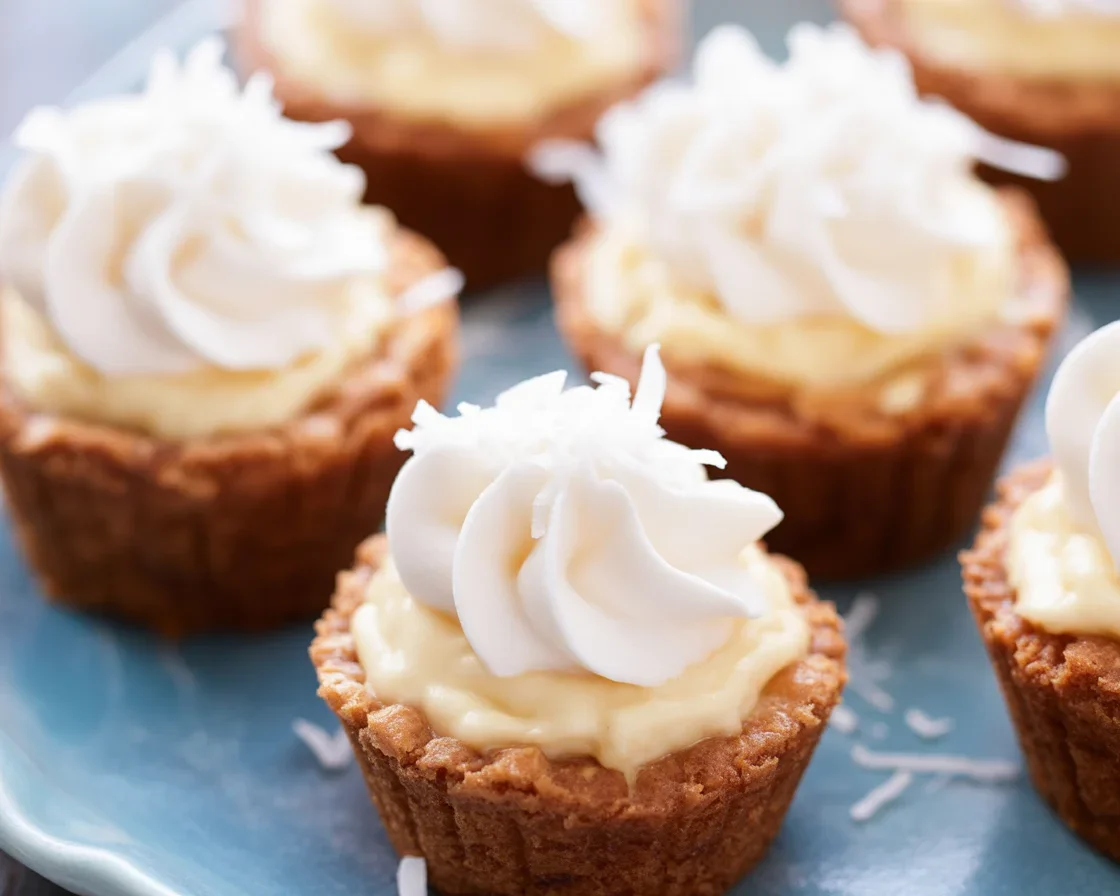
Old-Fashioned Coconut Cream Pie Cups. If you love creamy desserts but don’t want the fuss of a full pie, these little cups are your new best friend. They’re easy to hold, easy to serve, and honestly hard to stop eating. I make them when I want something nostalgic and cozy that still looks cute on a dessert plate. The filling is velvety, the coconut is toasty, and the crust has just the right crunch. Let’s make a batch together and stash a few for later because future you will be so happy. 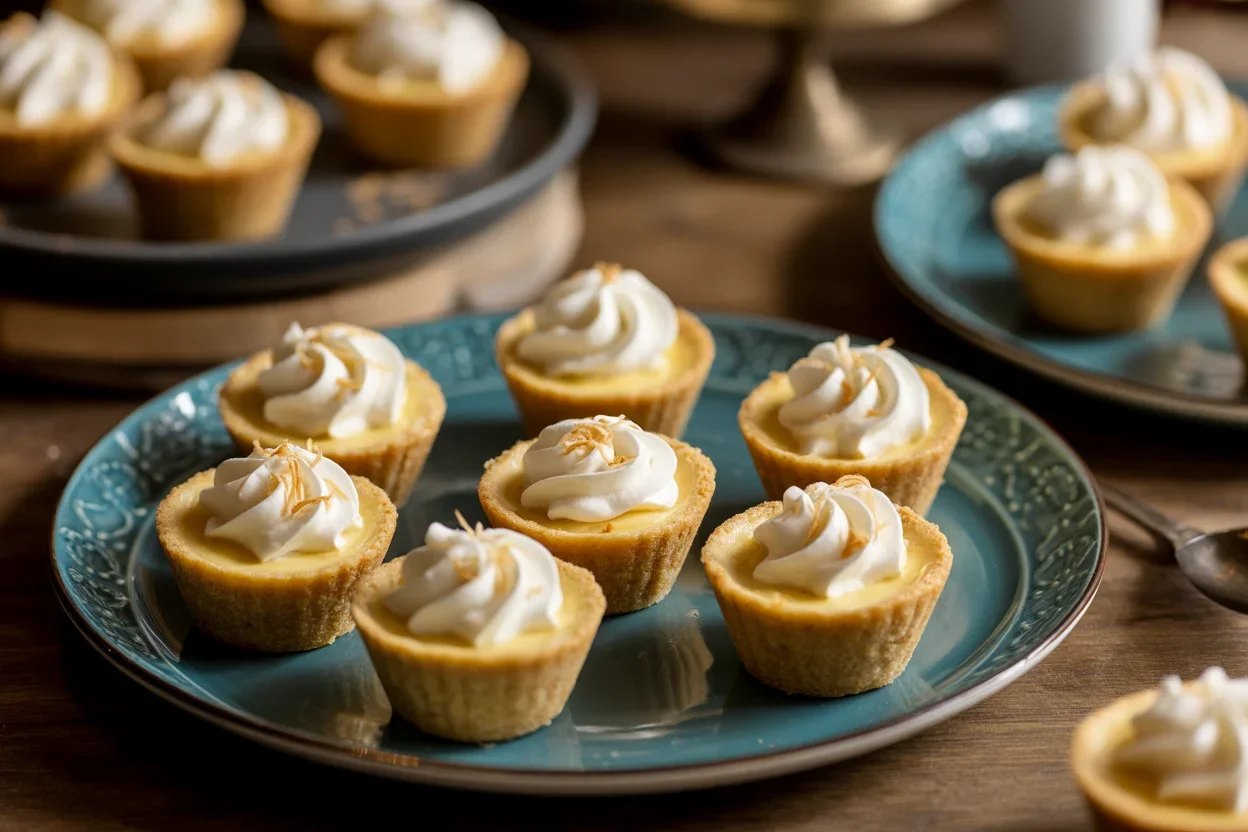
Ingredients for Old Fashioned Coconut Cream Pie
These are the ingredients I keep on hand so I can whip up a batch of cups whenever the craving hits. I’ll list both the crust and the filling, plus a couple of simple toppings that make everything taste bakery-level good. For best results, use full-fat dairy and toast the coconut.
Pantry Staples
- 1 cup unsweetened shredded coconut, plus extra for topping
- 2 tablespoons unsalted butter for toasting coconut
- 3 tablespoons cornstarch
- 1/2 cup granulated sugar
- 1/4 teaspoon fine sea salt
- 1 teaspoon vanilla extract
- 12 to 15 mini tart shells or shortbread cookie cups, or 1 1/2 cups graham cracker crumbs plus 4 tablespoons melted butter if making your own crust
Dairy and Eggs
- 1 1/2 cups whole milk
- 1 cup canned coconut milk, full fat
- 3 large egg yolks
- 1 cup heavy whipping cream
- 2 tablespoons powdered sugar
Extras and Tools
- Fresh lime zest or toasted coconut chips for garnish, optional
- Muffin pan or mini muffin pan if making crusts
- Heavy-bottomed saucepan, whisk, and rubber spatula
By the way, these are the same cozy, simple ingredients you’d use for a regular pie, just in a cup format. That means you still get the full nostalgic flavor of Delicious Old-Fashioned Coconut Cream Pie Cups to Savor, while keeping things neat and tidy for serving.
For coconut fans, my quick treat when I don’t want to turn on the oven is this chewy chocolate coconut slice. It hits the spot between bakes.
Step-by-Step Instructions for Preparation
We’ll break this down so you can make the cups without stress. The custard comes together on the stovetop in about 10 minutes, then it chills while you get the cups ready. If you’re using store-bought mini tart shells or shortbread cups, you can skip the baking step and get straight to filling.
Make the custard
Toast the coconut first. Melt 2 tablespoons butter in a skillet over medium heat, add 1 cup shredded coconut, and stir until golden and fragrant, about 3 to 5 minutes. Set aside to cool. This is key for deep flavor and a little crunch.
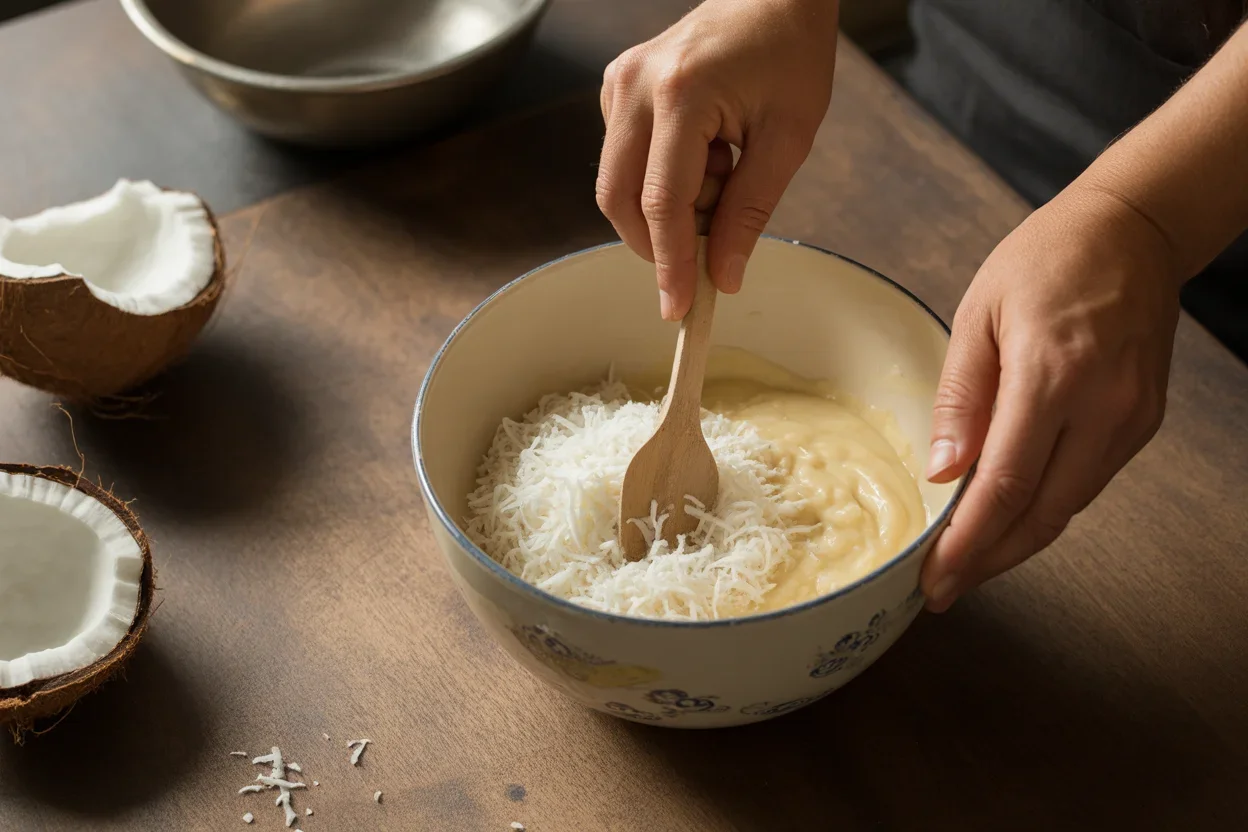
In a saucepan off the heat, whisk sugar, cornstarch, and salt. Add egg yolks and whisk until smooth. Slowly whisk in whole milk and coconut milk until combined. Put the pan on medium heat and cook, whisking constantly, until it starts to bubble and thicken. This takes about 5 to 7 minutes. When it looks like pudding and coats the back of a spoon, remove from heat and stir in vanilla and most of the toasted coconut, saving a little for garnish.
Pour the hot custard into a shallow dish, press plastic wrap directly on top to prevent a skin, and chill for at least 2 hours. This cooling time sets the custard, which helps your cups hold their shape. It’s the secret to getting that classic texture of Delicious Old-Fashioned Coconut Cream Pie Cups to Savor.
If making your own graham crust, mix crumbs with melted butter until it looks like damp sand. Press into a mini muffin pan or silicone cups. Bake at 350°F for 6 to 8 minutes, then cool completely. If using store-bought shells or shortbread cups, skip ahead.
Make whipped cream right before assembling. Beat heavy cream with powdered sugar until soft peaks form. Keep it cold.
Assemble the cups. Spoon or pipe chilled coconut custard into each cup. Top with a swirl of whipped cream and a shower of toasted coconut. If you like a little brightness, add a light sprinkle of lime zest. Chill again for 30 minutes so everything settles and tastes amazing.
Serving note: If you’re making these ahead, fill the cups but add whipped cream and coconut right before serving so the texture stays fluffy. You can hold the filled cups, covered, in the fridge for up to 24 hours.
Tips for Perfecting Your Coconut Cream Pie
Toast the coconut. I know I already said it, but it’s worth repeating. Toasted coconut takes your cups from sweet to striking. It adds a nutty depth that tastes like something from a pie shop.
Watch the heat. Custard thickens fast once it starts to bubble. Keep whisking and don’t crank the heat high. A steady medium gives you silky results, not scrambled eggs.
Temper the eggs if you’re nervous. Whisk a splash of warm milk mixture into the yolks first to warm them up, then whisk everything together in the pan. This lowers the chance of curdling and keeps your custard ultra smooth.
Chill long enough. Chill time is not just a suggestion. Cold custard equals cups that slice clean with a spoon. Two hours in the fridge is my minimum, but overnight is perfect if you’re planning ahead.
Use full-fat milk and coconut milk. The fat is what makes the filling creamy and lush. It’s the backbone of Delicious Old-Fashioned Coconut Cream Pie Cups to Savor. Low-fat substitutes can make the custard thin or grainy.
Whip the cream softly. A soft, billowy topping tastes better and pipes prettier than stiff whipped cream. If you whip too long, it turns dense. You want soft peaks that keep their shape but still look cloud-like.
Crust choices. Shortbread cups are crisp and stay sturdy. Graham cracker cups are cozy and a little more rustic. Store-bought mini tart shells are a handy shortcut. Use what you love and what you have. If you like the idea of “everything in a cup,” try my snacky cranberry brie phyllo cups for a savory spin during the holidays.
Common Mistakes to Avoid When Making Coconut Cream Pie
Skipping the chill. Warm custard looks thick in the pan but it will slump in the cups if you don’t chill it long enough. Give it time to firm up so the texture stays dreamy and steady.
Using low-fat coconut milk. It sounds lighter, but it doesn’t set the same. The result can be thin and a little watery. Full-fat coconut milk is your friend here.
Overcooking the custard. Once it starts to bubble, it’s close to done. Whisk for another minute, then take it off the heat and stir in your vanilla and coconut. Overcooking can turn it pasty.
Adding whipped cream too early. If your event is an hour away, top the cups, but if it’s later tonight, wait. This keeps the cream perky and the coconut crisp.
Forgetting salt. Just a pinch of salt wakes up all the flavors. It’s the quiet worker that makes sweet desserts taste balanced.
“I made these for a brunch and everyone asked for the recipe. The custard was silky, the toasted coconut made the whole kitchen smell like a bakery, and the cups disappeared fast. This is my new go-to when I want something easy but special.”
Variations and Serving Suggestions
Once you’ve got the base recipe down, you can riff a little. These ideas keep the spirit of coconut cream while giving you options for different seasons and moods.
- Chocolate-dipped edges. Dip the top rim of your cups in melted dark chocolate, chill, then fill. The bittersweet edge tastes amazing with the sweet coconut.
- Pineapple twist. Fold a few tablespoons of well-drained crushed pineapple into the chilled custard for a light piña colada vibe.
- Nutty crunch. Sprinkle chopped toasted macadamias or almonds over the whipped cream for texture.
- Spoon dessert option. No cups on hand? Serve the custard in pretty glasses with cookie crumbles layered in. It’s easy and classy.
- Holiday dessert board. Line up the cups with fruit, candies, and other little bites. If you’re building a dessert spread, classic flavors play well together. Think about pairing with a simple apple pie or a bright coconut lemon loaf cake for fresh citrus notes.
Serving tips: Keep cups chilled right up to serving time. Add whipped cream and coconut just before you bring them out. For a tidy finish, use a piping bag with a star tip. For a rustic look, spoon and swirl. Either way, the flavor of Delicious Old-Fashioned Coconut Cream Pie Cups to Savor shines.
Common Questions
Can I make the custard ahead of time?
Yes. Make it up to 2 days ahead. Press plastic wrap directly on the surface and keep it cold. Whisk briefly before filling the cups if it looks stiff.
What if I only have sweetened coconut?
Use it, but reduce the sugar in the custard by 1 to 2 tablespoons so it doesn’t turn too sweet. Watch it while toasting since it browns faster.
Can I use coconut cream instead of coconut milk?
You can, but it’s very rich. If you use coconut cream, replace half of it with regular milk to keep the texture balanced.
Do these freeze well?
The custard can break after freezing, so I don’t recommend freezing assembled cups. You can freeze baked graham cups, then thaw and fill fresh.
How long do leftovers keep?
Covered in the fridge, they keep well for 2 days. The crust softens a bit by day two, but the flavor stays great.
Ready to Scoop and Savor
There’s a reason I keep coming back to these cups. They’re cozy, creamy, and just fancy enough without a lot of work. With toasted coconut, a silky filling, and a crisp bite, Delicious Old-Fashioned Coconut Cream Pie Cups to Savor make any day feel like a little celebration. If you want to read more about classic coconut pie basics, I love this guide from Old Fashioned Coconut Cream Pie – Southern Bite. Now go grab your whisk, and let me know how your batch turns out. 

Old-Fashioned Coconut Cream Pie Cups
Ingredients
For the Crust
- 12-15 pieces mini tart shells or shortbread cookie cups Or 1 1/2 cups graham cracker crumbs plus 4 tablespoons melted butter if making your own crust
- 4 tablespoons unsalted butter For toasting coconut
For the Custard Filling
- 1 cup unsweetened shredded coconut Plus extra for topping
- 3 tablespoons cornstarch
- 1/2 cup granulated sugar
- 1/4 teaspoon fine sea salt
- 1 teaspoon vanilla extract
- 1.5 cups whole milk
- 1 cup canned coconut milk, full fat
- 3 large egg yolks
- 1 cup heavy whipping cream
- 2 tablespoons powdered sugar
For Garnish
- optional fresh lime zest or toasted coconut chips
Extras and Tools
- Muffin pan or mini muffin pan if making crusts Heavy-bottomed saucepan, whisk, and rubber spatula
Instructions
Preparation
- Toast the coconut. Melt 2 tablespoons butter in a skillet over medium heat, add 1 cup shredded coconut, and stir until golden and fragrant, about 3 to 5 minutes. Set aside to cool.
- In a saucepan off the heat, whisk sugar, cornstarch, and salt. Add egg yolks and whisk until smooth.
- Slowly whisk in whole milk and coconut milk until combined. Put the pan on medium heat and cook, whisking constantly until it starts to bubble and thicken, about 5 to 7 minutes.
- When thickened, remove from heat and stir in vanilla and most of the toasted coconut (reserve some for garnish).
- Pour the hot custard into a shallow dish and press plastic wrap directly on top to prevent a skin. Chill for at least 2 hours.
- If making your own graham crust, mix crumbs with melted butter until it looks like damp sand. Press into a mini muffin pan or silicone cups and bake at 350°F for 6 to 8 minutes, then cool completely.
- Make whipped cream just before assembling by beating heavy cream with powdered sugar until soft peaks form.
- Assemble the cups. Spoon or pipe chilled coconut custard into each cup, top with whipped cream and a sprinkle of toasted coconut and lime zest if desired.
- Chill again for 30 minutes before serving.