Delicious No-Bake Cocoa Coconut Protein Squares to Satisfy Cravings
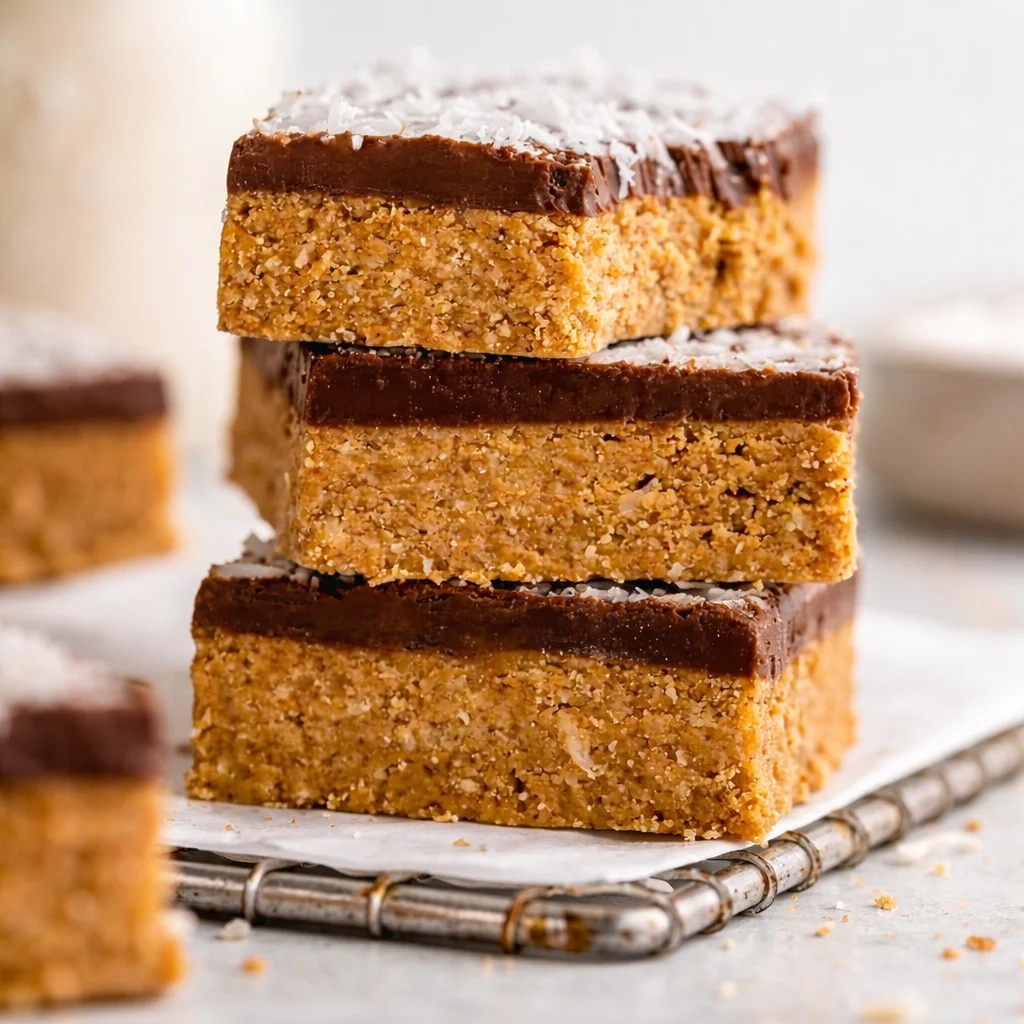
No-Bake Cocoa Coconut Protein Squares are my answer to that very specific moment when I want something sweet right now, but I do not want to bake, and I definitely do not want to wash a sink full of dishes. I used to buy protein bars for this, but I kept running into the same issues: weird aftertaste, too pricey, or not filling enough. These squares hit that sweet spot of chocolatey, coconutty, and actually satisfying. They are also the kind of snack that feels a little like dessert, which is honestly what I want most days. If you have ten minutes and a fridge, you can make these happen. 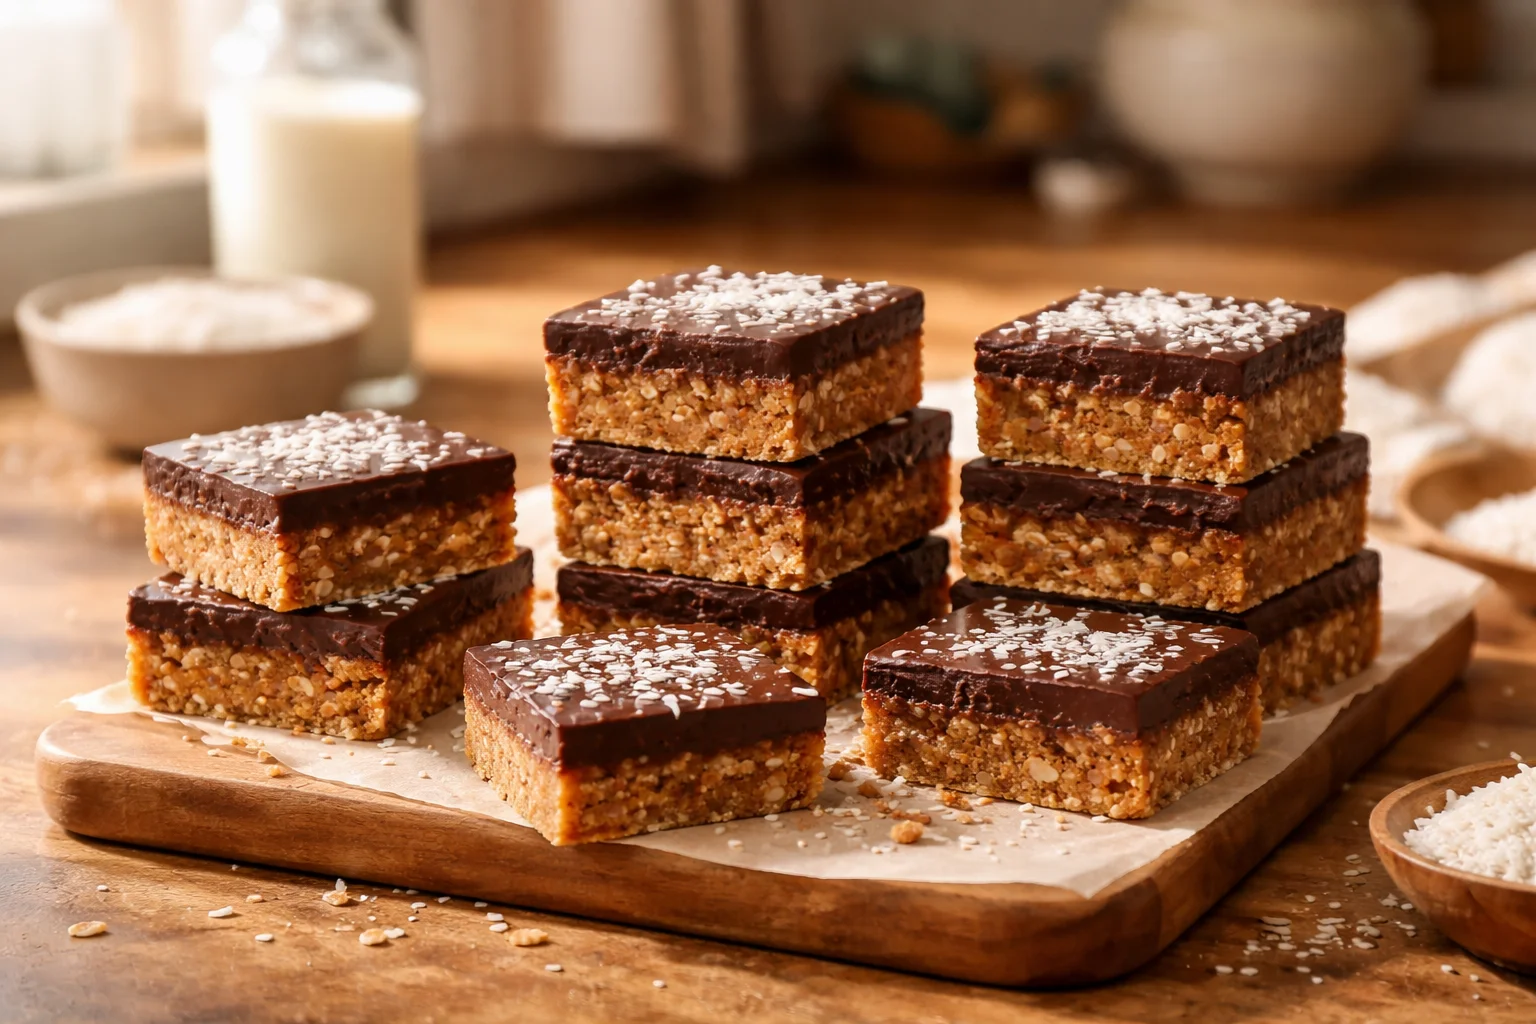
What are homemade protein bars made of?
Homemade protein bars are usually built from a few simple parts: something to bind everything together, something to add protein, and something to make them taste good enough that you actually want to eat them.
The building blocks I swear by
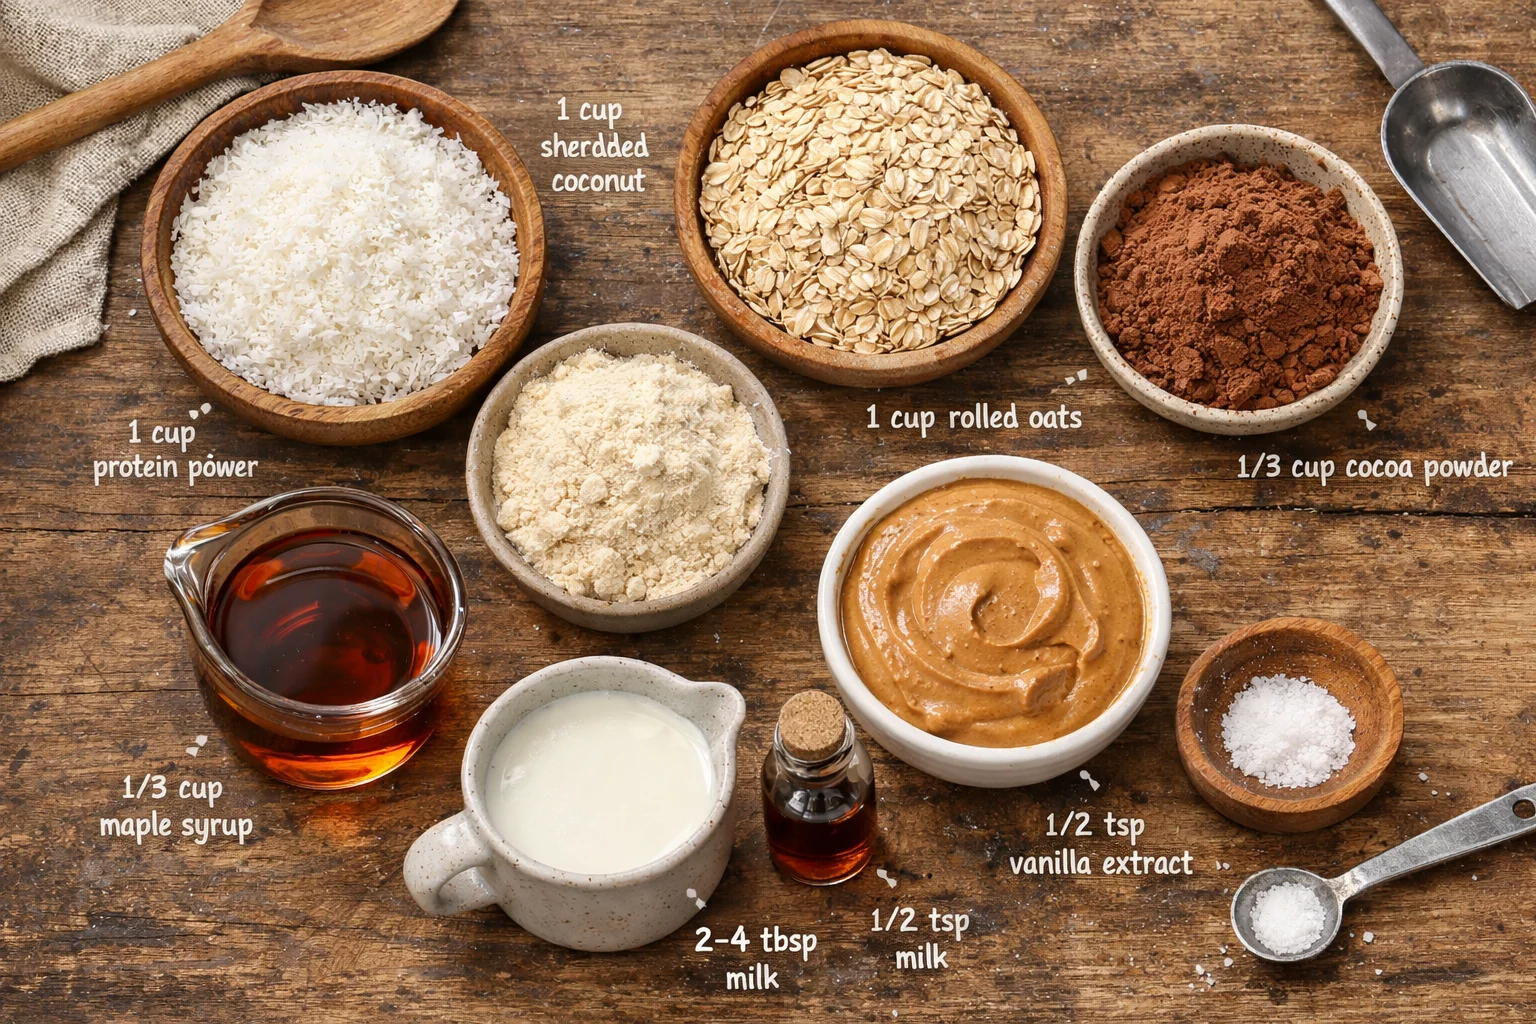
For these No-Bake Cocoa Coconut Protein Squares, I keep it easy and pantry friendly. Here is what typically goes into a homemade protein bar like this:
- Protein powder: This gives the bars their staying power. I use a plant based vanilla or chocolate protein most of the time.
- Nut or seed butter: Peanut butter, almond butter, or sunflower seed butter all work. This is your main binder.
- A sticky sweetener: Maple syrup is my go to. It helps everything hold together and keeps the texture soft.
- Cocoa powder: For that deep chocolate flavor without needing to melt chocolate.
- Shredded coconut: Adds chew, flavor, and makes them feel a little more special.
- Oats or almond flour: Optional, but helpful for structure if your mix feels too wet.
- A pinch of salt: Not optional in my kitchen. It makes the chocolate pop.
If you love coconut and chocolate together, you would probably also be into this chocolate coconut slice. It is a different vibe, but same cozy flavor combo.
How to make chocolate coconut protein bars
Let us get into the actual how. I make these No-Bake Cocoa Coconut Protein Squares in one bowl, press them into a pan, then let the fridge do the heavy lifting. No oven, no mixer, no stress.
Ingredients and what you will need
Here is my standard batch. It makes about 12 squares, depending on how big you slice them.
- 1 cup shredded unsweetened coconut (plus a little extra for topping if you want)
- 1 cup rolled oats (or 3/4 cup oat flour for a smoother bite)
- 1/3 cup cocoa powder
- 1/2 cup protein powder (plant based works great)
- 1/2 cup peanut butter or almond butter
- 1/3 cup maple syrup
- 2 to 4 tablespoons milk of choice, as needed (almond, oat, soy)
- 1/2 teaspoon vanilla extract
- 1/4 teaspoon salt
Step by step directions
1) Line an 8 inch square pan with parchment paper. This makes lifting them out so easy later.
2) In a big bowl, mix coconut, oats, cocoa powder, protein powder, and salt.
3) Add nut butter, maple syrup, and vanilla. Stir. At first it will look crumbly, then it starts coming together.
4) Add milk one tablespoon at a time, just until the mixture presses together when you squeeze it. You want it thick, not runny.
5) Press the mixture firmly into the pan. Really press it down so the squares do not crumble later.
6) Chill for at least 1 to 2 hours, then slice into squares.
That is it. You now have a stash of No-Bake Cocoa Coconut Protein Squares for snack attacks, late afternoon slumps, or the moment after dinner when you want something sweet but not a whole production.
“I made these on Sunday and they saved me all week. I kept one in my bag for work and it tasted like a brownie coconut bar had a healthy cousin.”
By the way, if you grew up on classic no bake treats and want that nostalgic feel, you should check out these classic no-bake cookies. They are the old school comfort snack I still make when I need a win.
;
Tips for making homemade protein bars
I have made a lot of homemade bars that were either too dry, too sticky, or tasted like straight up protein powder. Here is what actually helps.
Tip 1: Adjust the wet ingredients slowly. Protein powder brands vary a lot. Some are super absorbent. Start with less milk, then add as needed.
Tip 2: Taste the mix before chilling. This is the moment to add a pinch more salt, a splash more vanilla, or a tiny bit more maple syrup.
Tip 3: Press harder than you think. I press with the back of a spoon, then press again with clean hands. Firm pressure equals neat squares.
Tip 4: Use parchment paper. It makes removal clean and keeps the edges from getting wrecked when you slice.
Tip 5: Let them fully chill. If you cut too early, they will be softer and may crumble. Patience pays off here.
If you are into easy high protein snacks in general, I also love having little bite sized options like cranberry pistachio protein bites around. Different flavor, same grab and go energy.
Recipe variations
This is where you can make the recipe feel like yours. I keep the base the same, then play around depending on what I have in the pantry.
Make them extra chocolatey: Add mini dark chocolate chips or a thin chocolate drizzle on top. If you drizzle, chill again so it sets cleanly.
Make them nut free: Use sunflower seed butter or tahini. Tahini gives a deeper flavor that surprisingly works with cocoa.
Boost the coconut flavor: Add a few drops of coconut extract, or toast a little coconut to sprinkle on top.
Add crunch: Stir in chopped almonds, cacao nibs, or crispy rice cereal.
Swap the oats: If you want a smoother bar, use oat flour. If you want more chew, keep rolled oats.
Turn them into dessert squares: Press the base, then add a quick layer of coconut yogurt mixed with a little maple syrup on top. Freeze for a firmer slice.
One small note: if you change the dry ingredients a lot, you may need an extra spoon of nut butter or a splash more milk to keep the mixture pressable. With No-Bake Cocoa Coconut Protein Squares, the texture sweet spot is “moldable like play dough” but not sticky on your fingers.
How to store vegan coconut protein bars
These are pretty low maintenance, which is part of why I love them.
In the fridge: Store the squares in an airtight container for up to 7 days. I like placing parchment between layers so they do not stick.
In the freezer: Freeze for up to 2 months. I freeze them sliced, then grab one when I need it. Let it sit at room temp for 10 to 15 minutes before eating, unless you like them extra chewy and cold.
For packing: If your kitchen is warm, keep them chilled until you head out. They are sturdy, but they do soften if left in a hot car or sunny spot.
Common Questions
Can I make these without protein powder?
Yes, but you will need more dry ingredients like oats or almond flour to replace it. The bars will be more like energy squares than protein focused.
Why are my squares crumbly?
Usually it is not enough binder or not pressed firmly enough. Add 1 more tablespoon nut butter or maple syrup, and press the mixture down harder in the pan.
Can I use sweetened coconut?
You can, but the bars will be noticeably sweeter. If you do, I would slightly reduce the maple syrup.
Do these actually taste like dessert?
In my opinion, yes. No-Bake Cocoa Coconut Protein Squares have a brownie vibe with coconut chew, especially after a good chill.
How do I make them higher protein?
Use a higher protein powder, add a bit more protein powder (and a splash more milk), or mix in hemp hearts. Just keep an eye on dryness.
A sweet little snack plan you will actually stick with
If you want a simple routine, make a batch of No-Bake Cocoa Coconut Protein Squares at the start of the week and keep them front and center in the fridge. They are fast, filling, and they stop the random snack wandering that somehow always ends with me eating cereal out of the box. If you want another take on this style of bar, I found No Bake Coconut Protein Bars – Purely Kaylie helpful for extra inspiration too. Try one batch, tweak the sweetness to your taste, and you will have a go to treat that feels like a win every time you open the fridge. 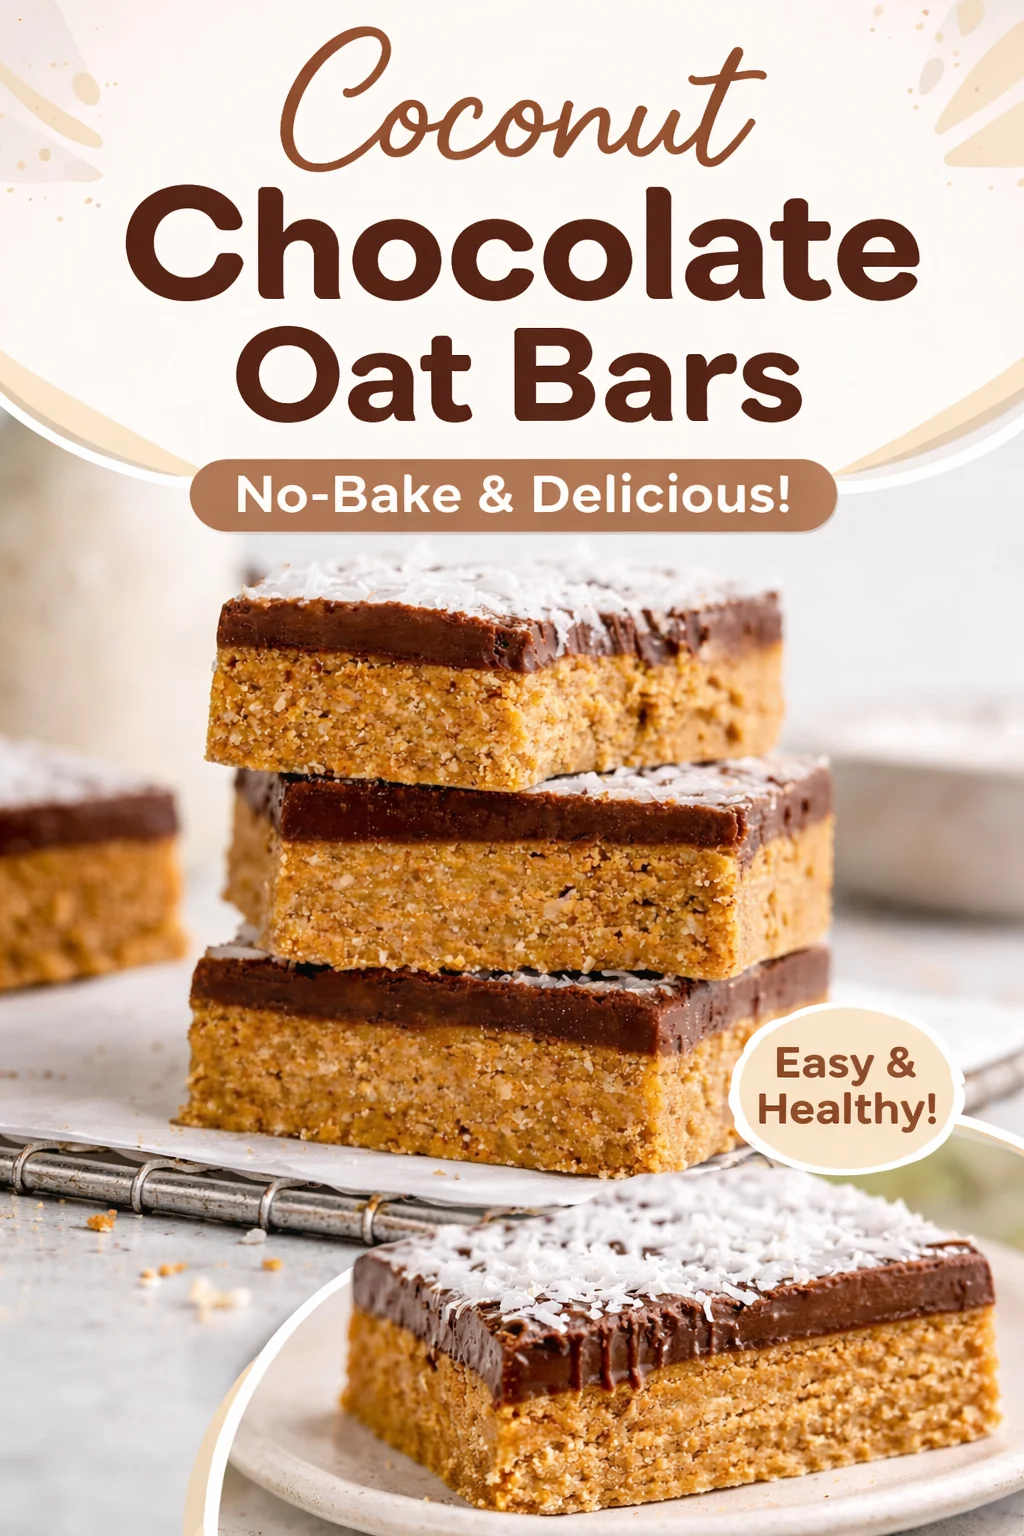
No-Bake Cocoa Coconut Protein Squares
Ingredients
Main ingredients
- 1 cup shredded unsweetened coconut Plus a little extra for topping if desired.
- 1 cup rolled oats Or 3/4 cup oat flour for a smoother bite.
- 1/3 cup cocoa powder For chocolate flavor without melting chocolate.
- 1/2 cup protein powder Plant based works great.
- 1/2 cup peanut butter Or almond butter.
- 1/3 cup maple syrup A sticky sweetener to help everything hold together.
- 2-4 tablespoons milk of choice Add as needed (almond, oat, soy).
- 1/2 teaspoon vanilla extract Adds flavor.
- 1/4 teaspoon salt Enhances the chocolate flavor.
Instructions
Preparation
- Line an 8-inch square pan with parchment paper.
- In a big bowl, mix the shredded coconut, oats, cocoa powder, protein powder, and salt.
- Add nut butter, maple syrup, and vanilla. Stir until it starts to come together.
- Gradually add milk, one tablespoon at a time, until the mixture binds together without being runny.
- Press the mixture firmly into the lined pan.
- Chill in the fridge for at least 1 to 2 hours before slicing into squares.