Vintage Peanut Butter Blossom Cookies You’ll Love to Bake
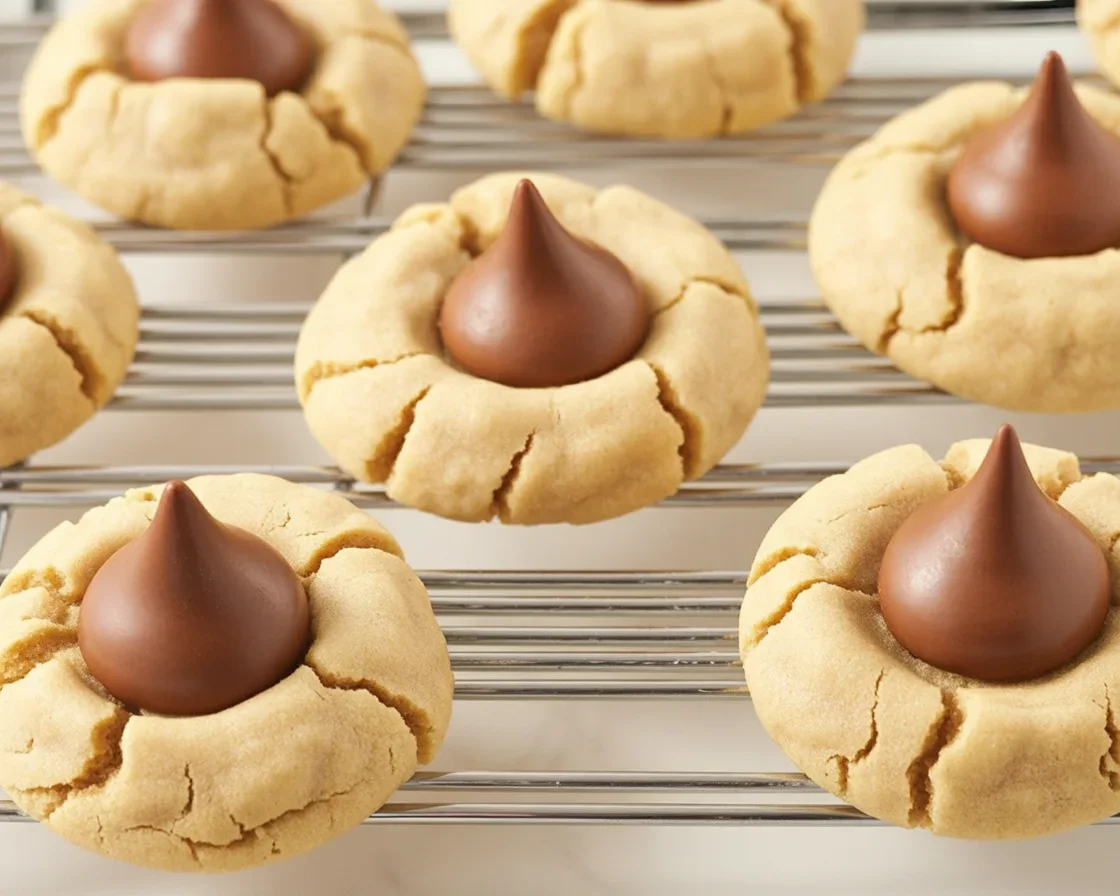
Vintage Peanut Butter Blossom Cookies (Quick Bake) are the kind of cookie you whip up when time is short but your sweet tooth is loud. Maybe you promised treats for a school event and forgot. Maybe you just want something cozy with your coffee. I’ve been there, and this classic never fails. If you need Vintage Peanut Butter Blossom Cookies You’ll Love to Bake that deliver every time, keep reading. I’ll walk you through the easiest way to get soft, peanut-buttery cookies with that shiny chocolate kiss right on top. 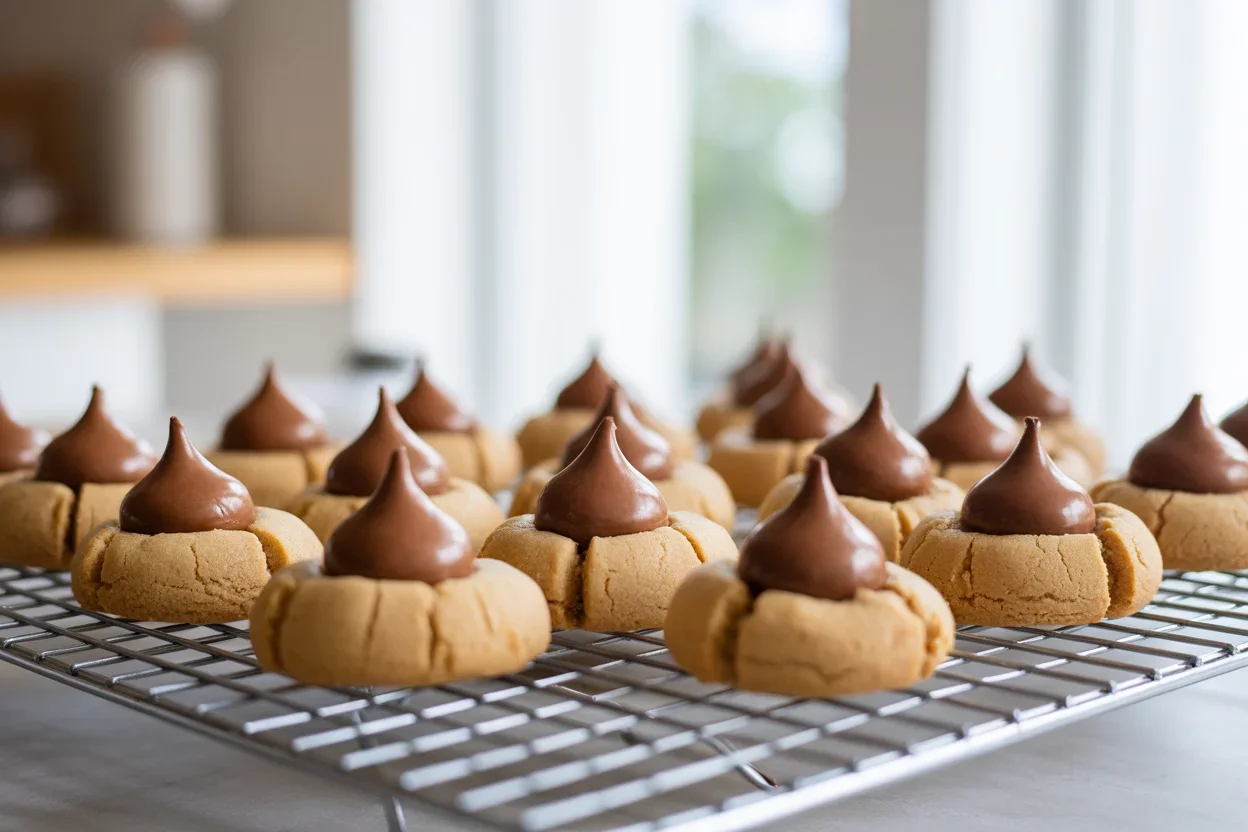
How to Make Classic Peanut Butter Blossoms
Ingredients
- 1/2 cup unsalted butter, softened
- 1/2 cup creamy peanut butter
- 1/2 cup granulated sugar, plus extra for rolling
- 1/2 cup light brown sugar
- 1 large egg, room temperature
- 1 teaspoon vanilla extract
- 1 and 3/4 cups all-purpose flour
- 1 teaspoon baking soda
- 1/4 teaspoon salt
- About 30 chocolate kisses, unwrapped
Directions
- Preheat oven to 350°F. Line baking sheets with parchment.
- Cream butter, peanut butter, granulated sugar, and brown sugar until light and smooth, 2 to 3 minutes.
- Beat in egg and vanilla until combined.
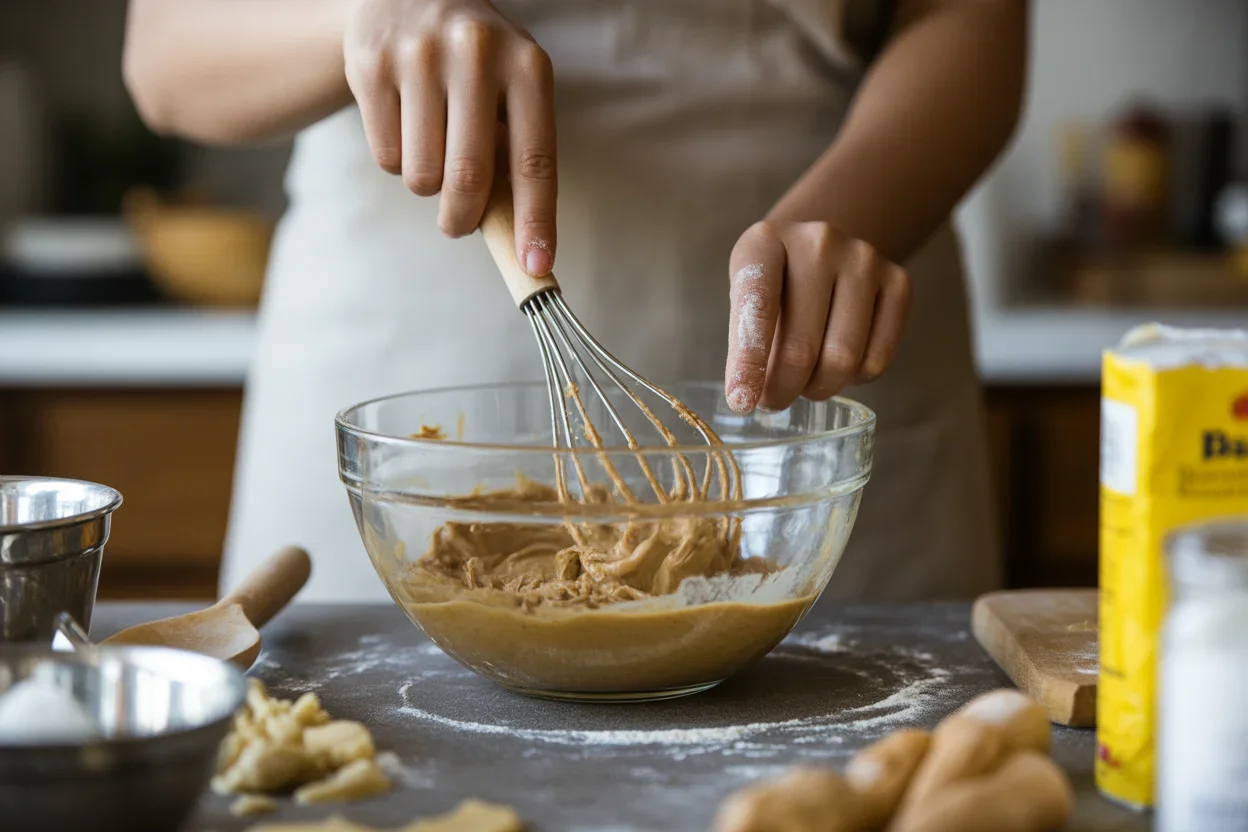
- In a separate bowl, whisk flour, baking soda, and salt. Add to the wet mixture. Mix just until the dough comes together.
- Chill the dough for 15 to 20 minutes. This helps keep the cookies thick and soft.
- Roll dough into 1-inch balls, then roll each ball in granulated sugar.
- Bake 8 to 10 minutes until the edges are set and the tops look puffy. They should still look slightly underdone in the center.
- Press a chocolate kiss gently in the center of each cookie as soon as they come out. The cookie will crack a bit around the edges, which is exactly what you want.
- Let them sit on the sheet for 5 minutes before moving to a wire rack to cool.
The Little Secrets That Make Them Great
Softened butter and a short chill give you that plush, bakery-style bite. Pull the tray when the edges are set but the centers still look soft. The carryover heat finishes the bake while keeping the middle tender. Finally, press the chocolate kiss on right away so it sinks in just enough to make a neat center without melting into puddles.
I used this method for a last-minute bake sale, and they disappeared in ten minutes. Simple, nostalgic, and just the right amount of chocolate. My new go-to cookie.
Possible Variations
Once you nail the base, it’s fun to play. Here are easy twists that keep the spirit of Vintage Peanut Butter Blossom Cookies You’ll Love to Bake while giving you fresh flavor.
Chocolate ideas:
Swap the classic milk chocolate kiss with dark chocolate for a deeper flavor, or try caramel-filled kisses. Mini peanut butter cups also make a chewy, fudgy center that everyone loves.
Flour tweaks:
If you need a low carb option, check out my lighter spin with keto peanut butter blossoms. They still have that sweet peanut butter base and the pretty chocolate cap.
Coatings and add-ins:
Try rolling the balls in sparkling sugar for crunch and shine. Or add 1/4 cup mini chocolate chips to the dough for extra chocolate bits in every bite. A pinch of cinnamon in the dough brings cozy warmth.
No oven today:
When it’s too hot to bake or you want something insanely fast, you might love these easy no bake peanut butter cookies. They scratch the same itch and take almost no time at all.
Nutty variations:
Use crunchy peanut butter for extra bite. Or mix 2 tablespoons of finely chopped salted peanuts into the sugar you roll the dough in. That salty sweet hit is so good.
Pro Tips for Making This Recipe
Bake Timing and Texture
Keep these simple tips in mind so your Vintage Peanut Butter Blossom Cookies You’ll Love to Bake come out soft, pretty, and reliable.
Measure your flour right. Spoon the flour into the cup and level it. Too much flour makes dry cookies.
Chill briefly, not forever. A short chill firms the dough just enough. If it gets too stiff, let it sit on the counter for a few minutes so it’s easy to roll.
Use room temp egg. It blends better and makes a smoother dough.
Do not overbake. The cookies keep baking on the pan after you pull them. Take them out when they’re slightly soft in the center. That’s how you get a tender middle.
Press the chocolate right away. Put the kiss on while the cookies are hot. The base will soften and set in place as it cools, which helps it stick.
Keep kisses from melting. If your kitchen is warm, pop unwrapped kisses in the fridge while the cookies bake. They hold shape better.
Rotate your pans. If your oven has hot spots, rotate the sheet at the halfway point for even baking.
Follow these and your Vintage Peanut Butter Blossom Cookies You’ll Love to Bake will stay chewy inside with those cute, crackly edges everyone expects.
How Long Will Peanut Butter Blossoms Keep?
At room temperature, they’re best within 3 to 4 days. Keep them in an airtight container to protect the chocolate and prevent dryness.
In the fridge, they last about a week, but the chill can firm up the chocolate topping a bit more than I like. If you do refrigerate, let them sit at room temp before serving so the texture softens.
For longer storage, freeze for up to 2 months. Thaw at room temperature in a closed container, which helps stop condensation from forming on the chocolate. This helps preserve that classic cookie-to-chocolate balance you want in Vintage Peanut Butter Blossom Cookies You’ll Love to Bake.
Whats the Best Way to Store These Cookies
Short answer: airtight, layered, and out of the sun. The chocolate tops can get chalky if they sit in sunlight or get too warm, so keep them cool and shaded.
Here’s how I do it:
Let cookies cool completely so the chocolates are firm on top.
Use a flat, tight-lid container. Line the bottom with parchment. Add a single layer of cookies, then a sheet of parchment, then another layer. The paper keeps the kisses from denting the cookies below.
When stacking, try to offset the cookies so the kisses slot into the gaps, not directly on top of each other.
If the room is warm, store them in a cooler spot or even a wine fridge. Avoid the full fridge if possible, since it can dry them out. If you do chill them, make sure the container is truly airtight.
If you want a step-by-step photo guide later, you can peek at my classic peanut butter blossoms version too. It’s the same happy cookie, just laid out with clear visuals and easy tips.
Common Questions
Can I use natural peanut butter?
You can, but choose a no-stir variety for best results. If yours is oily, stir it very well. The dough may be softer, so a longer chill helps.
Why did my chocolate kiss melt flat?
The cookies were likely too hot or the room was too warm. Press the kiss on, then move the tray to a cooler spot. Chilling the chocolates first also helps.
Can I make the dough ahead?
Yes. Chill the dough up to 2 days. If it’s very firm, let it sit on the counter until scoopable. You can also freeze dough balls for quick baking later.
How can I make the cookies extra soft?
Measure flour carefully, don’t overmix, and pull the cookies when they look just set. A short chill helps keep them thick and tender.
What if I have no kisses?
Press in a square of chocolate, a peanut butter cup, or even a chocolate disk. They all taste great and look cute.
A Sweet Little Wrap Up
If you love classic treats that never disappoint, Vintage Peanut Butter Blossom Cookies You’ll Love to Bake are a slam dunk. You get soft, peanut-buttery cookies with that shiny chocolate peak, every single time. If you want another take to compare, here’s a helpful reference from a trusted source: Classic Peanut Butter Blossom Cookies Recipe – BettyCrocker.com. And if your oven is staying off today, peep the no-bake option I linked above. Now grab your mixing bowl, and bake a batch tonight so you can share a warm cookie with someone you love. 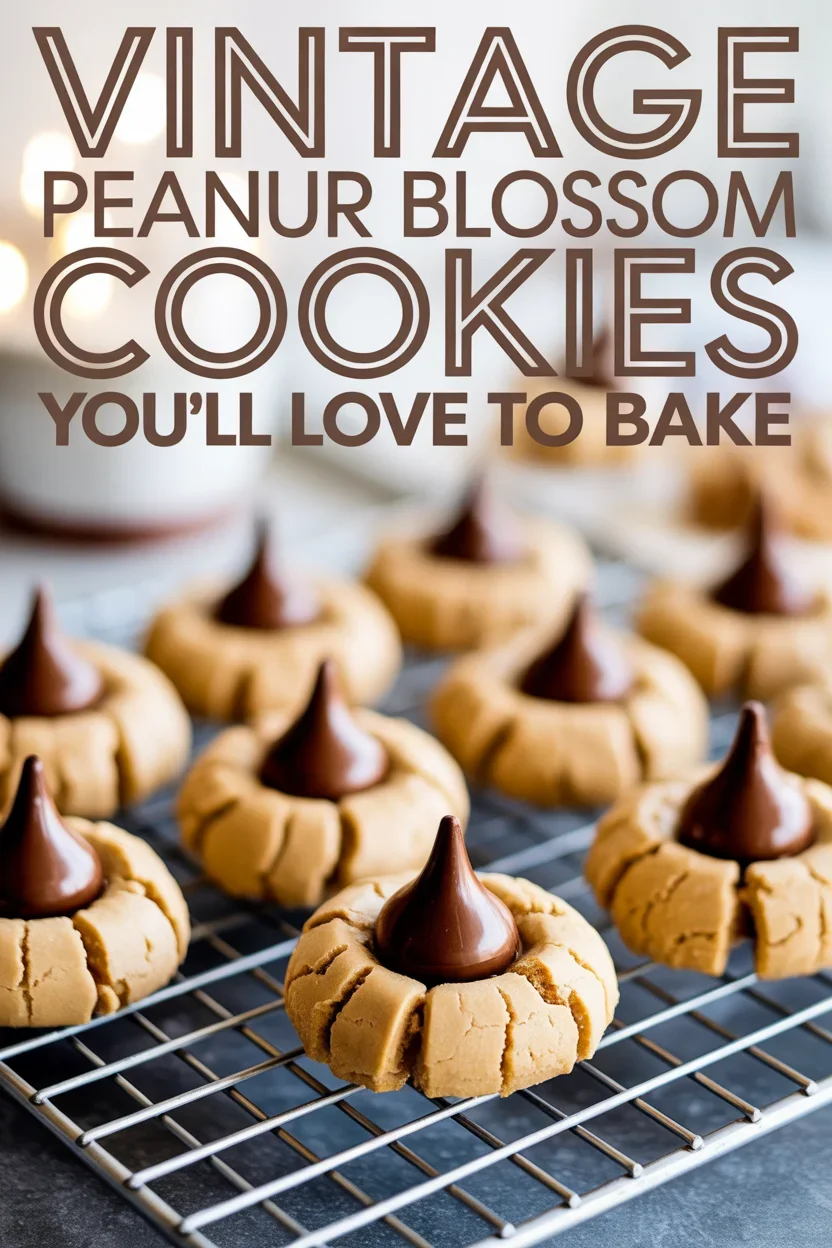
Vintage Peanut Butter Blossom Cookies
Ingredients
Cookie Base Ingredients
- 1/2 cup unsalted butter, softened Make sure to soften butter for ease of mixing.
- 1/2 cup creamy peanut butter No-stir variety is preferred for best results.
- 1/2 cup granulated sugar, plus extra for rolling Extra sugar is for rolling the cookie balls.
- 1/2 cup light brown sugar
- 1 large egg, room temperature Room temperature egg mixes better.
- 1 teaspoon vanilla extract
- 1 and 3/4 cups all-purpose flour Spoon flour into the measuring cup for accuracy.
- 1 teaspoon baking soda
- 1/4 teaspoon salt
- 30 chocolate kisses, unwrapped Use milk chocolate or alternatives as desired.
Instructions
Preparation
- Preheat oven to 350°F. Line baking sheets with parchment.
- Cream softened butter, creamy peanut butter, granulated sugar, and brown sugar until light and smooth, about 2 to 3 minutes.
- Beat in the egg and vanilla until well combined.
- In a separate bowl, whisk together flour, baking soda, and salt. Gradually add to the wet mixture, mixing until just combined.
- Chill the dough for 15 to 20 minutes to keep the cookies thick and soft.
- Roll the chilled dough into 1-inch balls and roll each ball in granulated sugar.
Baking
- Bake in the preheated oven for 8 to 10 minutes until the edges are set but the centers look slightly underdone.
- Immediately press a chocolate kiss into the center of each cookie as soon as they come out of the oven.
- Let sit on the baking sheet for 5 minutes before transferring to a wire rack to cool completely.