Irresistible Old-School Pineapple Upside Down Cake (Mini Skillet)

Old-School Pineapple Upside Down Cake (Mini Skillet) is the kind of dessert you make when you want instant cozy vibes without a mountain of dishes. If you’ve got a small skillet, a can of pineapple, and a craving for something buttery and caramel-y, this is your moment. I’ve been making this mini version on weeknights when the sweet tooth kicks in, and it never lets me down. It’s fast, it’s pretty, and it tastes like a warm hug from your grandma’s kitchen. No complicated steps, just simple baking joy and a gooey pineapple top that looks fancy even though it’s no big deal to make. 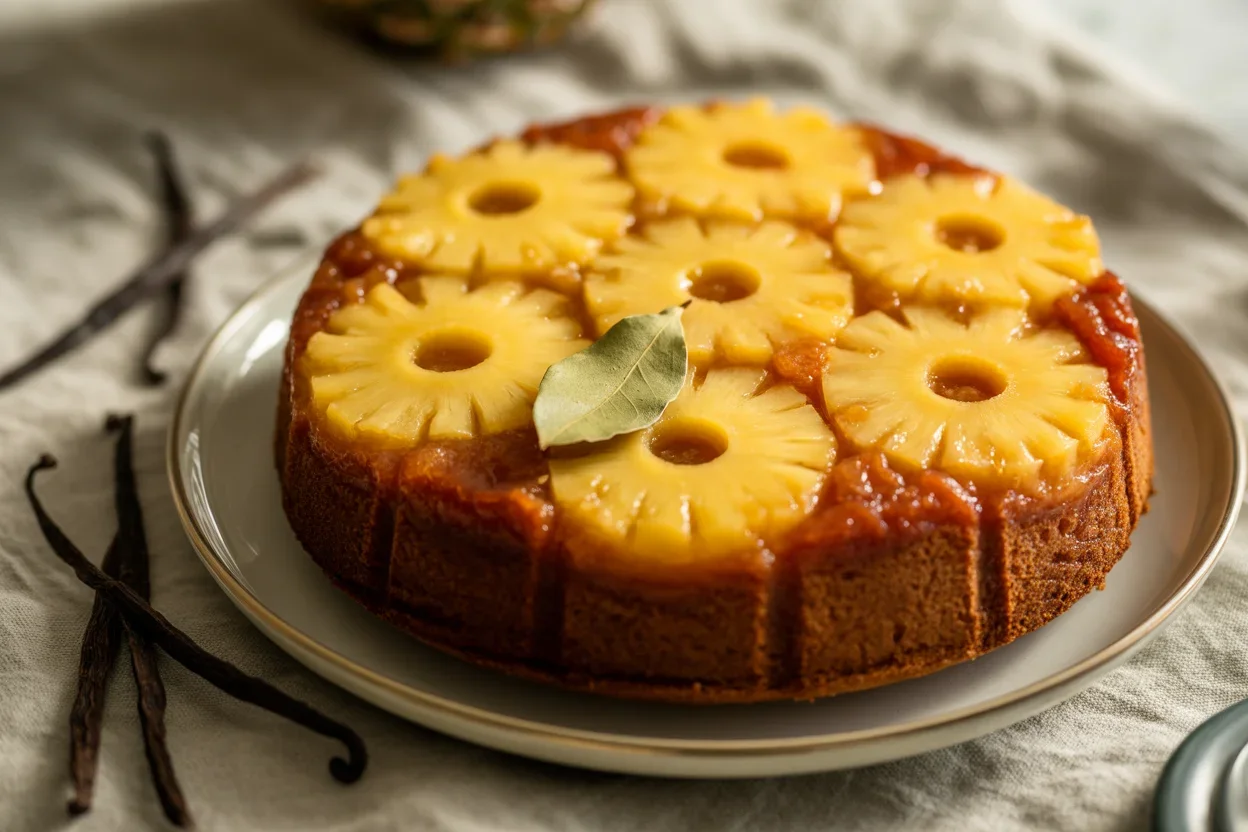
Improved Pineapple Upside Down Cake Recipe: Read the Difference
I love the classic, but I’ve nudged my recipe to be friendlier for small kitchens and weeknight cravings. The mini skillet gives you caramelized edges with a soft center, and the flavor lands in that sweet spot between nostalgic and balanced. Here is what makes this one better for everyday baking:
First, I use a small cast iron or oven-safe skillet so the caramel has less space to spread and more chance to thicken. That means deeper flavor and extra glossy fruit. Second, I cut the sugar in the batter just a touch so the buttery brown sugar topping can shine. Third, I add a splash of pineapple juice to the batter for a tiny punch of tropical warmth without making the cake soggy. It’s the kind of tweak you taste, not just read.
The batter itself is straightforward, but the trick is in how you layer the topping. I melt butter right in the skillet, stir in brown sugar until it looks sandy and sticky, then tuck in pineapple rings and a few cherries. It gets the pan hot and ready, so your cake rises evenly once it hits the oven. And finally, I rest the cake for a few minutes before flipping. That gives the caramel a moment to grab onto the cake and slide out in one stunning piece.
If you’re more of a traditionalist and crave a standard size version, check out this simple and crowd-pleasing option in my kitchen notes: classic pineapple cherry upside down cake. But for one to four people and faster cleanup, the mini skillet wins every time.
Quick wins: preheat well, measure loosely packed brown sugar, and do not overmix your batter. Keep it light and your crumb stays soft.
Key Ingredients You Need
- Butter: gives you the glossy caramel top and tender crumb. Use real butter for best taste.
- Brown sugar: dark or light both work, but dark brown sugar gives a deeper caramel flavor.
- Pineapple: canned rings or tidbits. Save a few tablespoons of the juice for the batter.
- Maraschino cherries: optional, but they bring that old-school pop of color.
- All-purpose flour: keep it simple and sift if it is clumpy.
- Granulated sugar: just enough to sweeten the cake without overpowering the topping.
- Baking powder and a pinch of salt: lift and balance.
- Milk: whole or 2 percent for a tender crumb.
- Neutral oil: a tablespoon keeps the cake moist over time.
- Egg: room temp helps everything mix easily.
- Vanilla: a must for warm bakery flavor.
- Optional spice: a pinch of cinnamon if you like a cozy hint.
If you are craving a fruit-forward twist without dairy, you might love my reader favorite vegan cranberry upside down cake. The method is similar, so once you nail this mini pineapple beauty, that one will feel easy too.
“I made the mini skillet version on a Tuesday night and my partner said it tasted like a vacation in cake form. The edges were caramel-crisp and the middle was so soft. We devoured it warm with a scoop of vanilla ice cream.”
Overview: How to Make the Best Pineapple Upside Down Cake
Preheat your oven to 350°F and grab a 6 to 8 inch oven-safe skillet. Place 2 tablespoons butter in the skillet and melt it on low heat. Sprinkle in 1/3 cup brown sugar and stir for 30 to 60 seconds until it looks like wet sand and starts to bubble. Take it off the heat.
Arrange pineapple rings or tidbits right on top of that sticky layer. Nestle cherries into the center of rings or scatter them around if you are using tidbits. Try not to leave big gaps.
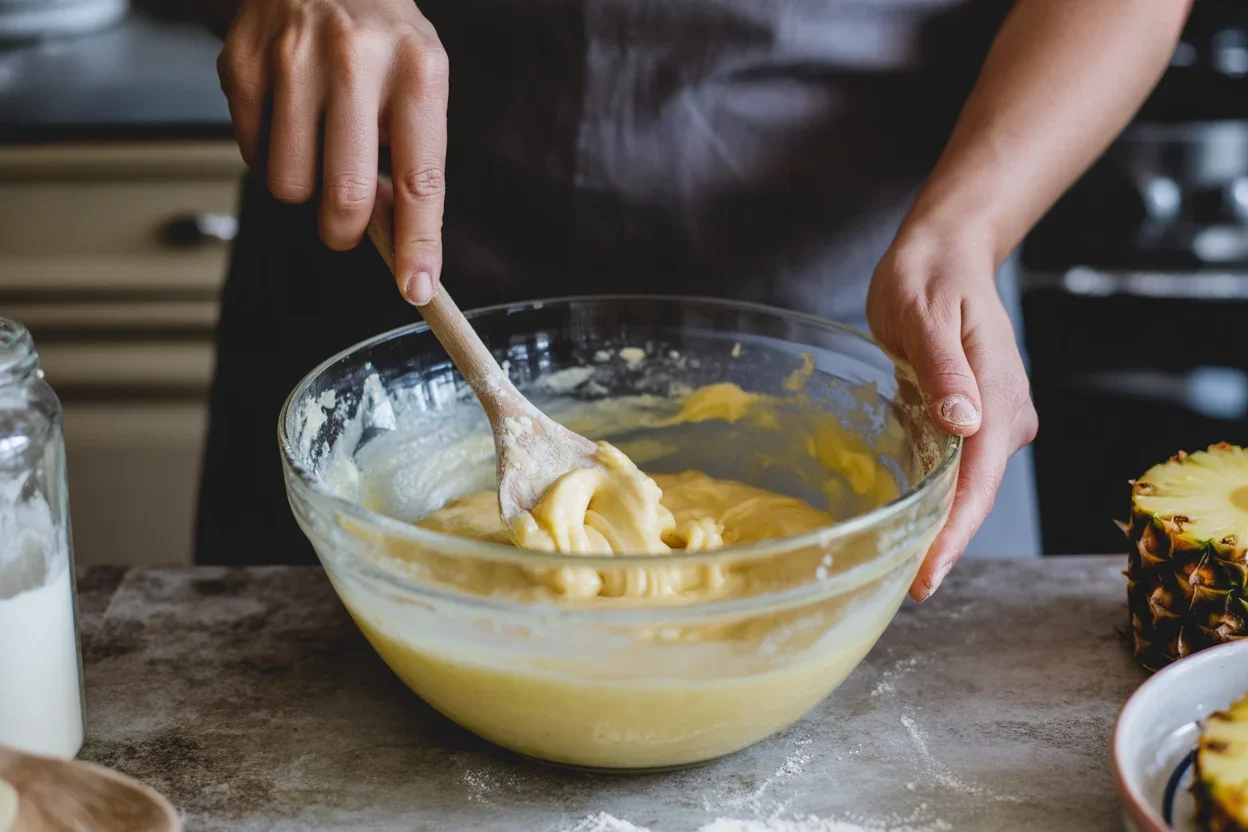
In a bowl, whisk the dry ingredients: 3/4 cup flour, 1 teaspoon baking powder, and a pinch of salt. In another bowl, whisk the wet ingredients: 1 egg, 1/3 cup sugar, 1/4 cup milk, 1 tablespoon neutral oil, 1 teaspoon vanilla, and 2 tablespoons pineapple juice. Fold dry into wet until just combined. It should look smooth but not overworked.
Pour the batter evenly over the pineapple layer. Smooth the top with a spatula and bake for 22 to 26 minutes until the center springs back lightly and a toothpick comes out clean. If you are using a larger 8 inch skillet, your cake may be thinner and bake a bit quicker, so start checking at 20 minutes.
Cool the skillet on a rack for 5 minutes, then run a thin knife around the edge. Place a plate over the skillet and flip carefully. Lift the pan to reveal that glossy top. If any fruit sticks, just nudge it back on and nobody will notice after a minute. This is home baking, and it is supposed to be forgiving.
For those who like to explore different textures and flavors, you might also enjoy this nostalgic pick after dinner: banana split dump cake. It is just as fun, with a totally different vibe.
By the way, this is my favorite way to serve Old-School Pineapple Upside Down Cake (Mini Skillet): warm with a tiny scoop of ice cream or a spoon of lightly sweetened whipped cream. The hot-cold combo is unbeatable.
What You Need for Pineapple Upside Down Cake
- 6 to 8 inch oven-safe skillet, preferably cast iron
- Mixing bowls and a whisk
- Rubber spatula
- Measuring cups and spoons
- Cooling rack and a plate for flipping
- Parchment rounds optional if your skillet is not well seasoned
Use a well-seasoned skillet to prevent sticking. If your skillet is new, a parchment round trimmed to fit under the pineapple can be a smart insurance policy. If you do not have cast iron, a small cake pan works too, but make sure to melt the butter and sugar on the stove first, then pour it into the pan.
Once you have your tools set up, you will find it easier to repeat the process again and again. And if you have a sweet tooth like mine, let me tempt you with another cozy bake for brunch season: try my bright and soft cranberry orange cake when you want a break from pineapple yet still crave that sunny fruit flavor.
What It Tastes Like
This little cake tastes like caramelized sunshine. The top is sticky with buttery brown sugar, the pineapple is tender and juicy, and the cake underneath is soft but sturdy enough to hold the syrup. The edges crisp just enough to make each bite interesting. It is sweet, but not so sweet that you need a tall glass of milk to survive it. The balance is what I love most.
Every time I flip Old-School Pineapple Upside Down Cake (Mini Skillet) onto a plate, I get that little thrill. The fruit glows, the sauce drips slowly down the sides, and you can smell the butter and vanilla swirling up in the steam. If you bake it in a slightly smaller skillet, it will be a bit taller and extra tender in the center. If your skillet is on the bigger side, it will be thinner and a little more caramel-forward. Both are delicious.
And yes, leftovers are amazing the next morning. Pop a slice in a warm skillet for a minute or two to revive the top. Breakfast dessert is a thing in my house, especially after a late baking night. Pair it with coffee, or if you want something equally cozy, check out my soft and cinnamony classic coffee cake for your weekend baking lineup.
Common Questions
How do I keep it from sticking when I flip?
Let the cake rest 5 minutes, run a thin knife around the edge, and make sure your skillet is greased well with the butter-sugar mix. If you are nervous, use a parchment round under the fruit.
Can I use fresh pineapple?
Yes, as long as it is cut thin and not too wet. Pat it dry a bit. Canned pineapple is more consistent and gives that familiar classic flavor.
What if I do not have a small skillet?
Use a 6 to 8 inch cake pan. Melt the butter and brown sugar in a saucepan, pour it into the pan, arrange fruit, add batter, and bake as directed.
Can I make this ahead?
Bake it the day you plan to serve. Flip it after 5 minutes, then let it sit. It holds well for a few hours at room temp. Rewarm slices gently if needed.
Can I double it?
Yes, bake in a 10 inch skillet and watch the time. Start testing at 25 minutes. The method stays the same, just scale the ingredients.
A Sweet Little Throwback You Can Make Tonight
If you have been craving a mini treat with big nostalgia, Old-School Pineapple Upside Down Cake (Mini Skillet) is your answer. It is buttery, bright, and so easy to pull off on a busy night. The batter is simple, the flip is fun, and the results make you feel like a baking hero with hardly any cleanup. If you want more vintage-style inspiration, peek at the helpful guide from Apt. 2B Baking Co. Pineapple Upside Down Cake for additional tips and styling ideas. Now grab that skillet, preheat the oven, and treat yourself to a warm slice of joy tonight. 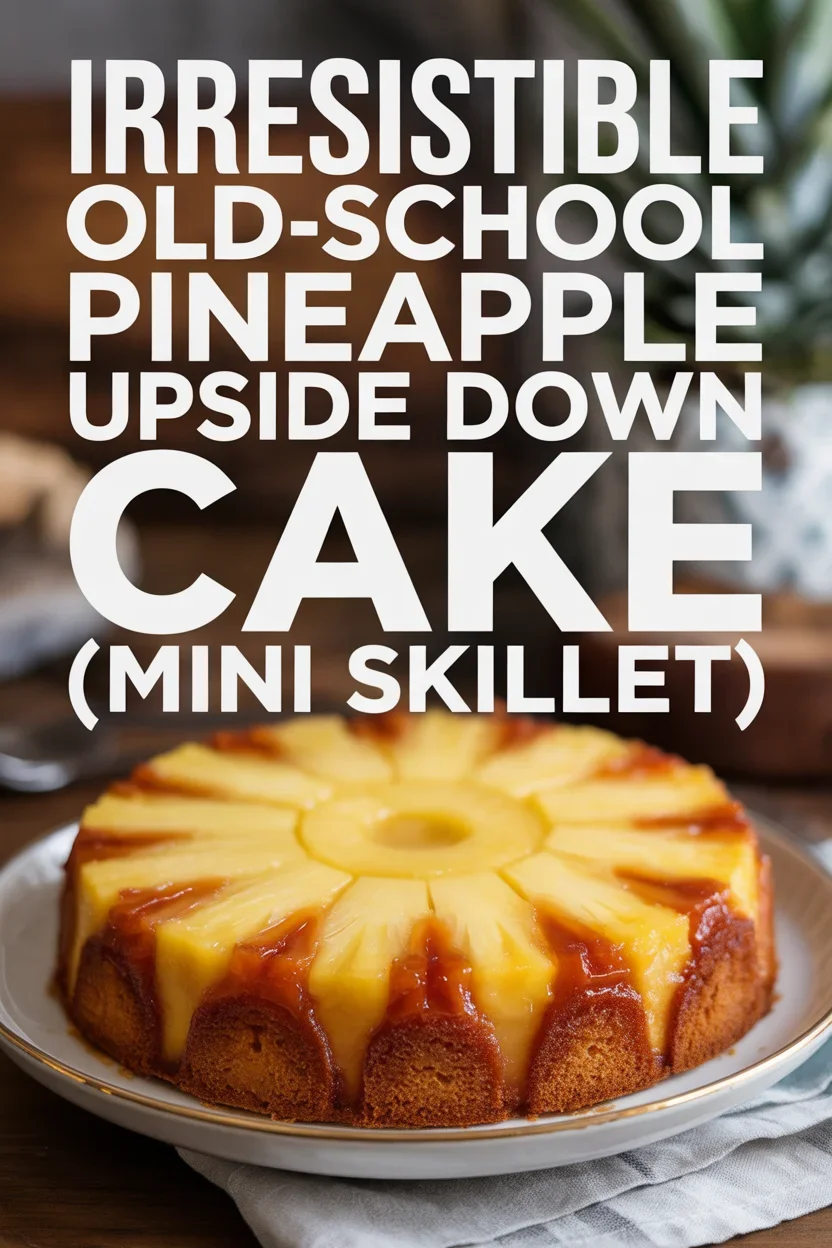
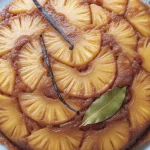
Pineapple Upside Down Cake
Ingredients
For the Topping
- 2 tablespoons Butter Use real butter for best taste.
- 1/3 cup Brown sugar Dark or light both work; dark brown sugar gives a deeper caramel flavor.
- 1 can Pineapple rings or tidbits Save a few tablespoons of pineapple juice for the batter.
- Optional pieces Maraschino cherries For added color.
For the Cake Batter
- 3/4 cup All-purpose flour Sift if clumpy.
- 1 teaspoon Baking powder
- 1 pinch Salt
- 1 large Egg Room temp helps with mixing.
- 1/3 cup Granulated sugar Just enough to sweeten the cake.
- 1/4 cup Milk Whole or 2 percent for tenderness.
- 1 tablespoon Neutral oil
- 1 teaspoon Vanilla extract A must for bakery flavor.
- 2 tablespoons Pineapple juice For added flavor.
- Optional pinch Cinnamon For a cozy hint.
Instructions
Preparation
- Preheat your oven to 350°F (175°C) and grab a 6 to 8 inch oven-safe skillet.
- Place 2 tablespoons of butter in the skillet and melt it on low heat.
- Sprinkle in 1/3 cup brown sugar and stir for 30 to 60 seconds until it looks like wet sand and starts to bubble. Take it off the heat.
- Arrange pineapple rings or tidbits on top of the sticky layer, nestling cherries into the center of rings or scattering them around if using tidbits.
- In a bowl, whisk together 3/4 cup flour, 1 teaspoon baking powder, and a pinch of salt.
- In another bowl, whisk together 1 egg, 1/3 cup sugar, 1/4 cup milk, 1 tablespoon neutral oil, 1 teaspoon vanilla, and 2 tablespoons pineapple juice.
- Fold the dry ingredients into the wet ingredients until just combined. It should look smooth but not overworked.
- Pour the batter evenly over the pineapple layer and smooth the top with a spatula.
- Bake for 22 to 26 minutes until the center springs back lightly and a toothpick comes out clean.
- Cool the skillet on a rack for 5 minutes, then run a thin knife around the edge.
- Place a plate over the skillet and flip carefully to reveal the cake.