Delicious Traditional Butter Cookies (No Press Needed) Recipe
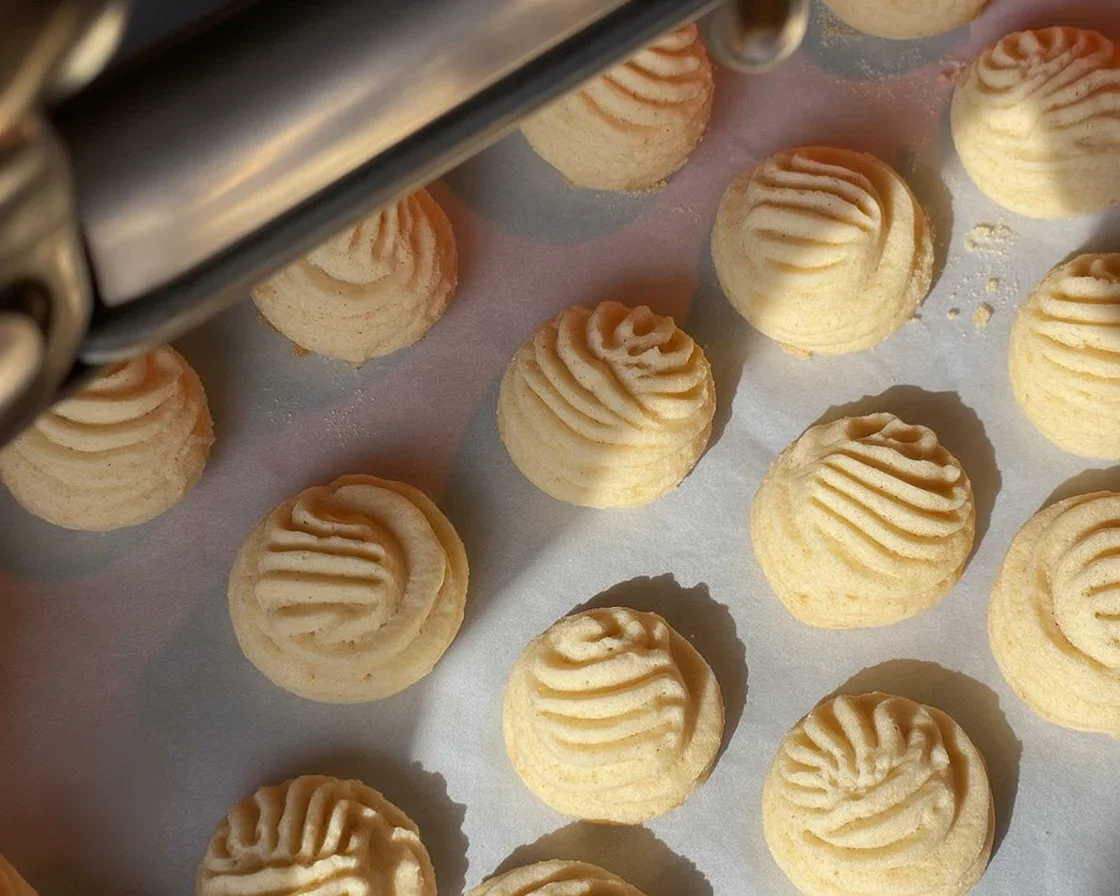
Traditional Butter Cookies (No Press Needed) are for the days when you want a pretty cookie tin without dragging out special tools or fancy gadgets. Maybe your mixer is already packed away or you just want something classic you can make with a bowl, a spoon, and a little patience. I get it. These are simple, buttery, and perfect for sharing with neighbors, teachers, or your favorite coffee mug. I have a method that keeps the dough easy to handle and the cookies rich, crisp at the edges, and tender inside. Let’s bake the kind of cookie that makes the kitchen smell like home. 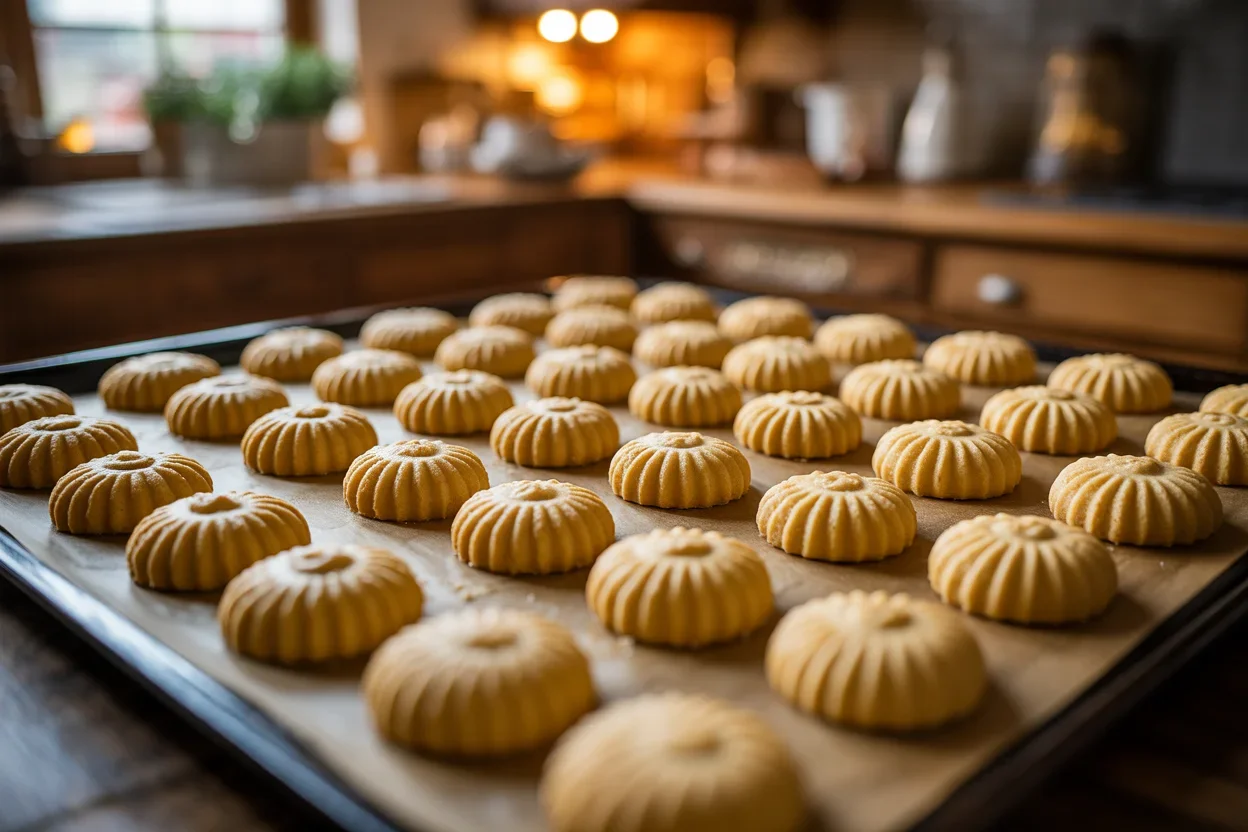
Family Traditions and Memories
Butter cookies bring me straight back to winter afternoons when the house felt warm and a little chaotic in the best way. We packed cookies into a tin lined with parchment, and every time you opened it, that puff of vanilla butter hit your nose. There were no piping bags in sight and no cookie press to fuss with, just chilled dough, a small scoop, and a promise that the first batch would magically disappear.
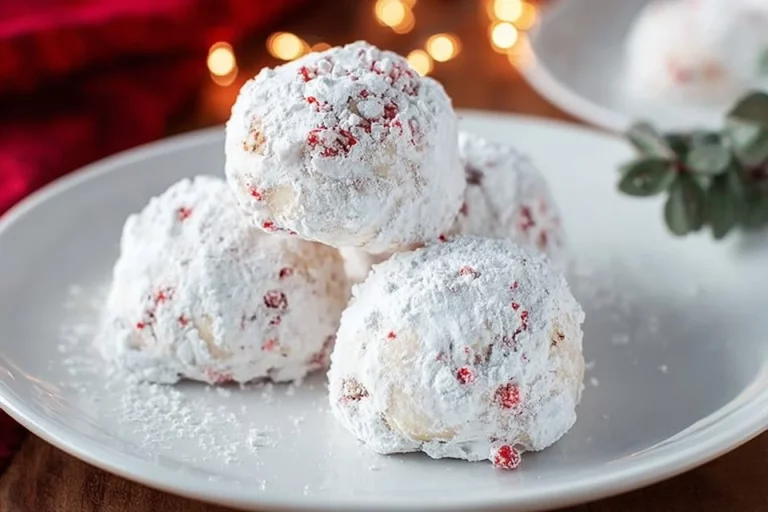
One reason I cling to this recipe is the reliability. It’s the one I bake when family is visiting and I want something universally loved. You can dress these up with a dip of chocolate or keep them plain and simple. When I’m building a cookie tray, I like to mix in something nostalgic like buttery pecan snowball cookies so there’s a soft, powdery bite next to the crisp butter cookies. That contrast feels like a celebration on a plate.
“I made these for my book club and everyone assumed they were from a bakery. They’re so tender and taste like pure butter and vanilla. I loved that I didn’t need special equipment.”
And yes, I say the name out loud every time I bake them because it makes me smile: Traditional Butter Cookies (No Press Needed). It’s a reminder that simple can still be special.
Key Ingredients for Butter Cookies
What You Need
Here’s the short, sweet list that makes these cookies shine. Keeping it simple is the secret to that iconic flavor and texture.
- Unsalted butter 1 cup, softened to room temperature. The star. Go for good quality because you’ll taste it.
- Powdered sugar 2/3 cup. This gives a delicate crumb and melts smoothly into the butter.
- Egg yolk 1 large. Adds richness and helps with structure without making the cookies cakey.
- Vanilla extract 1 and 1/2 teaspoons. The classic flavor partner.
- Almond extract 1/4 teaspoon, optional. Just a hint makes them taste bakery-fancy.
- All-purpose flour 2 cups plus 2 tablespoons, about 260 grams. Measure lightly to avoid tough cookies.
- Fine salt 1/4 teaspoon. Balances the sweetness and boosts flavor.
Yield: About 34 to 38 small cookies, depending on your scoop size.
Why Each Ingredient Matters
Butter is responsible for that crisp edge and delicate center. Powdered sugar dissolves quickly and helps keep the texture tender. The egg yolk enriches the dough without making it too soft, so you can easily scoop and press the tops without a press. Vanilla ties everything together, and a tiny bit of salt makes each bite taste more buttery. The flour is the framework, so don’t pack it into the cup. If you want to experiment with simpler doughs too, try my personal lazy-day favorite, these 3 ingredient sugar cookies which are also a breeze.
Bottom line: Traditional Butter Cookies (No Press Needed) rely on balance. Nothing fancy, just the right amounts of the basics to get that melt-in-your-mouth feel.
Essential Baking Tips
Mixing and Dough Handling
- Soften your butter properly. It should give slightly when pressed but not look greasy. About 60 to 65 degrees F is perfect.
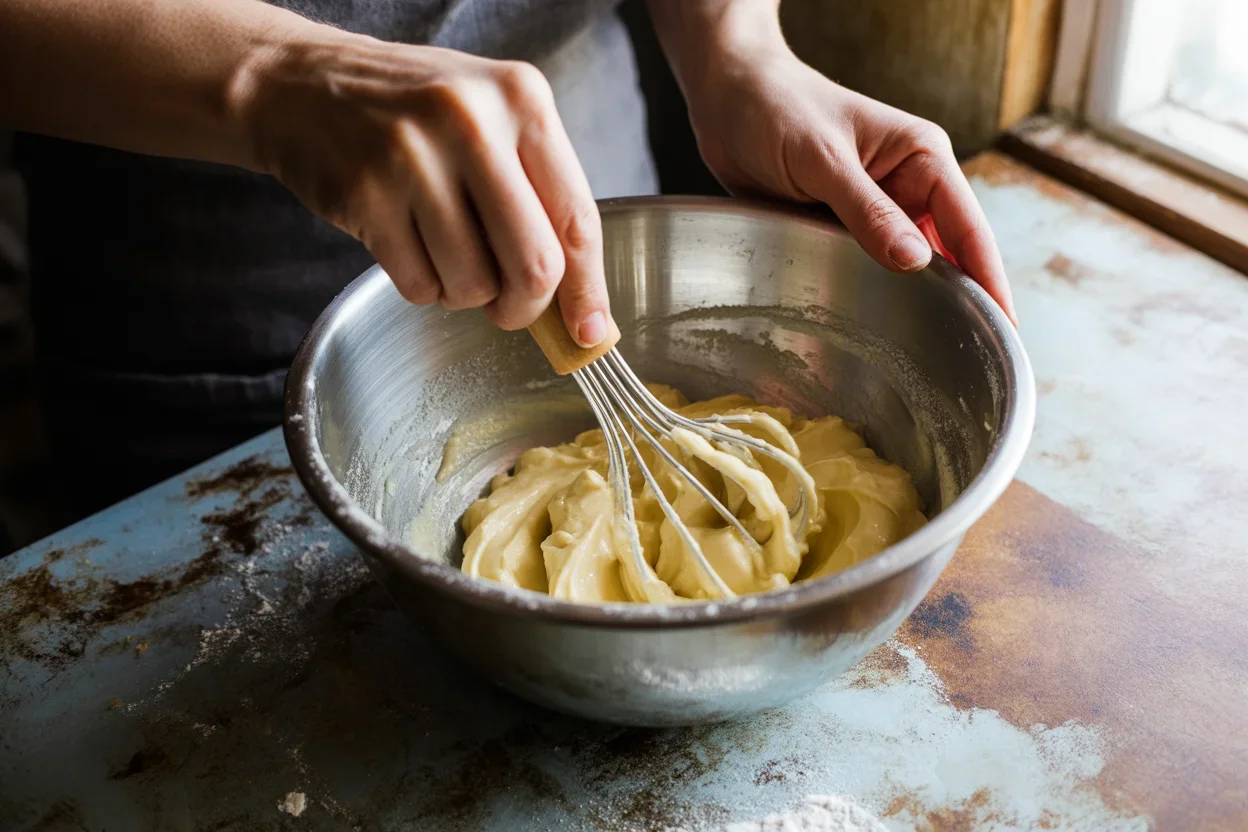
- Cream butter and powdered sugar for 2 to 3 minutes until light and creamy. Stop while it still looks satiny, not fluffy like cake batter.
- Add egg yolk and extracts and mix just to combine. Overmixing adds air and can cause spreading.
- Fold in flour and salt on low speed or with a spatula until the dough just comes together. It will be soft.
- Chill the dough for 30 minutes. This short chill makes scooping and shaping neat and helps keep edges clean.
Baking Time and Texture
- Scoop small, about 1 tablespoon each. Roll into smooth balls and gently press the tops to a coin-like shape.
- Use a lined baking sheet. Parchment or a silicone mat prevents sticking and helps even browning.
- Bake at 350 F for 11 to 13 minutes, until the edges are just turning golden. The centers will look pale but set.
- Let them rest on the tray for 2 minutes, then move to a rack. They finish firming up as they cool.
- For sparkly edges, roll the dough balls in coarse sugar before baking or sprinkle on top right after they come out.
Keep an eye on your oven’s hot spots. If one side browns faster, rotate the pan halfway through. I usually bake one test cookie first to dial in the exact time. That little trick saves a whole batch.
When someone asks for my shortcut version of Traditional Butter Cookies (No Press Needed), I tell them the truth: the shortcut is chilling the dough and letting the oven do the magic. With this dough, you absolutely don’t need a press. A small cookie scoop and your hands give you that signature shape and texture every time.
Decorating and Presentation Ideas
Simple is lovely, but a few finishing touches make these cookies extra giftable. For an elegant touch, dip half of each cooled cookie into melted dark chocolate, then sprinkle with crushed pistachios or flaked sea salt. If you want a color pop, use white chocolate and add a tiny bit of sanding sugar. You can also drizzle melted chocolate over a tray of cookies in quick zigzags for a bakery look without any effort.
For a pretty cookie box, mix textures. Add a fruit-forward bite like these buttery raspberry crumble cookies to sit next to the buttery rounds. The colors and flavors play off each other, and your tray instantly looks curated. Another easy trick is to tie stacks of cookies with baker’s twine and tuck a handwritten note underneath. It’s sweet, simple, and feels special.
Feeling fancy with flavors? Add a tiny pinch of citrus zest to the dough or finish warm cookies with a whisper of cinnamon sugar. Keep the add-ins minimal so the butter still leads the show.
Storage and Shelf Life
These keep beautifully, which is why they’re great for gifting and mailing. Store cooled cookies in an airtight tin or container at room temperature for 7 to 10 days. Stack with parchment between layers to protect the surfaces, especially if you added chocolate or sugar coatings.
To freeze the dough, scoop into balls, freeze on a sheet until firm, then transfer to a freezer bag for up to 2 months. Bake from frozen at 350 F, adding 1 to 2 extra minutes. To freeze baked cookies, cool completely and freeze in a well-sealed container with parchment between layers for up to 2 months. Thaw at room temperature and refresh in a 300 F oven for 3 to 4 minutes if you like them lightly crisp again.
If you want a fun nutty option for mixed cookie boxes, try these salty buttery pistachio cookies. The texture next to Traditional Butter Cookies (No Press Needed) is delightful and adds variety without extra effort.
Common Questions
Can I use salted butter?
Yes. Reduce the added salt to a tiny pinch or skip it. Taste your dough if you’re unsure. Salted butter varies by brand.
Do I have to chill the dough?
I highly recommend it. A 30 minute chill makes shaping easier and helps prevent spreading. It also improves texture.
Can I make cutout shapes?
Yes, chill the dough longer, 60 to 90 minutes, roll between two sheets of parchment to about 1/4 inch, cut, and bake 8 to 10 minutes. Keep the scraps cold.
What if my cookies spread too much?
Chill the dough, check your oven temperature, and make sure you measured flour lightly. Over-creaming can also cause spreading, so mix just until combined.
Can I skip the egg yolk?
You can replace it with 1 tablespoon milk for a slightly more delicate cookie, but the yolk gives better structure. I prefer the yolk for that classic bite.
Ready to Bake a Tin Full of Comfort
Here’s the heart of it: simple ingredients, a chill, and a steady bake give you Traditional Butter Cookies (No Press Needed) that taste like home. Keep the butter quality high, measure the flour lightly, and don’t overmix. Make them plain or dress them up with chocolate and sparkle, then pack them into a tin for someone you love. If you’re curious about other press-free classics, you might also enjoy this guide to Classic Butter Spritz Cookies (Without a Cookie Press) for another fun, easy path to pretty cookies. And when you want colorful variety, tuck in a fruity bar or two alongside your butter cookies for the prettiest tray.
Happy baking, and save a few for breakfast with coffee. Traditional Butter Cookies (No Press Needed) always taste even better the next day, if you can hold off that long. 
Traditional Butter Cookies
Ingredients
For the Cookies
- 1 cup Unsalted butter, softened to room temperature Use good quality butter for best flavor.
- 2/3 cup Powdered sugar Gives a delicate crumb.
- 1 large Egg yolk Adds richness and helps with structure.
- 1.5 teaspoons Vanilla extract Classic flavor that completes the cookies.
- 1/4 teaspoon Almond extract (optional) Adds a bakery-fancy touch.
- 2 cups plus 2 tablespoons All-purpose flour Measure lightly to avoid tough cookies.
- 1/4 teaspoon Fine salt Balances sweetness.
Instructions
Preparation
- Soften butter to about 60 to 65 degrees F; it should give slightly when pressed.
- Cream butter and powdered sugar together for 2 to 3 minutes until light and creamy.
- Add egg yolk and extracts, mixing just to combine.
- Fold in flour and salt on low speed or with a spatula until the dough just comes together.
- Chill the dough for 30 minutes to help with shaping.
Baking
- Scoop dough into small balls (about 1 tablespoon) and gently press the tops to flatten slightly.
- Use a lined baking sheet; bake at 350 F for 11 to 13 minutes until edges are just turning golden.
- Let cookies rest on the tray for 2 minutes before transferring to a cooling rack.