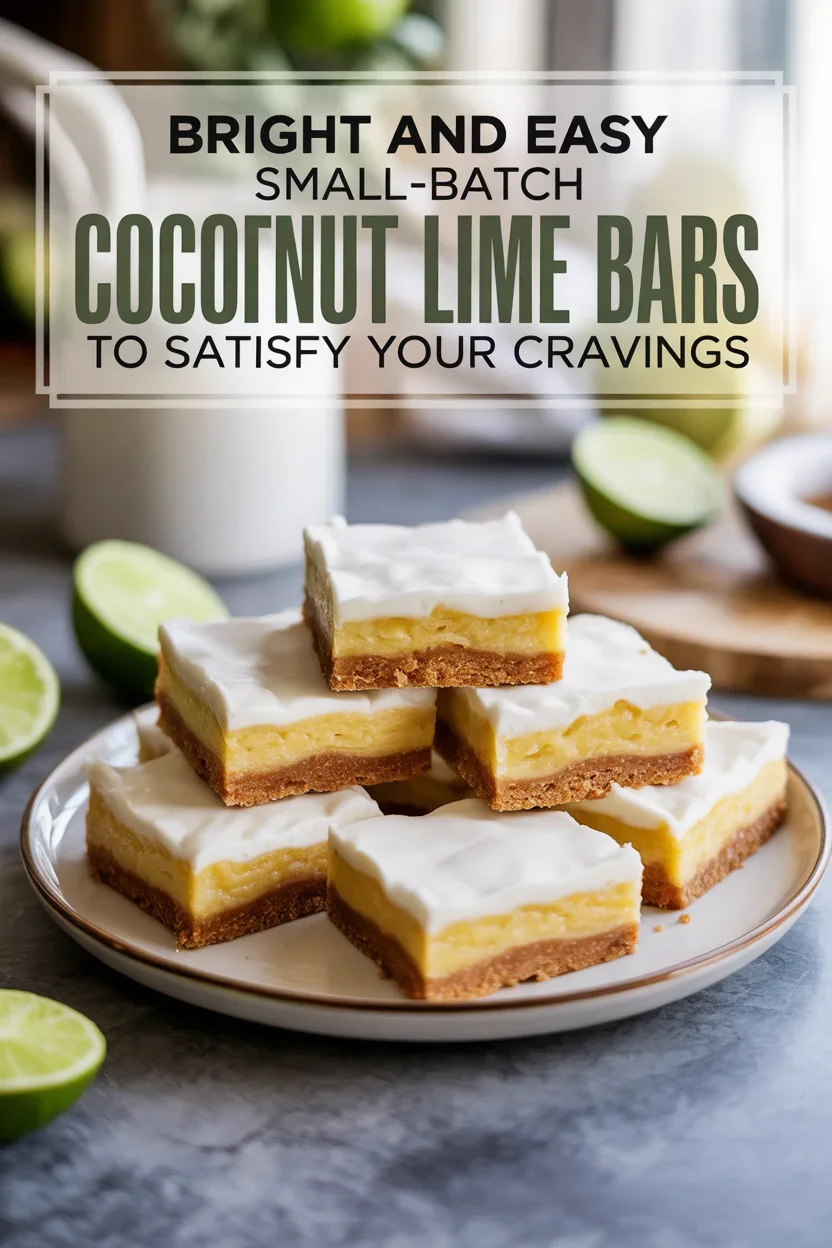
Bright and Easy Small-Batch Coconut Lime Bars to Satisfy Your Cravings
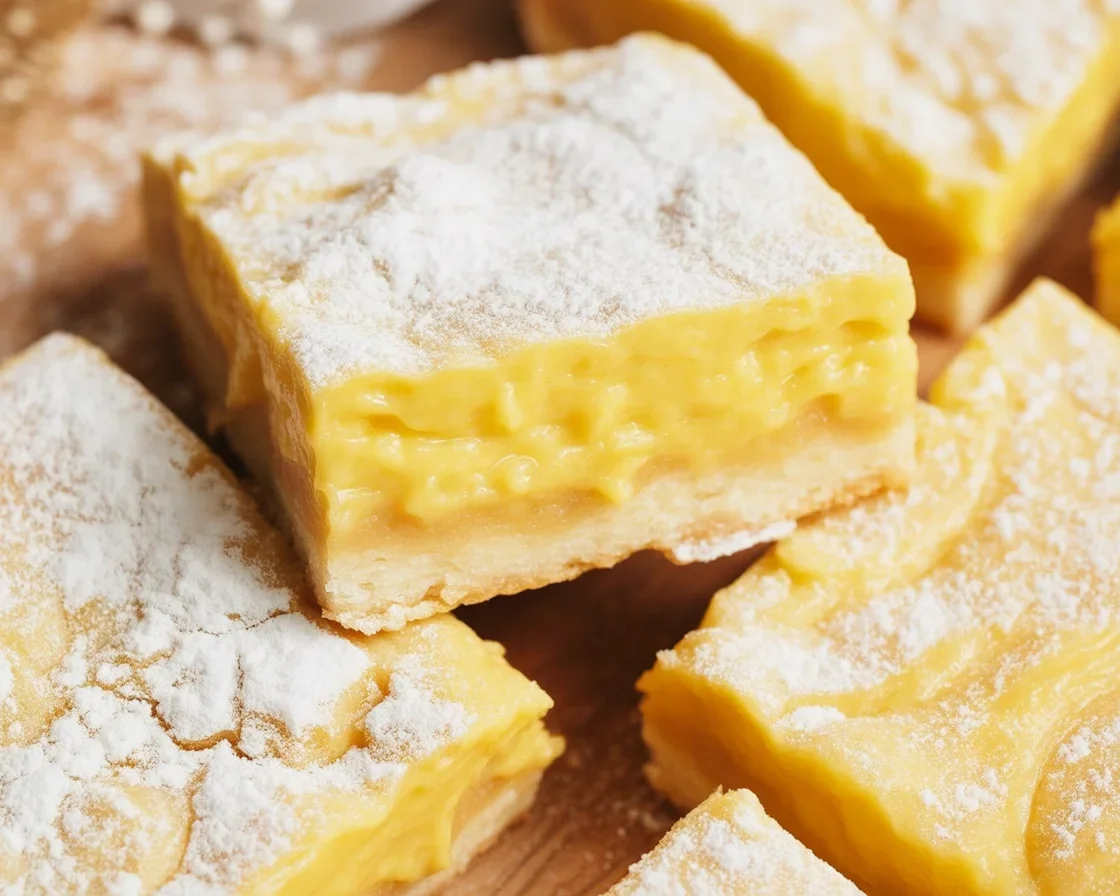
Small-Batch Coconut Lime Bars (bright, quick bake) are what I reach for when my sweet tooth hits at 8 pm and I do not want a sink full of dishes. They taste sunny, tangy, and a little creamy, and they make just enough for a few happy bites without days of leftovers. If you love the lemon bar vibe but want a tropical twist, you will fall for these in one bite. I call them my weeknight win. This recipe also fits perfectly into that in-between space when you want to bake but do not want to fuss. And yes, they chill quickly so you can snack sooner.
Benefits of Making Small Batch Lemon Bars
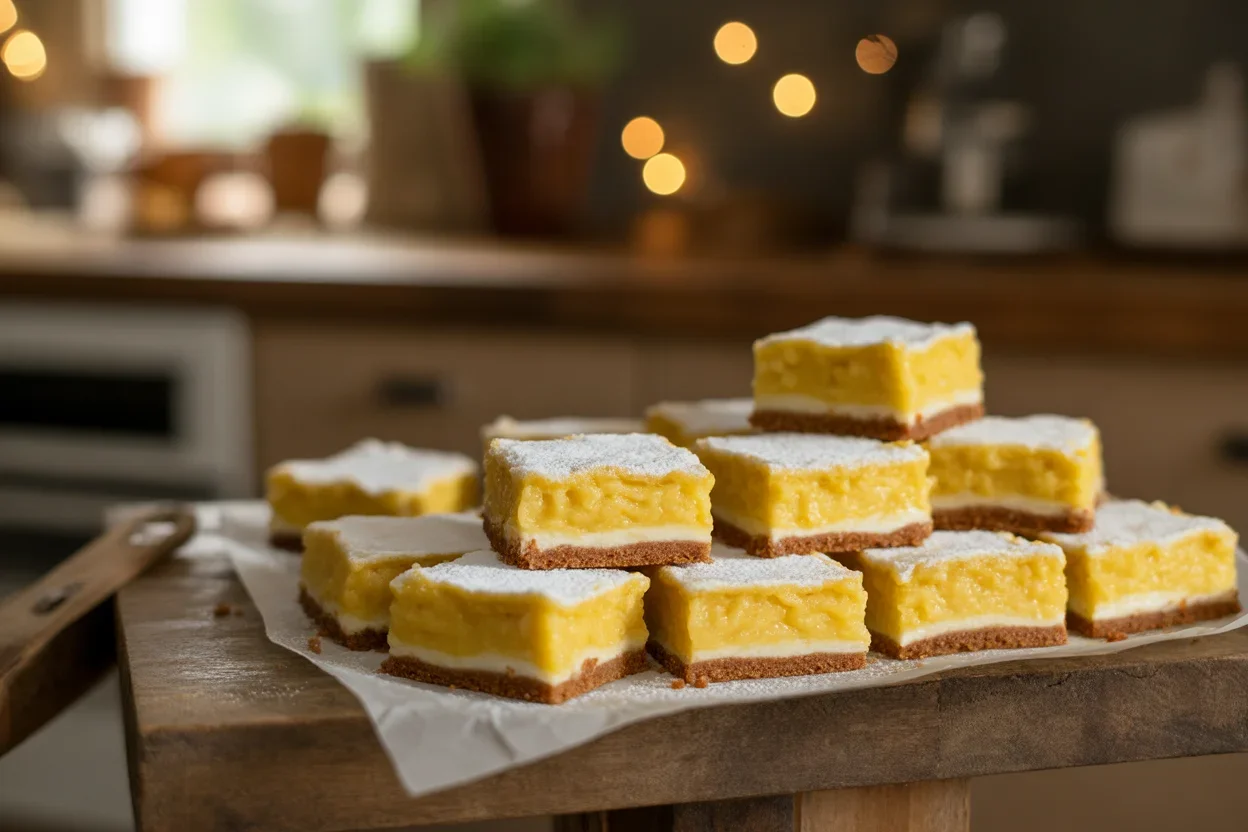
I know we are talking Coconut Lime, but hear me out. Everything people adore about lemon bars also applies here. You get a buttery base, a bright citrus filling, and clean slices that look bakery-cute. Doing it small batch keeps things simple and keeps you from standing over the oven forever.
Here is why going small batch is the move:
Less waste. We are using a loaf pan or small square pan, so you are not stuck with a mountain of bars when your craving passes. Small pans bake faster and cool faster too.
Faster payoff. You are baking for about 12 minutes for the crust and another 12 to 15 for the filling. That means you can go from mixing bowl to couch pretty quickly.
Easy to customize. Lemon bars are classic, and these Coconut Lime bars are the tropical cousin. You can keep the crust buttery and simple, then punch up the filling with lime juice and a splash of coconut milk. The texture is silky and the top sets just right.
Perfect for two or three. No giant 9×13 pan needed. If you want more, double it. If you want just enough to share, keep it small. It is flexible.
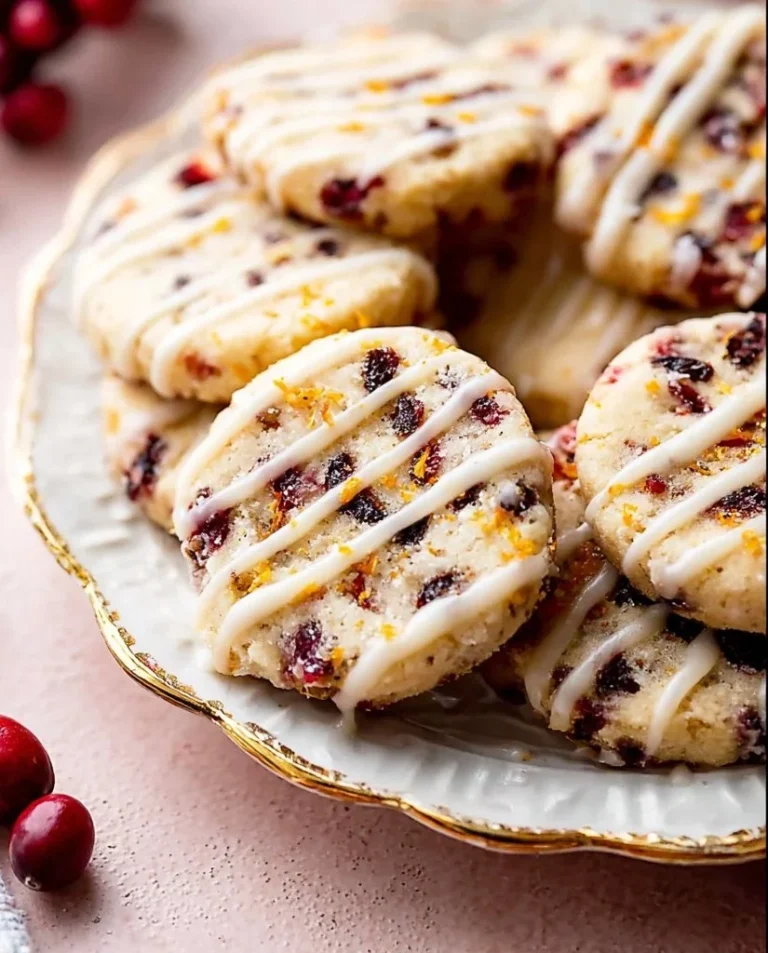
By the way, if you love citrus with coconut, you might also enjoy these cranberry orange coconut bars for a cozy, tart-sweet twist. They hit a similar craveable note.
I promise, Bright and Easy Small-Batch Coconut Lime Bars to Satisfy Your Cravings will slide into your regular dessert rotation. They are bright, creamy, and smell like summer as they bake. I could rave for days, but I will get you baking.
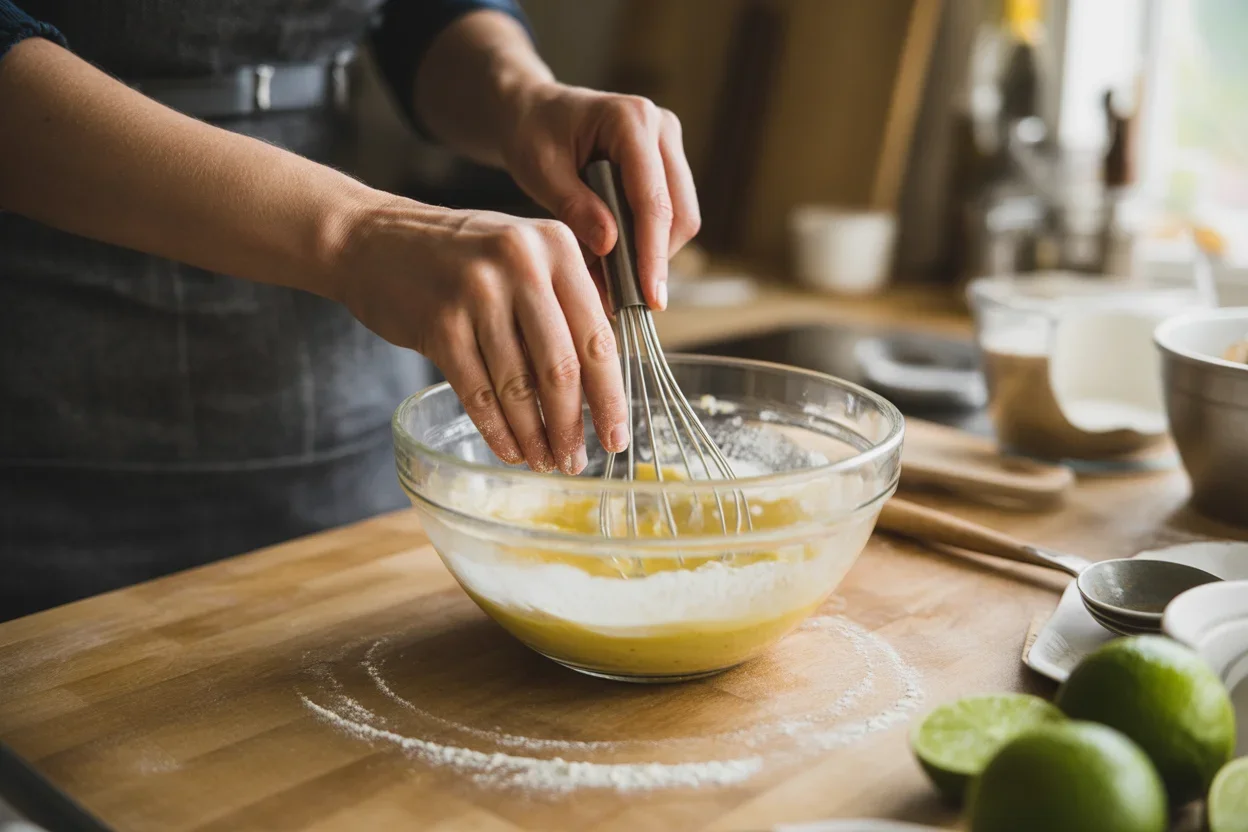
How to Make Small Batch Lemon Bars
Ingredients you will need
- 4 tablespoons unsalted butter, melted and slightly cooled
- 1/2 cup all-purpose flour, spooned and leveled
- 1/3 cup finely shredded unsweetened coconut
- 2 tablespoons granulated sugar, plus a pinch for sprinkling
- 1 pinch fine salt
- 1 large egg plus 1 egg yolk, room temperature
- 1/3 cup granulated sugar for filling
- 1/3 cup fresh lime juice, strained
- 1 tablespoon finely grated lime zest
- 2 tablespoons full-fat coconut milk, well stirred
- 1/2 teaspoon vanilla extract
- Powdered sugar for dusting, optional
Step-by-step directions
Prep your pan. Line a 9×5 loaf pan or a 6-inch square pan with parchment, leaving overhang to lift out later. Lightly grease the exposed sides. Preheat the oven to 350 F.
Make the crust. In a bowl, stir together flour, shredded coconut, 2 tablespoons sugar, and salt. Pour in melted butter and mix with a fork until it looks like damp sand. Press firmly into the pan using the bottom of a measuring cup to get an even layer. Sprinkle a tiny pinch of sugar on top for a crisp edge.
Par-bake the crust. Bake for 10 to 12 minutes until the edges just start to take on a light golden color. Set aside to cool for 5 minutes while you prepare the filling.
Whisk the filling. In a small bowl, whisk egg, egg yolk, and 1/3 cup sugar until smooth and slightly lighter in color. Whisk in lime juice, lime zest, coconut milk, and vanilla. It should look creamy with tiny bubbles.
Fill and bake. Pour the filling over the warm crust. Bake for 12 to 15 minutes, or until the center is set with a slight jiggle. If the surface is bubbling wildly, it is likely done. Do not overbake, or the texture can get rubbery.
Cool and chill. Cool on a rack for 30 minutes, then refrigerate for at least 1 hour for clean slices. Dust with powdered sugar if you like. Lift from the pan, slice into neat bars, and enjoy.
That is it. You get all the tang and creaminess you want with a buttery, coconut-kissed crust. Honestly, this is why I named them Bright and Easy Small-Batch Coconut Lime Bars to Satisfy Your Cravings. They do exactly that with almost no effort.
Craving more small-batch ideas for your treat stash? Try these chewy, chocolatey chocolate coconut slice bars when you want something fudgy with a coconut twist.
Expert Tips for Perfect Lemon Bars
Here are the must-knows that keep your bars reliable every time. These are the little things that make a big difference.
Measure accurately. Spoon and level the flour, and fluff your coconut before measuring so it does not pack down. Too much flour means a dry crust.
Toast the coconut lightly if you want a deeper nutty flavor. Five minutes in the oven while it preheats will do. Let it cool before mixing, so the butter does not melt too soon.
Zest first, then juice. It is so much easier to zest whole limes. Use a microplane and avoid the white pith. That zest is where the lime perfume lives.
Keep ingredients at room temp. The filling mixes smoother, and you will get fewer air bubbles. Cold eggs can cause the batter to look curdled.
Do not overbake. Pull them when they are set at the edges and still a touch wobbly in the center. They will finish with carryover heat and firm up as they chill. Overbaking can split the surface and dull the flavor.
Line the pan. Parchment overhang is your friend for clean removal and easy slicing. A sharp knife dipped in warm water will give you those tidy edges.
Make-ahead and storage
These keep well. Chill in an airtight container for up to 4 days, or freeze tightly wrapped for up to 1 month. Thaw in the fridge and dust with fresh powdered sugar before serving. The crust stays crisp if you slice just before serving.
These bars nailed that sweet-tart balance. My partner does not love super sweet desserts, and these disappeared in two nights. The coconut in the crust is genius for texture.
Once you have a batch under your belt, it will be second nature to whip up a pan of Bright and Easy Small-Batch Coconut Lime Bars to Satisfy Your Cravings whenever you need a treat.
Recipe Variations for Lemon Bars
If you want to play, you have options. The base method stays the same, and you can switch up flavors depending on what you have on hand.
Classic lemon. Swap the lime juice and zest for lemon and skip the coconut milk in the filling. Use 1 tablespoon water or extra lemon juice instead, and keep the crust coconut-free if you want an old-school lemon bar.
Key lime bar. Use key limes for a sharper flavor and add an extra tablespoon of sugar to tame the tartness. The coconut milk in the filling makes it taste like pie in bar form.
Toasted coconut top. After baking, sprinkle lightly toasted coconut over the cooled bars for a pretty finish with extra crunch.
Almond coconut crust. Replace 2 tablespoons of the flour with almond flour. It adds a lovely aroma and a little chew. If almond-coconut is your thing, bookmark these fun small-batch almond joy coconut bars for later.
Berry swirl. Dot a teaspoon or two of raspberry jam on top of the filling and swirl gently with a toothpick before baking. It gives you a tart-sweet ribbon and looks fancy with practically no effort.
Ways to Use Leftover Ingredients
Sometimes you are left with half a lime, a scoop of coconut, or that open can of coconut milk. Here is how I like to use those up without letting anything go to waste.
- Lime zest sugar. Rub zest into granulated sugar and keep it in a jar. Stir it into tea, sprinkle on buttered toast, or use it to rim glasses for mocktails.
- Coconut milk cubes. Freeze leftover coconut milk in an ice cube tray. Pop a cube into smoothies or quick curries for creamy richness.
- Toasted coconut topper. Toast leftover coconut and keep in a sealed jar. Sprinkle on yogurt, oatmeal, or ice cream for crunch.
- Weekend baking. Use up extra eggs and sugar in a quick dessert like these small-batch brownies. They come together fast and use pantry basics.
- Limey salad dressing. Whisk lime juice with olive oil, a pinch of sugar, and salt for a quick dressing you can use all week.
Common Questions
Can I use bottled lime juice? Fresh is best for bright flavor, but good quality bottled juice works in a pinch. Add extra zest to boost the citrus aroma.
What pan size works best? A 9×5 loaf pan gives you thick bars. A 6-inch square pan makes them slightly thinner. Keep an eye on bake time and start checking early.
How do I know the bars are done? The edges should look set, and the center should jiggle slightly. If the surface starts to bubble and puff, you are at the finish line.
Can I double the recipe? Yes. Use an 8-inch square pan and add a few minutes to both crust and filling bake times. Test early and adjust by feel.
How do I cut clean slices? Chill thoroughly. Use a sharp knife, wipe between cuts, and dust with powdered sugar at the end.
Ready to Bake and Snack Happy
If you are craving something tangy, creamy, and not-too-sweet, make these Bright and Easy Small-Batch Coconut Lime Bars to Satisfy Your Cravings. You get buttery texture, zesty snap, and just the right size batch to keep things easy. For more citrus inspiration, I also love reading science-backed baking tips like these helpful notes from Small Batch Lemon Bars – Scientifically Sweet. Want to branch out later? Try my cozy cranberry coconut combo or a classic chocolate fix on the blog when the mood strikes next. Most of all, have fun with it and bake what makes you happy.
Now go preheat that oven and reward yourself with a pan of Bright and Easy Small-Batch Coconut Lime Bars to Satisfy Your Cravings. When they cool, pour a drink, take a bite, and let that sunshine flavor do its magic.
Small-Batch Coconut Lime Bars
Ingredients
For the crust
- 4 tablespoons unsalted butter, melted and slightly cooled
- 1/2 cup all-purpose flour, spooned and leveled
- 1/3 cup finely shredded unsweetened coconut
- 2 tablespoons granulated sugar, plus a pinch for sprinkling
- 1 pinch fine salt
For the filling
- 1 large egg, room temperature
- 1 whole egg yolk, room temperature
- 1/3 cup granulated sugar
- 1/3 cup fresh lime juice, strained
- 1 tablespoon finely grated lime zest
- 2 tablespoons full-fat coconut milk, well stirred
- 1/2 teaspoon vanilla extract
- 1 optional powdered sugar for dusting for serving
Instructions
Preparation
- Line a 9x5 loaf pan or a 6-inch square pan with parchment, leaving overhang. Lightly grease the exposed sides. Preheat the oven to 350°F.
- In a bowl, stir together flour, shredded coconut, 2 tablespoons sugar, and salt. Pour in melted butter and mix until it looks like damp sand. Press firmly into the pan using the bottom of a measuring cup. Sprinkle a tiny pinch of sugar on top.
- Bake the crust for 10 to 12 minutes until the edges just start to take on a light golden color. Set aside to cool for 5 minutes.
Filling
- In a small bowl, whisk egg, egg yolk, and 1/3 cup sugar until smooth and slightly lighter in color. Whisk in lime juice, lime zest, coconut milk, and vanilla.
- Pour the filling over the warm crust. Bake for 12 to 15 minutes, or until the center is set with a slight jiggle.
Cooling
- Cool on a rack for 30 minutes, then refrigerate for at least 1 hour for clean slices. Dust with powdered sugar if desired, lift from the pan, slice into neat bars, and enjoy.