Small Batch Chocolate Biscuit Rolls (No Yeast, Quick Bake) to Satisfy Your Sweet Tooth

Small Batch Chocolate Biscuit Rolls with no yeast, quick bake, and rich dough.

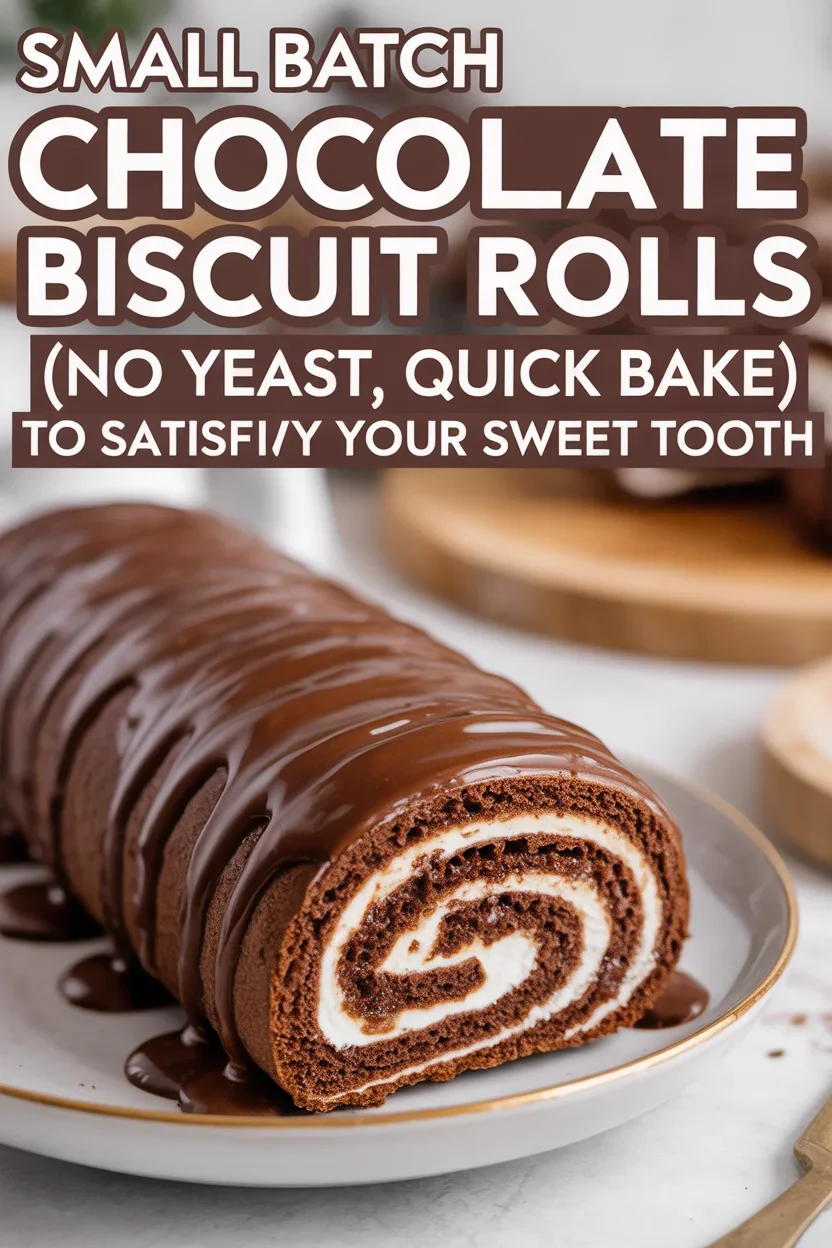
Small Batch Chocolate Biscuit Rolls (No Yeast, Quick Bake) are exactly what I pull together when a sugar craving hits and patience is not on the menu. No dough rising. No fuss. Just a soft, cocoa-kissed biscuit dough, rolled up with a melty chocolate filling and baked until the edges are lightly crisp and the centers stay tender. It is the cozy, chocolatey spin on cinnamon rolls that fits into a weekday afternoon. If you have 30 minutes and a bowl, you are in business.
Small Batch Chocolate Biscuit Rolls (No Yeast, Quick Bake)

Ingredients for No Yeast Cinnamon Rolls

Here is the beauty of this small batch recipe. You do not need yeast, a mixer, or long waits. These rolls use biscuit-style dough, which means you mix, roll, and bake. If you have cocoa powder, flour, sugar, and butter, you are most of the way there. I love this formula because it is reliable and the rolls stay soft without getting dense.

Use this list as your quick-shopping guide for Small Batch Chocolate Biscuit Rolls (No Yeast, Quick Bake). It makes about 6 small rolls or 4 bigger ones.

  • All-purpose flour: 1 and 1/4 cups
  • Unsweetened cocoa powder: 2 tablespoons for the dough
  • Granulated sugar: 2 tablespoons for the dough
  • Baking powder: 2 teaspoons
  • Fine salt: 1/4 teaspoon
  • Cold unsalted butter: 4 tablespoons, cubed
  • Milk or buttermilk: 1/2 cup, cold
  • Vanilla extract: 1 teaspoon
  • Filling brown sugar: 1/4 cup
  • Filling cocoa powder: 1 tablespoon
  • Pinch of cinnamon: optional but so good with chocolate
  • Softened butter for spreading: 1 and 1/2 tablespoons
  • Mini chocolate chips: 2 to 3 tablespoons
  • Powdered sugar glaze: 1/2 cup powdered sugar, 1 to 2 tablespoons milk, tiny splash of vanilla, pinch of salt

Craving more small batch chocolate ideas while you are here. These quick small batch brownies are a perfect cousin to these rolls and they bake fast too.
Small Batch Chocolate Biscuit Rolls (No Yeast, Quick Bake)

How to Make Quick Cinnamon Rolls

The steps are simple and the rhythm is easy once you do it once. Keep your butter and milk cold for the softest texture. You do not want to overwork the dough, because that can make the biscuit base tough. A gentle hand is the secret.

Mix the dough

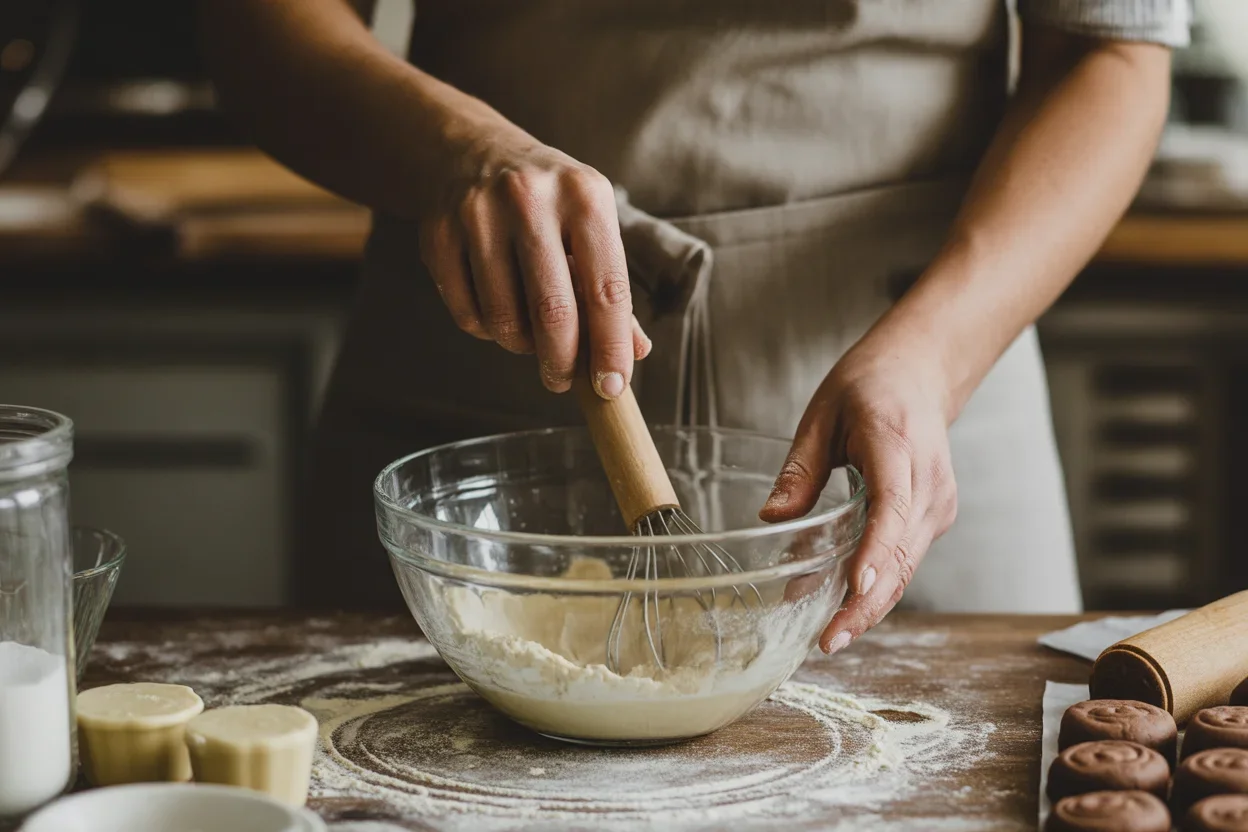
Whisk the flour, cocoa powder, sugar, baking powder, and salt in a medium bowl. Drop in the cold butter cubes. Using your fingertips, rub the butter into the dry mix until it looks like sandy pebbles. Some pea-size bits are perfect. Pour in the cold milk and vanilla. Stir with a fork until clumps form, then bring it together with your hands. It should feel soft and a little shaggy, not sticky. If it is dry, sprinkle in a teaspoon more milk. If it is sticky, dust with a little flour.

Fill, roll, and slice

Pat or roll the dough on a lightly floured surface into a rectangle about 9 by 7 inches. Spread the softened butter over the surface. Stir together brown sugar, cocoa powder, and a pinch of cinnamon, then sprinkle it evenly all over. Scatter the mini chocolate chips for extra melt. Starting from the long side, roll it up into a tight log. Seam side down, slice into 6 even pieces with a sharp knife. If you want super clean spirals, use unflavored dental floss to cut.

Bake and glaze

Arrange the slices in a small buttered baking dish or an 8-inch cake pan, leaving a tiny bit of space between each. Bake at 375°F for 14 to 18 minutes, until the tops look set and the chocolate-sugar filling is bubbling. You want the edges lightly golden and the centers just cooked through. Whisk the glaze while they bake. When the rolls come out, wait 5 minutes, then drizzle the glaze over warm swirls so it sinks into all the nooks. That first bite is a gooey dream.

If you love a playful spiral treat, try my quick baklava puff pastry cinnamon rolls for a crunchier, honeyed twist. They are fun next to these chocolate swirls on a brunch spread.

Tips for Making Homemade Cinnamon Rolls

For a small batch recipe like this, the details make a difference. These are my go-to moves for the best texture and flavor. They keep your Small Batch Chocolate Biscuit Rolls (No Yeast, Quick Bake) consistent every time.

  • Use cold butter. Cold fat creates tiny steam pockets that keep the biscuit dough tender.
  • Do not overmix. Stop stirring as soon as the dough comes together. A light touch equals fluffy rolls.
  • Flour, but not too much. Lightly dust the surface so the dough does not stick, but do not pack in extra flour.
  • Roll snug, not tight. A snug roll keeps the spirals neat without squeezing the filling out.
  • Check early. Start peeking at 14 minutes. Look for set tops and melty centers.
  • Glaze while warm. The glaze seeps into warm rolls and gives that perfect finish.
  • Make ahead. You can assemble the rolls, cover, and chill for up to 12 hours. Bake straight from the fridge and add 1 to 2 minutes.

Want a chocolate dessert that pairs beautifully with these rolls for a mini celebration. This small batch single layer chocolate cake is rich, simple, and uses pantry staples too.

How to Make a Single Serve Cinnamon Roll

Sometimes you just want one. I get it. Here is how I make a personal roll when it is just me and a cozy cup of coffee. The texture stays soft and the swirl still feels special.

Single roll measurements and prep

Stir together 1/4 cup flour, 1 teaspoon cocoa powder, 1 teaspoon sugar, 1/4 teaspoon baking powder, and a pinch of salt. Cut in 1 tablespoon cold butter. Add 2 to 3 teaspoons cold milk and a few drops of vanilla until a soft dough forms. Roll into a 5 by 4 inch rectangle. Spread with 1 teaspoon softened butter. Mix 2 teaspoons brown sugar with 1/4 teaspoon cocoa, and a tiny pinch of cinnamon. Sprinkle on top with 1 teaspoon mini chips. Roll up and place seam side down in a greased muffin cup or a ramekin.

Oven or air fryer method

Oven: Bake at 375°F for 10 to 12 minutes, then glaze. Air fryer: Cook at 350°F for 7 to 9 minutes until puffed and set. Air fryers vary, so check at 7 minutes. If you love air fryer sweets, you will also like these crispy-creamy cherry cheesecake egg rolls.

It is the same spirit as Small Batch Chocolate Biscuit Rolls (No Yeast, Quick Bake), just scaled to the exact moment you want it.

What Others Are Saying About These Recipes

I tested this recipe with friends and neighbors, and they had thoughts. Here is one that made me smile on a busy Tuesday afternoon.

“I had mine with a cup of tea and honestly did not miss yeast rolls at all. The chocolate filling was just sweet enough and the texture was tender, not dry. I cannot believe they were out of the oven in under 20 minutes.”

That is exactly what I want for you. A fast bake that does not taste like a shortcut. These rolls shine fresh from the oven, with a little glaze and maybe a few extra chocolate chips on top. I keep the ingredients on hand because I know the craving will come back.

Common Questions

Can I swap the cocoa in the dough for more flour. Yes, if you skip the dough cocoa, add 2 teaspoons extra sugar to keep the flavor balanced. The rolls will still be delicious, just less chocolatey.

What if I only have salted butter. Use it. Reduce the added salt by half or skip it. The flavor will be fine.

Can I use plant milk. Absolutely. Oat or almond milk work. Keep it cold for the best dough texture.

How do I store leftovers. Keep in an airtight container at room temp up to 1 day, or in the fridge up to 3 days. Warm in the microwave for 10 to 12 seconds before eating.

Can I double the recipe. Yes. Double everything and bake in an 8-inch square pan. Start checking at 16 minutes.

Sweet Bites and a Quick Goodbye

Here is your game plan. Stir up the dough, spread the chocolate filling, roll, slice, and bake. In 30 minutes, you will have Small Batch Chocolate Biscuit Rolls (No Yeast, Quick Bake) that taste like pure comfort. If you want more small batch sweets to round out a cozy night, these buttery chocolate shortbread cookies are lovely with coffee. And if you are exploring no yeast techniques, this helpful guide has a great approach to quick rolls for two: Cinnamon Rolls Recipe (Without Yeast) – Dessert for Two. Bake what makes you happy and tell me how your batch turns out.
Small Batch Chocolate Biscuit Rolls (No Yeast, Quick Bake)

Small Batch Chocolate Biscuit Rolls

Delicious and quick chocolate biscuit rolls made without yeast, perfect for a sweet craving with minimal fuss and maximum flavor.
Prep Time10 minutes
Cook Time18 minutes
Total Time28 minutes
Course: Dessert, Snack
Cuisine: American
Keyword: Chocolate Rolls, No Yeast Rolls, Quick Baking, Small Batch Dessert
Servings: 6 servings
Calories: 200kcal

Ingredients

Dough ingredients

  • 1 1/4 cups All-purpose flour
  • 2 tablespoons Unsweetened cocoa powder For the dough
  • 2 tablespoons Granulated sugar For the dough
  • 2 teaspoons Baking powder
  • 1/4 teaspoon Fine salt
  • 4 tablespoons Cold unsalted butter Cubed
  • 1/2 cup Milk or buttermilk Cold
  • 1 teaspoon Vanilla extract

Filling ingredients

  • 1/4 cup Brown sugar For the filling
  • 1 tablespoon Cocoa powder For the filling
  • pinch Cinnamon Optional but recommended
  • 1 1/2 tablespoons Softened butter For spreading
  • 2-3 tablespoons Mini chocolate chips

Glaze ingredients

  • 1/2 cup Powdered sugar
  • 1-2 tablespoons Milk
  • splash Vanilla
  • pinch Salt

Instructions

Mix the dough

  • Whisk the flour, cocoa powder, sugar, baking powder, and salt in a medium bowl.
  • Drop in the cold butter cubes and rub into the dry mix until it resembles sandy pebbles.
  • Pour in the cold milk and vanilla, stirring with a fork until clumps form, then bring it together with your hands.
  • If too dry, sprinkle in a little more milk; if sticky, dust with flour.

Fill, roll, and slice

  • Pat or roll the dough on a lightly floured surface into a rectangle about 9 by 7 inches.
  • Spread the softened butter over the surface.
  • Mix together brown sugar, cocoa powder, and cinnamon, then sprinkle evenly over the dough.
  • Scatter mini chocolate chips on top.
  • Roll up tightly from the long side and slice into 6 even pieces.

Bake and glaze

  • Arrange slices in a small buttered baking dish and bake at 375°F for 14 to 18 minutes.
  • Whisk the glaze ingredients while baking.
  • After baking, wait 5 minutes, then drizzle glaze over the warm rolls.
Notes

Use cold butter for a tender texture and do not over-mix the dough. Make ahead options available.

Similar Posts

  • Make Small-Batch Strawberry Protein Ice Cream (Ninja Creami Style) at Home!

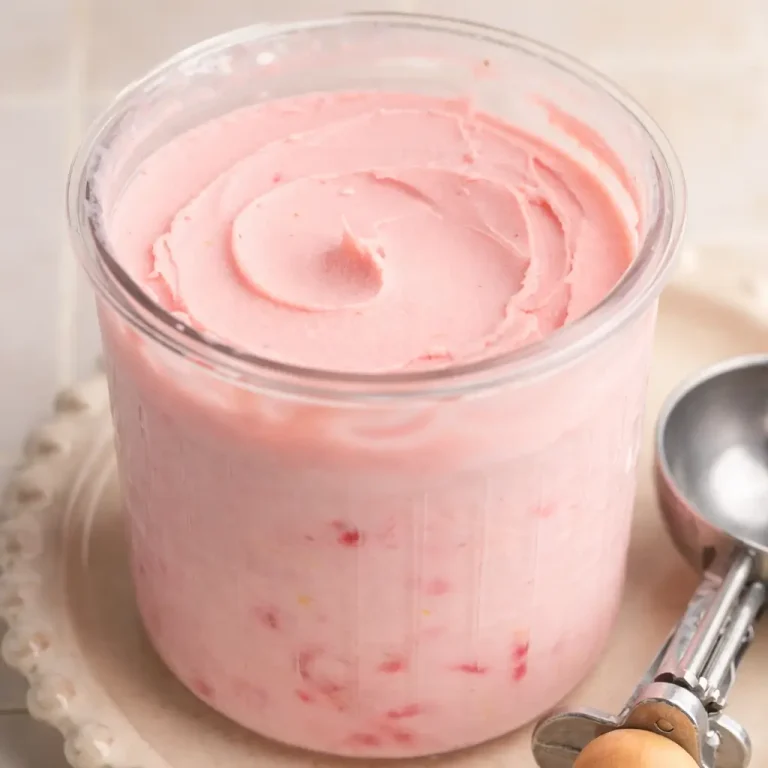
    Small-Batch Strawberry Protein Ice Cream (Ninja Creami Style) is my fix for those nights when I want something sweet, but I also want to feel good after eating it. You know the vibe: you had dinner, you are still thinking about dessert, and suddenly the freezer feels like it is judging you. This recipe is creamy, strawberry forward, and has that scoop shop texture without a ton of effort. It is also small batch, which is perfect if you do not want a giant tub calling your name for a week. Let me walk you through how I make it at home and what actually matters so it turns out amazing.  Helpful Tips I have made this enough times to know where things can go weird, like when it turns out too icy or you get that powdery protein taste. The good news is most issues are easy to fix with a couple small tweaks. Also, if you are a strawberry lover, you might also like my breakfast version of the flavor combo, Creamy Strawberry Cheesecake Overnight Oats, because it scratches the same creamy fruity itch. How to avoid icy texture (the real secret) The biggest thing is balancing water and creaminess. Strawberries have a lot of water, so if you blend in a bunch of plain fruit with no support, you will get a firmer, icier pint. Here is what helps: One more tip: if you taste the blended base before freezing and it tastes slightly too sweet, that is usually perfect after freezing. Cold dulls sweetness. “I tried your strawberry protein ice cream exactly as written and it was shockingly creamy. I thought it would taste like a protein shake, but it honestly tasted like real strawberry soft serve.” Getting Started If you are new to the Creami world, do not overthink it. This is not like old school churned ice cream where you babysit a machine for 30 minutes. For Small-Batch Strawberry Protein Ice Cream (Ninja Creami Style), you basically blend, freeze, and spin. Here is what you will need on a practical level: And just a quick heads up: plan ahead for freezing. I usually mix this up after lunch or after dinner, then freeze overnight. If you want something else cozy and filling while you wait, I am obsessed with Creamy Baked Chicken and Rice Casserole. It is total comfort food, and it makes dessert feel even more earned. My freezer rule: put the pint on a flat surface so it freezes level. If it freezes at an angle, the Creami can still handle it, but the spin is smoother when the top is even. Ingredient 101 This is the part where I save you from wasting money on random “healthy ice cream” ingredients you will never use again. You only need a few basics for Small-Batch Strawberry Protein Ice Cream (Ninja Creami Style), and you can customize it depending on your goals and what is in your fridge. The simple ingredient list (and easy swaps) My go to base is below. It hits that sweet spot of creamy texture, real strawberry flavor, and solid protein. A quick note on protein powder: some brands thicken more than others. If your base looks like pudding before freezing, add a splash more milk. If it looks watery, add a spoonful more yogurt. If you are in a big “protein dessert” phase, you would probably love these Small-Batch Protein Brownies too. I make them when I want something chocolatey that still feels like a smart snack. How To Make A Ninja Creami Okay, here is the exact flow I use. Nothing fancy. This is how you get that creamy, scoopable result that makes you feel like you hacked the system. Step by step: my exact method 1) Blend the base  Add strawberries, milk, Greek yogurt, protein powder, and sweetener to a blender. Blend until very smooth. If you hate seeds, blend a little longer. If you like a more “real fruit” vibe, you can leave it slightly textured. 2) Taste and adjust  Taste it now. Add a touch more sweetener if needed, or a pinch of salt if it tastes flat. This tiny step makes a big difference later. 3) Freeze  Pour into your Ninja Creami pint. Put the lid on and freeze at least 12 hours, or until solid. 4) Spin  Take the pint out, remove the lid, and place it in the outer bowl. Spin on the Lite Ice Cream setting (or whichever setting you like for protein style bases). 5) Re spin if needed  If it looks crumbly or powdery after the first spin, add 1 to 2 tablespoons of milk and hit Re spin. Most of the time, this is the moment it turns into that dreamy soft serve texture. 6) Add mix ins (optional)  If you want chunks, make a small well in the center, add your mix ins, then use the Mix In setting. My favorites are mini chocolate chips, crushed freeze dried strawberries, or a few chopped graham crackers for a strawberry cheesecake vibe. Sometimes I serve this after a simple dinner like Creamy Smothered Chicken and Rice. The combo of savory comfort food and cold strawberry dessert is just right. My Favorite Ninja Creami Recipes Once you get comfortable making Small-Batch Strawberry Protein Ice Cream (Ninja Creami Style), you start looking at everything in your kitchen like “could this be a Creami pint?” Honestly, it is kind of fun. Here are a few ideas I rotate through when I want variety, but still want the same easy process. 1) Strawberry cheesecake protein pint  Use strawberries, vanilla protein powder, Greek yogurt, and a spoonful of cream cheese. Add crushed graham crackers as a mix in at the end. 2) Chocolate strawberry pint  Add 1 tablespoon cocoa powder to the base, or use chocolate protein powder and keep the strawberries. It tastes like a chocolate dipped strawberry. 3) Berry lemonade style  Strawberries plus a squeeze of lemon and a little extra sweetener. This one is brighter and more refreshing, especially in summer. 4) “Dessert snack plate” night  I will do a scoop of the ice cream with two cookies on the side. My favorite with strawberry is these 4-Ingredient Strawberry Cool Whip Cookies. It is giving “movie night” without a lot of work. Once you have the base method down, it is basically mix, freeze, spin, tweak. That is it. Common Questions Can I use frozen strawberries?  Yes, I use them all the time. Frozen strawberries are usually picked ripe, and they blend easily. You might need a splash more milk to help the blender get going. Why did my pint come out crumbly?  That is super common with protein bases. Add 1 to 2 tablespoons milk and hit Re spin. It almost always turns creamy on the second round. How much protein is in it?  It depends on your protein powder and whether you use yogurt or milk. As a rough idea, one scoop of protein powder plus Greek yogurt can easily land you in the 25 to 40 gram range for the whole pint. Can I make it dairy free?  Yes. Use almond milk or oat milk and a dairy free yogurt, plus a plant based protein powder you like. Texture can be a bit less creamy, so do not be shy about the Re spin. How long does it keep in the freezer?…

  • Delicious Small Batch Lemon Loaf Cake (No Butter, Moist & Soft)

    Why you’ll love this recipe How to make lemon yogurt cake with olive oil: step by step Ingredients Tools Step-by-step Recipe Tips Additions and Substitutions More Easy Cake Recipes Common Questions Can I make this ahead? What kind of olive oil should I use? Can I double the recipe? How do I know it’s done…

  • Decadent Flourless Espresso Chocolate Snack Cake Recipe

    Recipe Ingredient Notes What each ingredient is doing Tools needed to make a Flourless Chocolate Cake How to make a Flourless Chocolate Cake Step by step directions (my easy method) Substitutions and Modifications Helpful swaps that still taste great Storage & Freezing Common Questions A sweet little wrap up (and what to bake next) Flourless…

  • Delicious No-Bake Strawberry Oat Freezer Bars You’ll Love

    How to Make No-Bake Vegan Strawberry Almond Oat Bars Ingredients you will need Step by step directions Tips & Tricks for Perfect Oat Bars Storage Tips for No-Bake Bars More Ways to Enjoy Oat Bars Recommended Tools for Making Oat Bars Common Questions A sweet little freezer habit you will actually keep No-Bake Strawberry Oat…

  • Cozy Up with Small-Batch Chai Spice Walnut Cookies

    Ingredients for Chai Cookies The chai spice mix Toasting the walnuts Step-by-Step Instructions Expert Baking Tips Make-ahead and storage Texture troubleshooting Common Mistakes to Avoid Variations and Substitutions Common Questions One last cozy thought before you bake Small-Batch Chai Spice Walnut Cookies (warm seasonal flavors) are for the days when you want the cozy smell…

  • Cranberry Lemon Bars

    Cranberry Lemon Bars are a delightful treat that brings the perfect balance of tartness and sweetness to your dessert table. With the bright flavor of lemons and the tanginess of fresh cranberries, these bars make an excellent addition to any gathering or a special treat just for you. Their vibrant colors and refreshing taste make…

Leave a Reply

Your email address will not be published. Required fields are marked *

Recipe Rating