Orange Cranberry Shortbread Cookies

Delicious Orange Cranberry Shortbread Cookies on a plate.

Orange Cranberry Shortbread Cookies are a delightful treat that perfectly combines the tartness of cranberries with the bright flavor of orange. Whether you’re in the mood for a sweet snack or looking for a festive dessert to impress your guests, these cookies are sure to bring joy and smiles to your table. Their buttery texture and zesty notes make them an irresistible addition to any cookie platter. Plus, they are simple to make and can be enjoyed year-round!

Gather Your Orange Cranberry Shortbread Cookies Ingredients

For these delicious cookies, you’ll need the following ingredients:

  • 1 cup (226g) vegan butter, softened to room temperature
  • 2/3 cup (135g) granulated sugar
  • 1 teaspoon pure vanilla extract
  • 2 1/4 cups (280g) all-purpose flour
  • 2 tablespoons (30ml) fresh orange juice
  • 2 teaspoons orange zest
  • 1/2 cup (70g) dried cranberries, finely chopped
  • 1 cup (120g) powdered sugar
  • 2 tablespoons (30ml) orange juice for icing

Step-by-Step Orange Cranberry Shortbread Recipe

  1. In a large bowl, use a handheld mixer or a stand mixer with the paddle attachment to beat the softened vegan butter and granulated sugar together for about 1 to 2 minutes until creamy and smooth.

  2. Add the vanilla extract to the butter and sugar mixture, mixing well to ensure it’s fully combined.

  3. Stop the mixer and add in the flour. Mix on low speed until just combined.

  4. Next, add the orange juice, orange zest, and finely chopped cranberries to the dough. Mix until everything is well incorporated, keeping in mind that the dough will be thick and a bit sticky.

  5. Shape the dough into a log about two inches in diameter. Wrap it tightly in plastic wrap and refrigerate for about 2 hours, or you can keep it in the fridge for up to 2 to 3 days if you want to prepare ahead.

  6. Preheat your oven to 350°F (175°C) and line a large baking sheet with parchment paper.

  7. Once your dough is chilled, slice it into cookies about 1/4 inch thick and arrange them on the baking sheet, leaving some space between the cookies.

  8. Bake for 12 to 14 minutes, or until the edges are very lightly browned.

  9. Once baked, remove them from the oven and let them cool on the pan for 5 minutes before transferring to a cooling rack.

  10. To prepare the icing, whisk the powdered sugar and 2 tablespoons of orange juice together until smooth. Drizzle it over the completely cooled cookies if desired.

These scrumptious cookies will stay fresh at room temperature for 5 to 6 days in a covered container, and they also freeze well for later enjoyment!

How to Serve Orange Cranberry Shortbread Cookies

These delightful cookies make for a perfect treat for any occasion. Serve them on a colorful platter alongside a cup of tea or coffee for a cozy afternoon snack. They also pair wonderfully with a light fruit salad or a scoop of vanilla ice cream for dessert.

For special occasions, consider decorating the cookies with festive icing or adding sprinkles for a burst of color. They’re great for holiday gatherings, potlucks, or simply as a sweet surprise for friends and family.

Expert Tips for Orange Cranberry Shortbread Cookies

  • Chill Your Dough: Make sure to chill the dough properly before slicing. This will help the cookies maintain their shape while baking.

  • Variations: Feel free to switch up the dried fruit! Raisins, chopped dried apricots, or even chocolate chips can give a new twist to these cookies.

  • Gluten-Free: If you need a gluten-free version, simply use a quality all-purpose gluten-free flour mix and it will still taste delicious!

Orange Cranberry Shortbread Cookies FAQs

Can I use regular butter instead of vegan butter?
Yes, you can substitute regular butter if you prefer! The flavor will be slightly richer, but the texture will remain the same.

How do I store leftover cookies?
Store them in an airtight container at room temperature. They should keep for about 5 to 6 days.

Can I make these cookies in advance?
Absolutely! You can prepare the cookie dough and refrigerate it for up to 3 days before baking or freeze the log for up to a month. Just remember to thaw it in the fridge before slicing and baking.

If you’re looking for a treat that combines the warmth of home baking with a burst of festive flavor, give these delicious Orange Cranberry Shortbread Cookies a try. They’re easy to make and will surely become a favorite in your recipe collection! Happy baking!

Orange Cranberry Shortbread Cookies

These delightful cookies combine the tartness of cranberries with the bright flavor of orange. Perfect for any occasion, they are simple to make and can be enjoyed year-round.
Prep Time25 minutes
Cook Time14 minutes
Total Time39 minutes
Course: Dessert, Snack
Cuisine: American, Holiday
Keyword: Cranberry Cookies, Easy Cookies, holiday treats, Orange Cookies, shortbread cookies
Servings: 24 cookies
Calories: 120kcal

Ingredients

Cookie Ingredients

  • 1 cup vegan butter, softened to room temperature Can substitute with regular butter if preferred.
  • 2/3 cup granulated sugar
  • 1 teaspoon pure vanilla extract
  • 2 1/4 cups all-purpose flour Use a gluten-free flour mix for a gluten-free version.
  • 2 tablespoons fresh orange juice
  • 2 teaspoons orange zest
  • 1/2 cup dried cranberries, finely chopped

Icing Ingredients

  • 1 cup powdered sugar
  • 2 tablespoons orange juice For icing.

Instructions

Preparation

  • In a large bowl, use a handheld mixer or a stand mixer with the paddle attachment to beat the softened vegan butter and granulated sugar together for about 1 to 2 minutes until creamy and smooth.
  • Add the vanilla extract to the butter and sugar mixture, mixing well to ensure it’s fully combined.
  • Stop the mixer and add in the flour. Mix on low speed until just combined.
  • Next, add the orange juice, orange zest, and finely chopped cranberries to the dough. Mix until everything is well incorporated, keeping in mind that the dough will be thick and a bit sticky.
  • Shape the dough into a log about two inches in diameter. Wrap it tightly in plastic wrap and refrigerate for about 2 hours.

Baking

  • Preheat your oven to 350°F (175°C) and line a large baking sheet with parchment paper.
  • Once your dough is chilled, slice it into cookies about 1/4 inch thick and arrange them on the baking sheet, leaving some space between the cookies.
  • Bake for 12 to 14 minutes, or until the edges are very lightly browned.
  • Once baked, remove them from the oven and let them cool on the pan for 5 minutes before transferring to a cooling rack.

Icing

  • To prepare the icing, whisk the powdered sugar and 2 tablespoons of orange juice together until smooth. Drizzle it over the completely cooled cookies if desired.
Notes

These cookies stay fresh at room temperature for 5 to 6 days. They also freeze well for later enjoyment.

Similar Posts

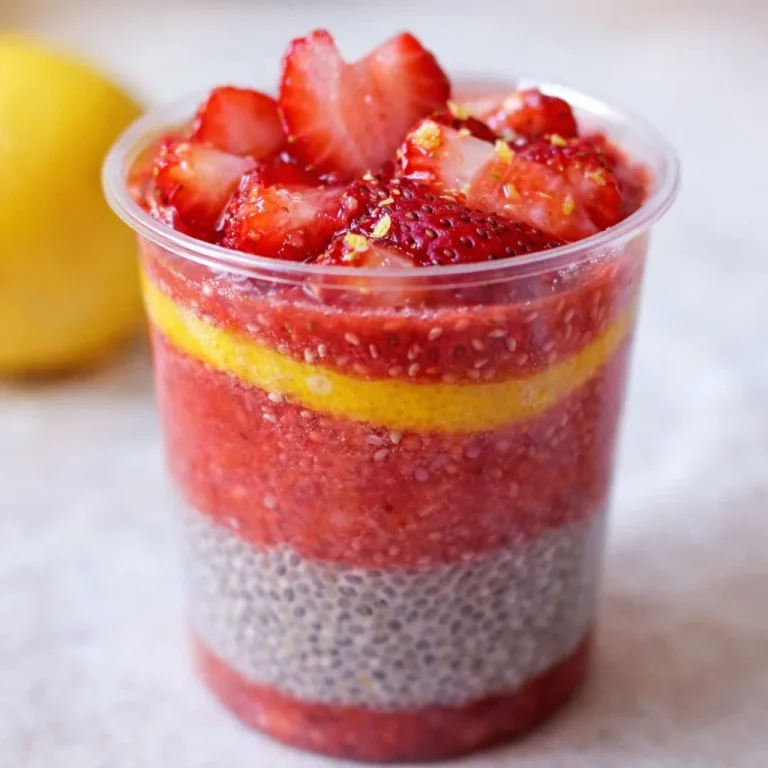
  • Delightful Small-Batch Strawberry Lemonade Chia Cups that Refresh

    Recipe Overview Key Tips for Successful Preparation Stir early, then stir again Balance the tartness Use a jar with a lid Ingredient Spotlight: Importance of Each Component Serving Suggestions for Ombre Pink Lemonade Courtesan Variations and Personalization Ideas Make it extra creamy Make it more “drinkable” Change the fruit Common Questions A refreshing little treat…

  • Tasty Healthy Lemon Coconut Protein Truffles to Energize Your Day

    Ingredients used How to make Lemon Coconut Energy Balls My quick mixing method Substitutions Easy swaps that still taste great Recipe tips Tips for storing Common Questions Can I make these without protein powder? Why are my truffles too sticky to roll? Why are they dry and crumbly? Can I use lime instead of lemon?…

  • Delicious Small Batch Lemon Loaf Cake (No Butter, Moist & Soft)

    Why you’ll love this recipe How to make lemon yogurt cake with olive oil: step by step Ingredients Tools Step-by-step Recipe Tips Additions and Substitutions More Easy Cake Recipes Common Questions Can I make this ahead? What kind of olive oil should I use? Can I double the recipe? How do I know it’s done…

  • Whip Up Small-Batch Mango Coconut Yogurt Swirl Pops at Home!

    Small Batch Mango Coconut Yogurt Swirl Pops are my little solution for those days when it’s too hot to bake, too late to run to the store, and I still want something sweet that feels like a treat. If you’ve ever bought a box of popsicles and felt kind of disappointed after the first bite, same. These are creamy, bright, and super easy to pull together with just a few ingredients. I also love that you can make a small amount and not sacrifice a whole shelf of freezer space. And yes, the swirl is the fun part, even if it turns out a little messy.  Popular Popsicle Recipes I’m a “popsicles all summer” person, but I don’t always want to commit to a giant batch. That’s why I keep coming back to Small-Batch Mango Coconut Yogurt Swirl Pops. They hit that perfect spot between refreshing and creamy, and they don’t taste like you’re chewing on a block of flavored ice. If you want to get into a popsicle groove, here are a few popular directions people usually love, along with how this mango coconut version fits right in: This recipe is firmly in the fruit and yogurt camp, with a little tropical vacation energy thanks to coconut. If you’re a yogurt bowl person, you’d probably also like my cozy breakfast style post here: cozy Canadian caramel apple yogurt bowl. Different vibe, same comforting creamy thing going on. And if you’re the type who likes to keep a small sweet snack stashed away, you might also love these freezer friendly, small batch treats for later: small-batch Almond Joy coconut bars. Coconut people get it. Here’s the simple base I use for these pops: What you’ll need: popsicle molds (or small paper cups), sticks, a spoon, and a small blender or fork for mashing. Core ingredients (for about 4 to 6 pops, depending on your molds): The basic move is: blend mango with coconut milk and a little sweetener, then swirl with yogurt in the molds. Simple, no drama.  Unique Flavor Combinations I’m going to be honest, mango and coconut is already a whole vibe. But once you make Small-Batch Mango Coconut Yogurt Swirl Pops one time, it’s hard not to start brainstorming other combos while you’re washing the blender. My favorite small tweaks that still keep the mango coconut feel: If you want a slightly more “dessert” twist, a chocolate drizzle on top is ridiculous in the best way. I do this when I’m craving something more like candy. Coconut plus chocolate is always a yes, and I’ve got a full-on coconut chocolate situation here if you’re into that combo: chocolate coconut slice. Also, if you’re team mango and you love quick fruity bakes too, check out these little beauties: lime mango puff pastry tartlets. Not popsicles, but definitely the same sunny, tropical mood. How I actually swirl them (because this part feels fancy, but it’s not): Spoon a little mango mixture into the mold, add a spoon of yogurt, then repeat. Use a butter knife or skewer and make 1 to 2 gentle swirls. Stop before it turns into a full blend unless you want a more uniform color. Both taste great, only one looks like a perfect “swirl.” And because I know someone’s going to ask, yes, the swirl looks different every time. Mine are never identical, and that’s kind of the charm. Tips for Perfectly Removing Popsicles from Molds This is the part that can make you feel like a kitchen wizard or like you’re wrestling a tiny frozen brick. The good news is there are a couple tricks that work almost every time. My go-to method: Run the outside of the mold under warm water for 10 to 20 seconds. Not hot, not forever. Then gently wiggle the stick and pull straight out. Extra tips that actually help: I made these with my kids and honestly thought the swirl would be a mess, but they came out so pretty. The warm water trick got them out perfectly and the mango flavor tasted super fresh. One more little thing: if you’re using paper cups, just peel the cup away. Zero stress, and it’s a great “no molds needed” option if you’re making these at a cabin or at someone else’s house. Healthier Popsicle Options One reason I keep making Small-Batch Mango Coconut Yogurt Swirl Pops is that I can control what goes in them. Store-bought pops can be great, but some are basically flavored sugar water. These feel like a snack and a treat at the same time, especially if you use a thicker yogurt. Here are a few easy ways to keep them on the lighter side without making them taste sad: 1) Use ripe mango  The riper the mango, the sweeter it tastes, so you need less added sweetener. 2) Choose the yogurt that fits your goal  Plain Greek yogurt makes them extra creamy and higher in protein. Regular yogurt makes them softer and a bit more classic. 3) Go easy on sweetener  I usually do 1 tablespoon honey, taste, then decide. If your mango is sweet, you might not need any. 4) Add a little fat for better texture  A splash of coconut milk helps with that creamy bite. Pops with zero fat can freeze more icy. If you’re into small batch healthier sweets in general, you might like these too, especially for meal prep snacking: small-batch baked oatmeal cups with no refined sugar. Different format, same “I want something homemade that still feels good” energy. And quick note for anyone with dietary needs: you can absolutely make these dairy-free by using a thick coconut yogurt. The coconut flavor gets even louder, in a good way. Serving Suggestions and Pairings These are great straight from the mold, obviously. But if you want to serve them to friends or make them feel a little extra, here are a few easy ideas that don’t require turning your kitchen into a full event. If you’re doing a snack board moment, I love adding something soft and cozy on the side for people who want options. This one is a favorite in my house: cinnamon swirl banana bread. It’s the kind of thing you slice, set out, and suddenly everyone’s hovering in the kitchen. Also, if you’re serving these at a brunch situation, I’ll sometimes set out little bowls of granola so people can crunch between bites. It’s not fancy, it’s just fun.  Common Questions Can I use frozen mango?  Yes. I use frozen mango all the time. Just thaw it a bit so it blends smoothly, or blend longer and scrape down the sides. Why did my pops turn icy?  Usually it’s too much water and not enough creamy stuff. Try thicker yogurt, a bit more coconut milk, and don’t skip the tiny pinch of salt. How long do they keep in the freezer?  They’re best in the first 2 weeks. After that they’re still safe, but the texture can get a little more freezer-ish. If you can, store them in an airtight container or freezer bag once fully frozen. Do I need popsicle molds?  Nope. Paper cups work great. Fill, cover the top with a little foil, poke in the stick, and freeze. Can I make them higher protein?  Use Greek yogurt and consider adding 1 to 2 teaspoons of chia seeds to the yogurt layer. Let it sit 5 minutes before swirling so it thickens slightly. A sweet little freezer habit you will actually keep…

Leave a Reply

Your email address will not be published. Required fields are marked *

Recipe Rating