Delicious No-Bake Key Lime Cheesecake Cups You’ll Love
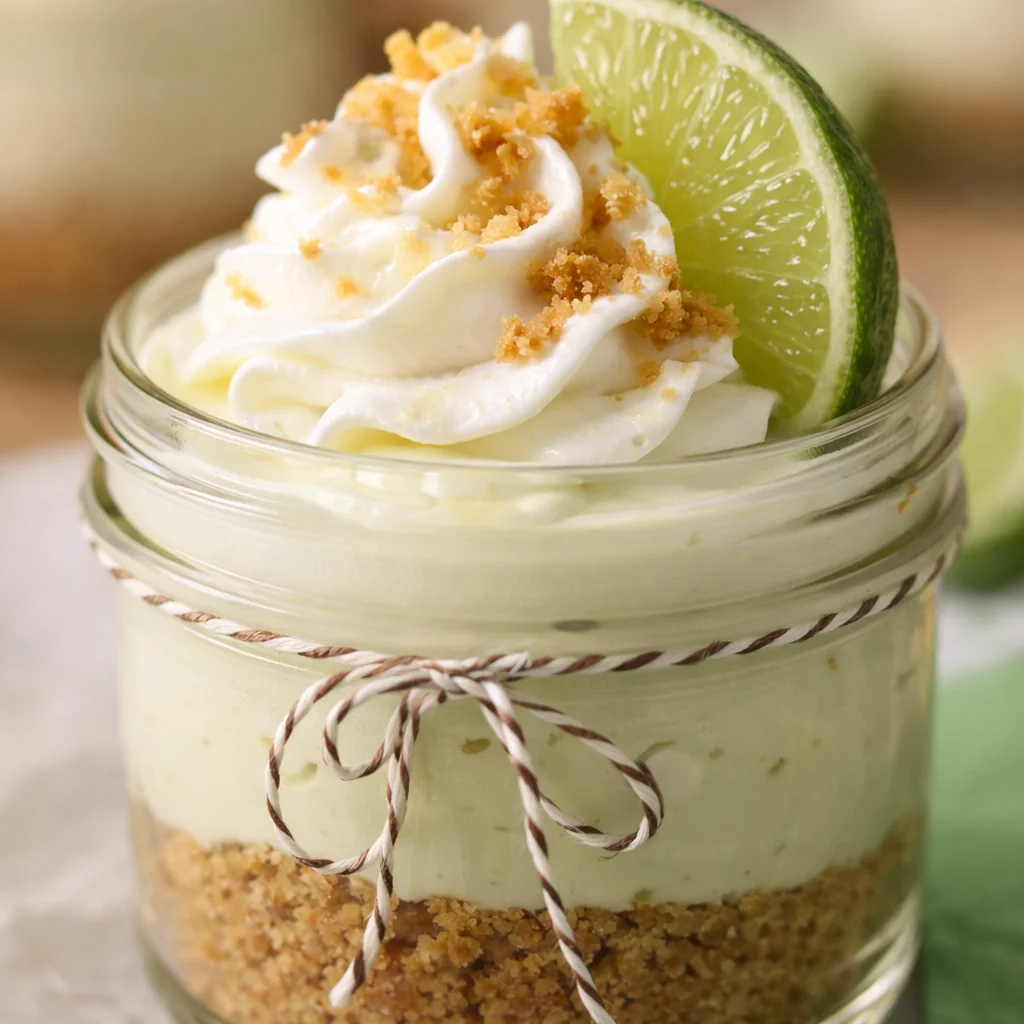
No-Bake Key Lime Cheesecake Cups are my go to dessert when I want something bright and creamy but do not want to turn on the oven. You know those days when it is hot out, you are tired, and you still want a little treat that feels special? That is exactly when these cups show up in my kitchen. They are portioned out, easy to share, and honestly kind of cute in the fridge. Plus, you get that punchy lime flavor without having to fuss with baking times or cracks on a cheesecake. If you have a spoon and a mixing bowl, you are basically set. 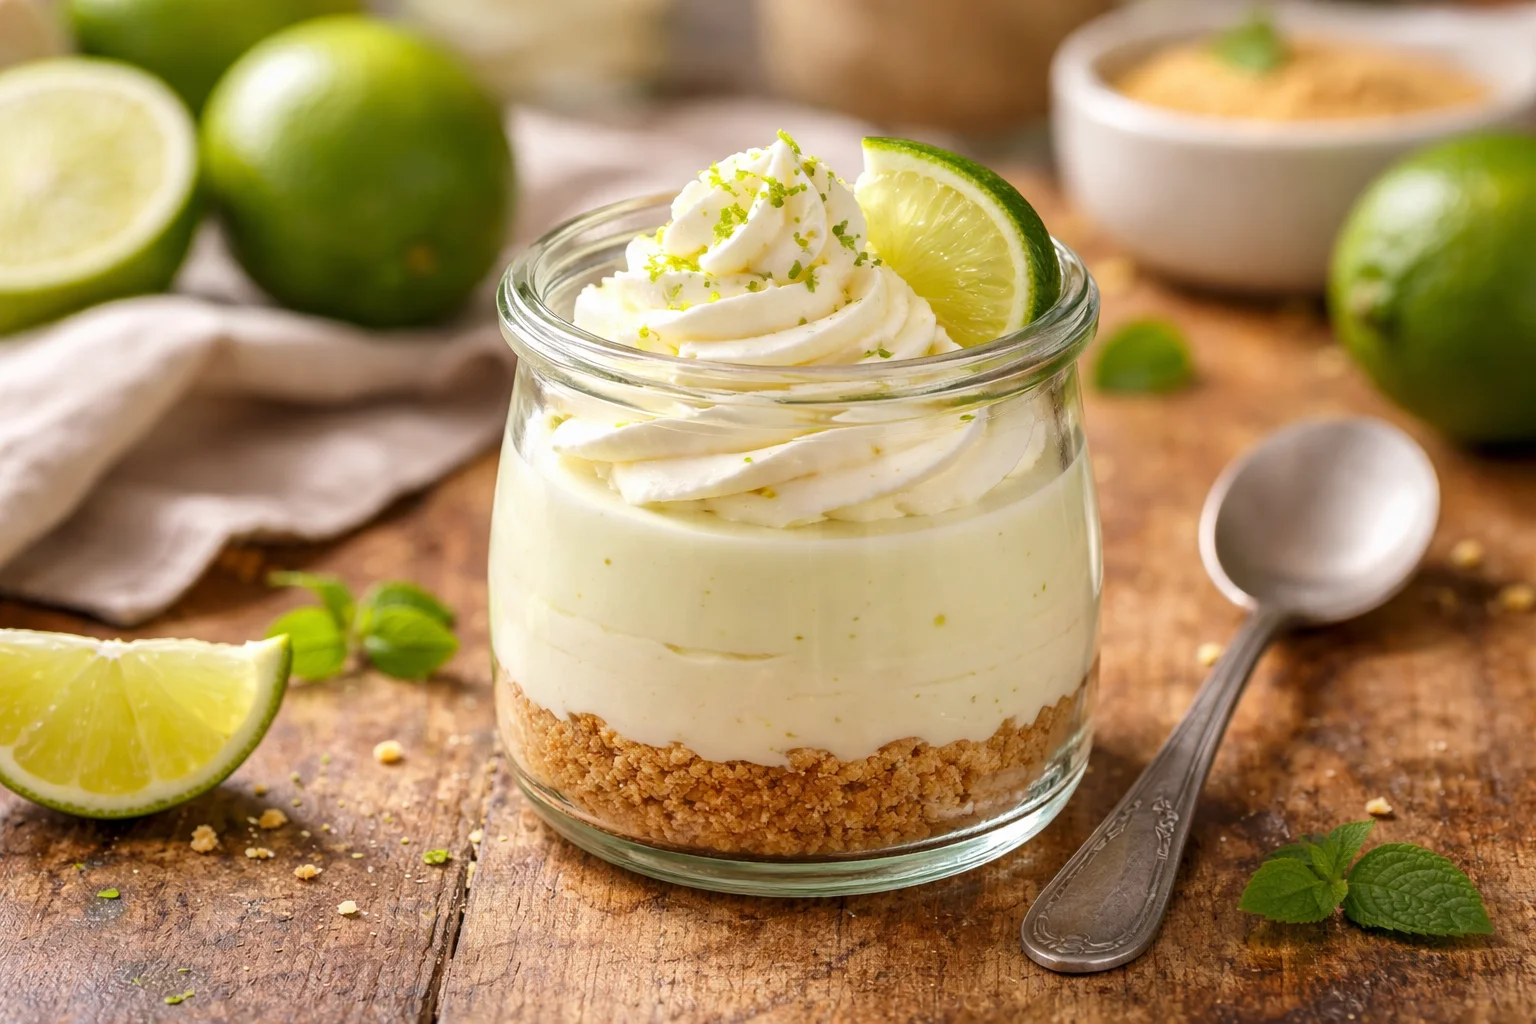
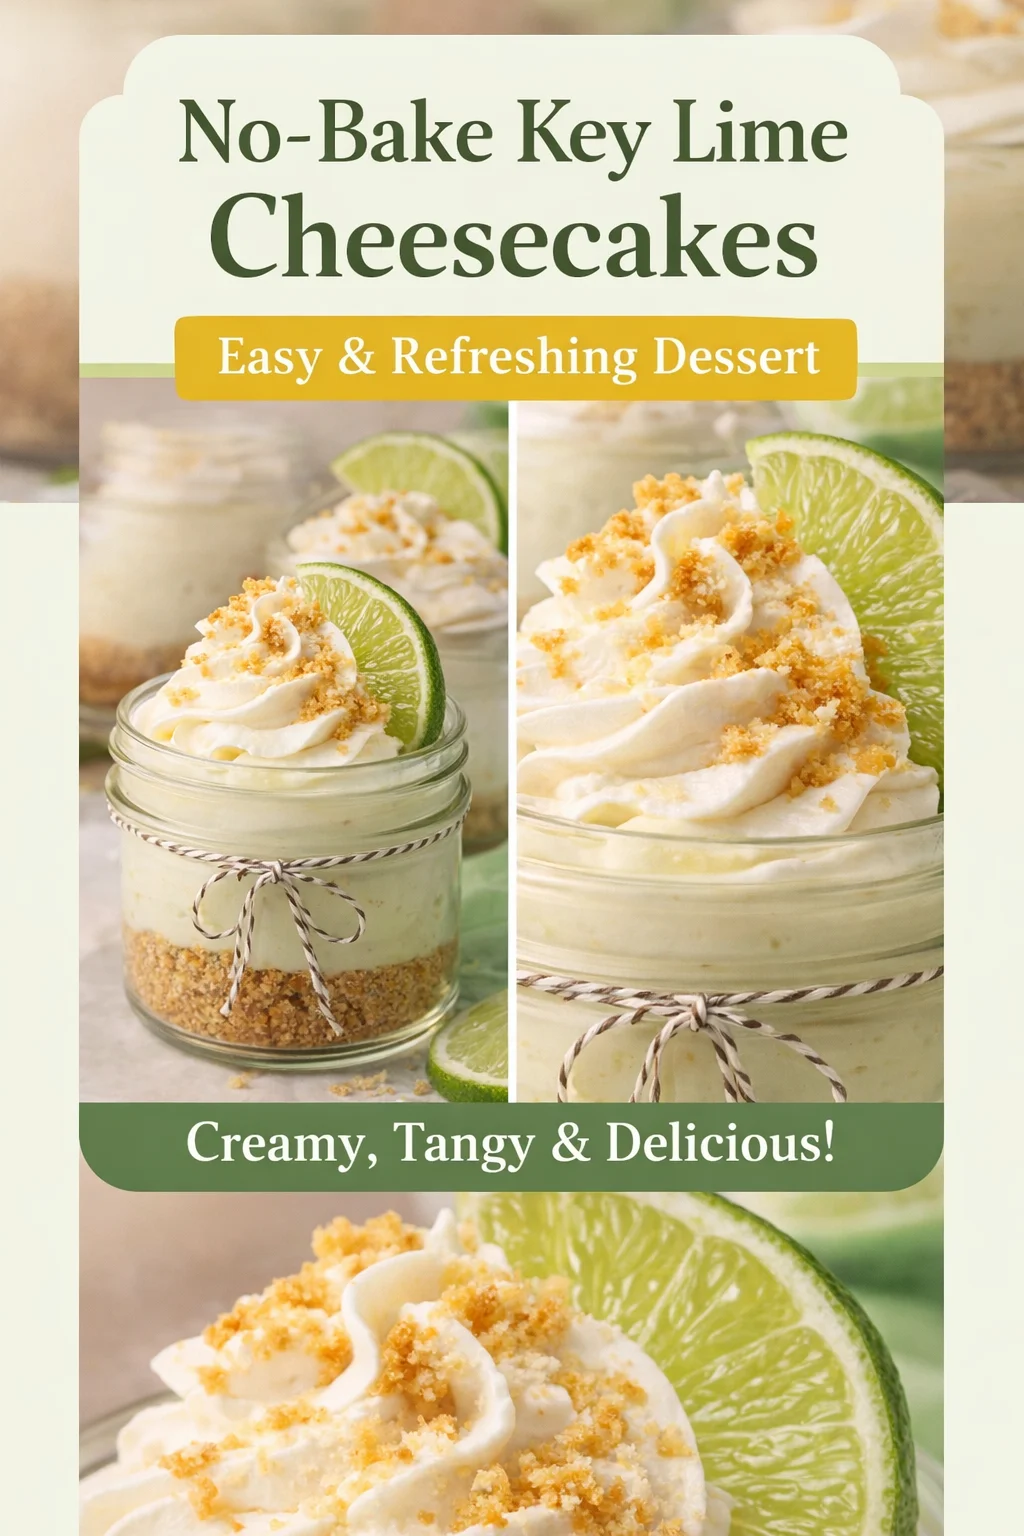
Mini Key Lime Cheesecakes
Let us talk about why mini desserts are just better sometimes. With No-Bake Key Lime Cheesecake Cups, everyone gets their own little serving, and you do not have to slice anything neatly. I also love that you can make them in basic cups, small jars, or even a muffin tin with liners if you are bringing dessert to a get together.
The flavor is what keeps me coming back. Key lime is tangy and fresh, and when you fold it into a creamy cheesecake filling, it turns into this sweet tart combo that tastes like vacation. I usually top mine with a little extra crumb and a thin lime slice, but you can keep it simple too.
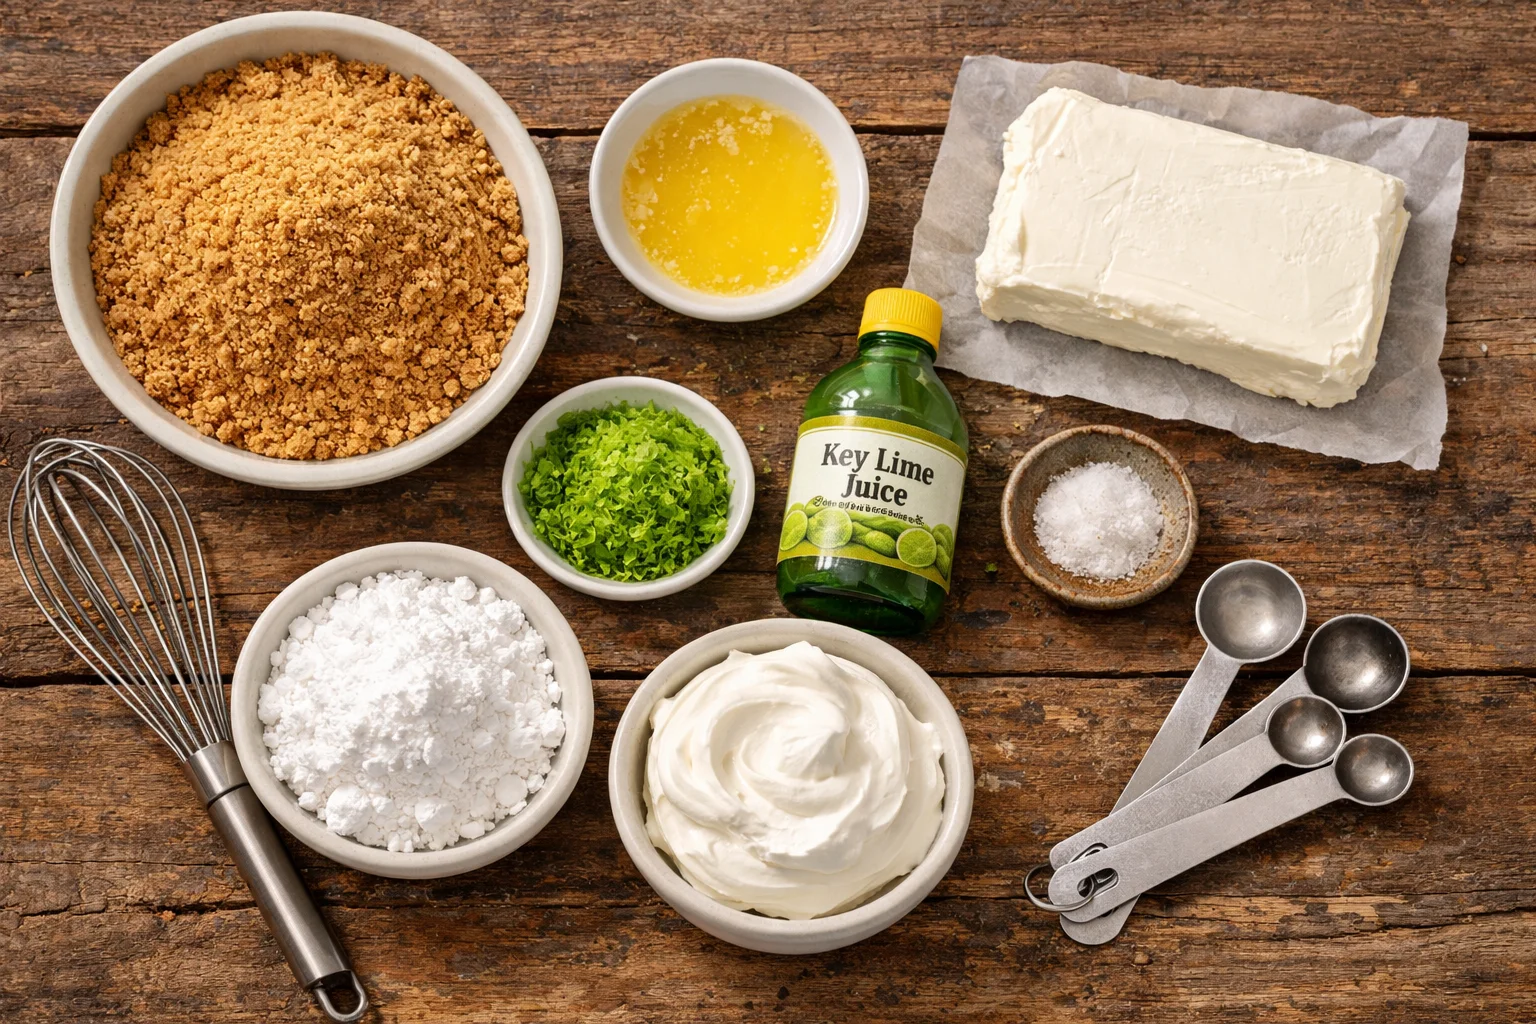
What you will need
- Graham cracker crumbs or vanilla wafer crumbs
- Melted butter
- Cream cheese, softened
- Powdered sugar
- Key lime juice (bottled is fine, fresh is great)
- Key lime zest (highly recommended)
- Whipped topping or homemade whipped cream
- Pinch of salt
If you are into other little cheesecake style treats, I also have a soft spot for fruit ones. This one is worth bookmarking for later: no bake peach coconut cream cups. It is a different vibe, but the same easy, snacky feel.
The Science of Baking
Even though we are not baking, a tiny bit of kitchen science is still happening here. The “set” you get in No-Bake Key Lime Cheesecake Cups comes from a few simple things working together. Cream cheese is thick and holds shape when it is cold. Powdered sugar helps firm things up a bit, and it also blends smoothly so you do not get gritty bites.
Then there is the lime juice. The acidity gives you that zing, but it also slightly thickens the mixture when it meets dairy. It is not the same as cooking custard or using gelatin, but it does help the texture tighten as it chills. The crust works because melted butter coats the crumbs, and when it cools, it firms into a sliceable base. In cup form, it is more like a cozy crumb layer that stays put when you scoop.
Here are a few practical tips that make a real difference:
- Use cream cheese that is truly softened so you do not end up with lumps.
- Chill the cups at least 4 hours, and overnight is even better if you have time.
- Do not overmix after adding whipped topping. You want it fluffy, not runny.
- If the filling tastes too sharp, add 1 or 2 tablespoons more powdered sugar.
;
No Bake Mini Key Lime Cheesecakes
This is the part where I tell you how I actually make them when I am half distracted and still want them to turn out. The steps are simple, and once you do it once, you will not need to look it up again.
Step by step directions
1) Make the crust. Mix graham cracker crumbs with melted butter until it looks like wet sand. Spoon it into your cups and press it down with the back of a spoon. Pop the cups in the fridge while you make the filling.
2) Mix the cheesecake base. Beat softened cream cheese with powdered sugar and a pinch of salt until smooth. Add key lime juice and zest. Taste it. This is your moment to adjust the sweetness.
3) Fold in the fluff. Fold in whipped topping or freshly whipped cream. I do this gently so the filling stays airy. If you stir aggressively, the filling can get looser.
4) Assemble. Spoon or pipe the filling over the crust. I like piping because it looks neat, but spooning works perfectly.
5) Chill. Cover and chill at least 4 hours. If you are making these for guests, do it the night before and you will feel like a genius the next day.
When I want another easy option for a small batch night, I make this one too: small batch no bake cheesecake for two. It is great when you do not want a whole lineup of desserts in the fridge calling your name.
Little topping ideas if you want to dress them up:
Extra lime zest, a dollop of whipped cream, toasted coconut, white chocolate shavings, or a few crushed cookies on top. I have even sprinkled a tiny pinch of flaky salt and it weirdly works.
Popular Recipe Variations
I stick to classic most of the time, but it is fun to switch things up depending on what you have. The base recipe is flexible, which is one reason I keep coming back to No-Bake Key Lime Cheesecake Cups.
Make it extra tangy: Add more zest and a splash more juice, then balance with a touch more powdered sugar. Just go slow and taste as you go.
Make it lighter: Swap part of the cream cheese with thick Greek yogurt. It makes the filling a little more tangy and a bit softer, but still super good. If you like that style, you might enjoy this similar idea: no bake Greek yogurt cheesecake cups.
Change the crust: Vanilla wafers are amazing here. So are gingersnaps if you want a spicy little kick against the lime.
Make them frozen: Freeze the assembled cups for a firmer texture, kind of like a cheesecake popsicle vibe. Let them sit out for 10 minutes before eating so they are creamy again.
Add a fruit layer: A spoonful of crushed pineapple or a thin strawberry layer can make these feel extra summery. Just keep the fruit layer thin so the cups do not get watery.
Recipe Ratings and Feedback
I have made these for family nights, random neighbor drop ins, and one time for a picnic where I was absolutely sure they would melt into soup. They did not. They held up great in a cooler with ice packs, and everyone asked for the recipe. That is my favorite kind of dessert, the one that quietly disappears.
If I had to rate them in my own kitchen, these are a solid 5 out of 5 for effort to reward. The biggest win is that you can make them ahead, and they actually taste better after a good chill.
Feedback I have heard again and again:
People love the tangy flavor, especially if you use plenty of zest. The only complaint I ever hear is someone wishing they made more. So if you are on the fence, double the batch and thank me later.
Common Questions
Can I use regular lime juice instead of key lime?
Yes. Key lime has a slightly different flavor, but regular lime juice still makes delicious cups. Add extra zest to boost the citrus punch.
How long do they need to chill?
At least 4 hours. Overnight is best if you want the filling to feel extra set and scoopable.
Do these need gelatin?
Nope. As long as you chill them long enough, the cream cheese and whipped topping combo holds up well.
How long do they last in the fridge?
About 3 to 4 days, covered. The crust can soften a bit over time, but the flavor stays great.
Can I make No-Bake Key Lime Cheesecake Cups dairy free?
You can try dairy free cream cheese and dairy free whipped topping. The texture can vary by brand, so I suggest doing a small test cup first.
Wrap up and a little extra inspiration
If you make these, I hope you have that moment where you take the first bite and you get the creamy cheesecake, the buttery crumb, and that bright lime pop all at once. That combo never gets old. No-Bake Key Lime Cheesecake Cups are the kind of treat that feel a little fancy but fit into real life, even on a busy weeknight.
And if you want to see another fun take with the same idea, I found this helpful inspiration that is super similar in spirit: No Bake Key Lime Cheesecakes in a Jar – Life Love and Sugar. It is always nice to compare methods and pick up new little tricks.
Let me know if you are a more tangy lime person or a more sweet and creamy person. Either way, you can tweak this recipe to match your mood, and that is part of the fun.
No Bake Mini Key Lime Cheesecakes
Ingredients
For the crust
- 1 cup Graham cracker crumbs or vanilla wafer crumbs
- 1/4 cup Melted butter
For the cheesecake filling
- 8 oz Cream cheese, softened Ensure it is truly softened to avoid lumps.
- 1/2 cup Powdered sugar Adjust sweetness as desired.
- 1/4 cup Key lime juice Bottled is fine, fresh is great.
- 1 tbsp Key lime zest Highly recommended for extra flavor.
- 1 cup Whipped topping or homemade whipped cream Fold in gently.
- 1 pinch Salt
Instructions
Preparation
- Make the crust by mixing graham cracker crumbs with melted butter until it resembles wet sand. Spoon it into your cups and press down with the back of a spoon. Chill in the fridge.
- In a mixing bowl, beat softened cream cheese with powdered sugar and a pinch of salt until smooth. Add key lime juice and zest, then adjust sweetness if needed.
- Gently fold in the whipped topping or homemade whipped cream until well incorporated, ensuring the mixture remains airy.
- Spoon or pipe the cheesecake filling over the crust in the cups.
- Cover and chill for at least 4 hours, preferably overnight for the best texture.