Make Your Own Magnesium at Home (Fatigue, Sleep, Stress, Muscles, Bones,…) – Natural and Cheaper!
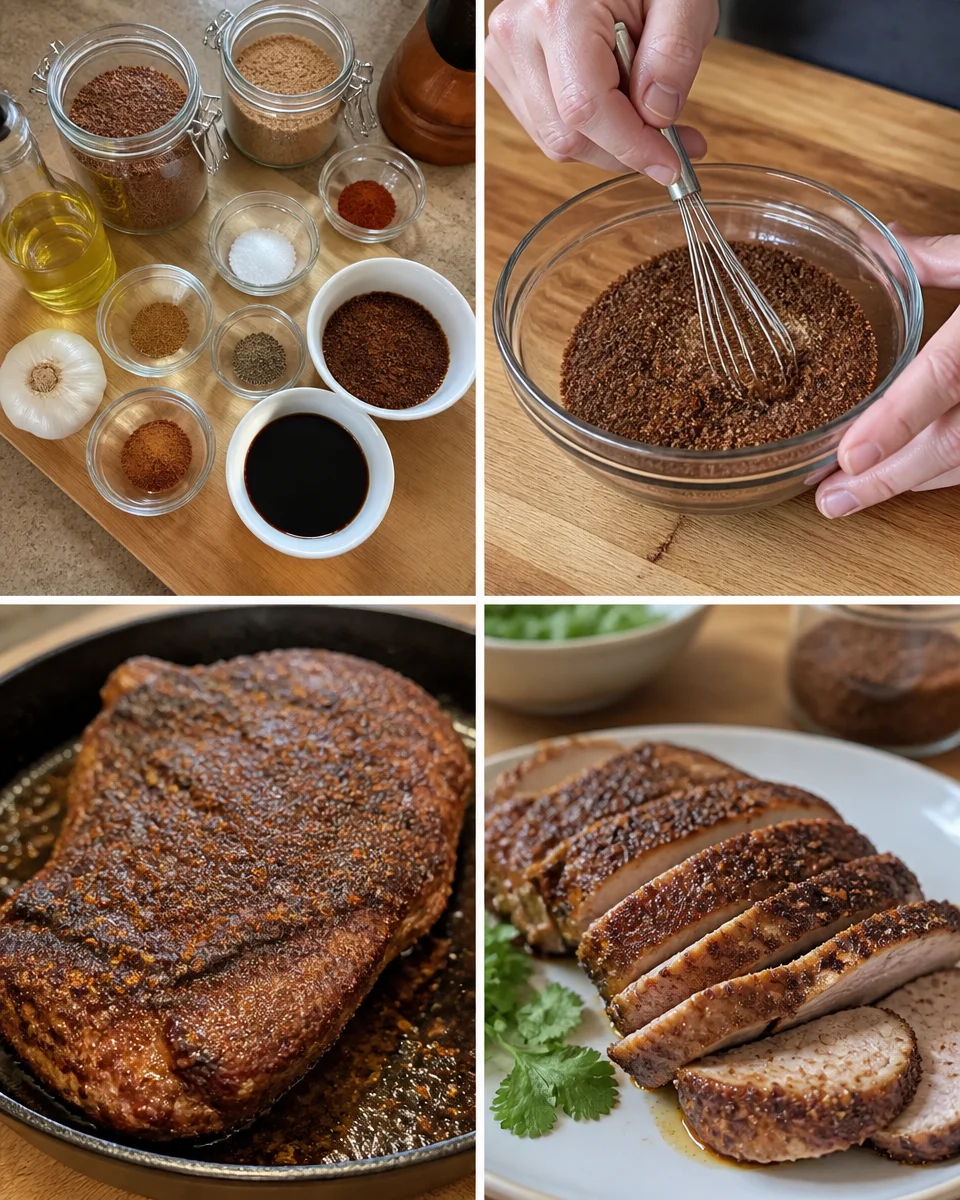
Homemade magnesium benefits for fatigue, sleep, stress relief, and muscle health

Making your own magnesium-rich recipes at home is a wonderful way to boost your overall health naturally. These types of preparations can support better sleep, reduce stress, and improve muscle function. A simple, magnesium-rich snack or meal can be particularly appealing to those seeking a nutritious option that doesn’t compromise on flavor. By incorporating ingredients like seeds and dark chocolate, you can create delicious treats that are enjoyable and nourishing.

Why This Recipe Is Helpful

  • Provides a great source of magnesium, which may contribute to improved sleep and reduced fatigue.
  • Easy to prepare with minimal ingredients, making it perfect for quick snacks or relaxation aids.
  • Versatile enough to be adapted based on personal taste preferences.

Best For

This recipe is ideal for busy individuals looking for healthy snack options or anyone interested in enhancing their diet with natural magnesium sources.

Be Careful If

If you have specific dietary requirements or restrictions, be sure to check ingredient labels carefully. Ingredients like nuts should be avoided by those with allergies.

Ingredients

  • 1 cup (240 ml) almond flour (or another nut flour)
  • ½ cup (120 ml) pumpkin seeds
  • ½ cup (120 ml) unsweetened cocoa powder
  • ¼ cup (60 ml) honey or maple syrup
  • 1 teaspoon (5 ml) vanilla extract
  • ½ teaspoon (2 g) sea salt

Ingredient Notes

  • Almond flour can be replaced with sunflower seed flour for a nut-free option.
  • Pumpkin seeds are a great source of magnesium and add a nice crunch.
  • Adjust the sweetness to your liking by varying the amount of honey or maple syrup.

Kitchen Tools Needed

  • Mixing bowl
  • Baking sheet or dish
  • Parchment paper

Step-by-Step Instructions

  1. Preheat your oven to 350°F (175°C).
  2. In a mixing bowl, combine almond flour, pumpkin seeds, cocoa powder, and sea salt.
  3. In a separate bowl, mix the honey (or maple syrup) and vanilla extract until combined.
  4. Pour the wet ingredients into the dry mix and stir until well combined.
  5. Line a baking sheet with parchment paper and spread the mixture evenly.
  6. Bake for 15-20 minutes or until the edges are firm and the center is just set.
  7. Allow cooling before cutting into squares or bars.

Pro Tips

  • Experiment with add-ins like chopped dark chocolate or dried fruit for added flavor.
  • Make sure to let it cool completely before slicing to ensure the bars hold their shape.
  • Store in an airtight container to maintain freshness.

Lighter Swaps

You may use stevia or another natural sweetener instead of honey or maple syrup, but this may affect the texture slightly.

Common Mistakes

  • Not allowing the mixture to cool completely before cutting can result in crumble.
  • Overbaking can lead to a dry texture, so keep an eye on it towards the end of the baking time.

Serving Suggestions

Pair these magnesium-rich bars with a warm cup of herbal tea for a relaxing treat.

Storage Instructions

Store in an airtight container at room temperature for up to a week or in the refrigerator for longer freshness.

Reheating Tips

These bars can be enjoyed cold or at room temperature, so no reheating is needed.

Nutrition Estimate

Calories: 180
Protein: 5 g
Carbs: 15 g
Fat: 12 g

Values are estimates and may vary by ingredients and portion size.

Recipe Summary

Prep Time: 10 minutes
Cook Time: 20 minutes
Total Time: 30 minutes
Servings: 12 bars
Cuisine: Healthy Snack
Course: Snack
Calories: 180

Frequently Asked Questions

Can I use other types of seeds?
Yes, feel free to substitute pumpkin seeds with sunflower or chia seeds based on your preference.

Is this recipe suitable for vegans?
Yes, if you use maple syrup instead of honey, this recipe can easily be made vegan.

How can I make this recipe gluten-free?
This recipe is naturally gluten-free since it uses almond flour. Just ensure your other ingredients are gluten-free as well.

These homemade magnesium-rich bars offer a delightful way to improve your diet while satisfying your sweet tooth. Consider trying them alongside other delicious recipes, such as chocolate balls with berries and browned butter or for a savory twist, you might enjoy bacon and egg hash brown muffins.
Similar Posts

  • Chocolate Caramel Pretzel Sandwich Bites

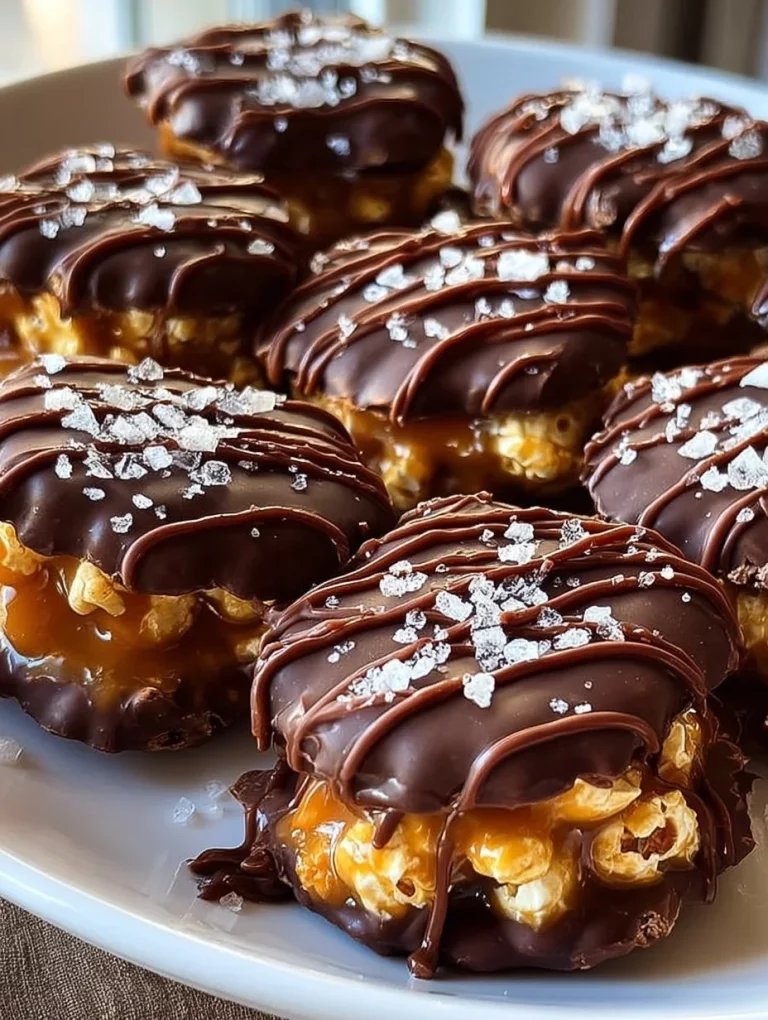
    Chocolate Caramel Pretzel Sandwich Bites are the ultimate sweet and salty treat that everyone loves! These little snacks combine crunchy pretzels, gooey caramel, and rich chocolate into bite-sized pieces of delight. Whether you’re hosting a party, celebrating a special occasion, or just treating yourself, these bites are sure to impress. They are super easy to…

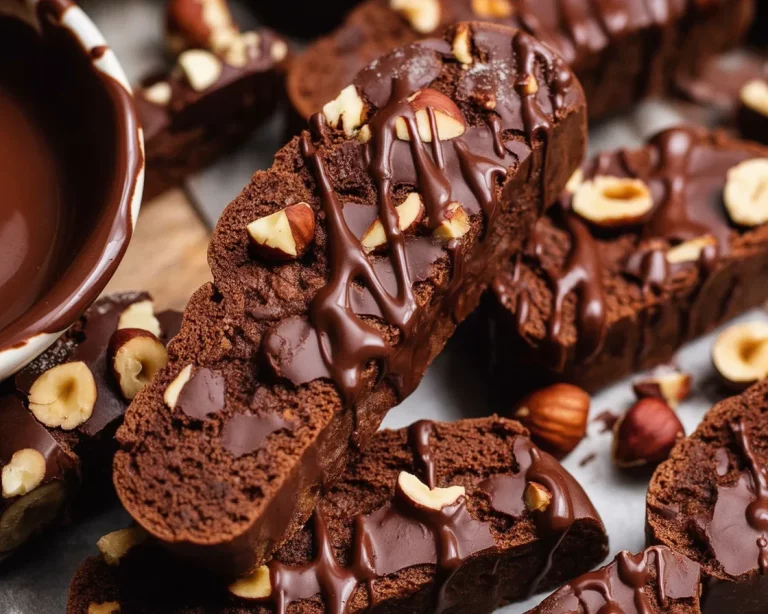
  • Small Batch Chocolate Hazelnut Biscotti for Cozy Evenings

    WHY THIS RECIPE WORKS EXPERT BAKING TIPS What you’ll need Step-by-step directions Make-ahead, storage, and serving Craving more cookies? Christmas cookies More Cookies Common Questions Ready to bake and cozy up Small Batch Chocolate Hazelnut Biscotti is my go-to when the evenings get chilly and I want something cozy to dunk in a mug of…

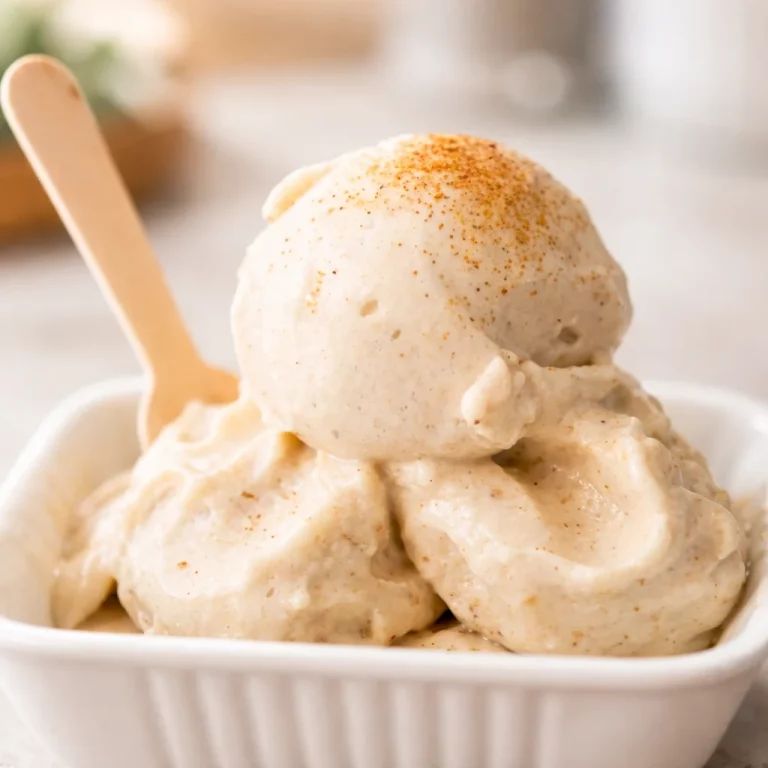
  • Delicious No-Sugar Banana Ice Cream for Two (Quick & Easy)

    Tips for making the perfect vegan banana ice cream What you need and the basic method Health benefits of banana ice cream Variations and add-ins for banana ice cream Easy flavor ideas that work every time Common mistakes to avoid when making banana ice cream Creative serving suggestions for vegan chocolate banana ice cream Fun…

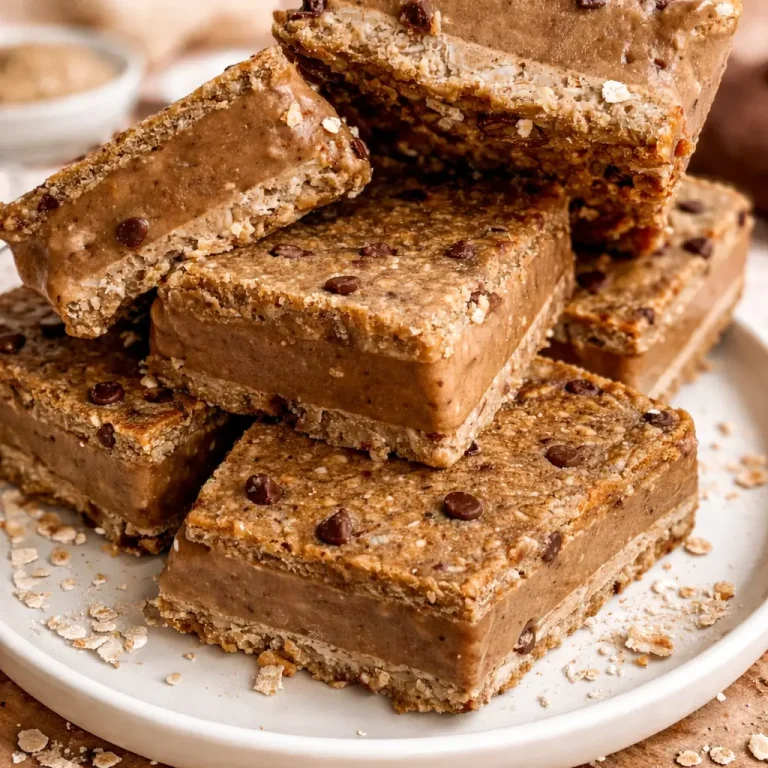
  • Delicious No-Sugar Chocolate Banana Ice Cream Sandwiches Recipe

    No-Sugar Chocolate Banana Ice Cream Sandwiches are my go to fix when I want something cold and chocolatey but I do not want a sugar crash after. You know that moment when you want dessert, but also want to feel good about it? That is exactly where these little sandwiches live. They are creamy, sweet in a real banana kind of way, and honestly pretty fun to make. I started making them during hot afternoons when my freezer was packed with random bananas I forgot about. Now they are a regular thing around here, especially when I want a treat that still feels like real food.  How to make this vegan chocolate banana ice cream This is the part where you realize you do not need an ice cream machine, fancy ingredients, or a long ingredient list. The base is just frozen bananas plus cocoa powder, and then you can build from there. What you will need If you are in a banana baking mood too, you might also like these super moist chocolate chip banana bread slices for breakfast the next day. I swear bananas are either on the counter for one hour, or they are suddenly brown and begging to be used. Quick directions (my real life method) Drop the frozen banana slices into a food processor or a strong blender. Add cocoa powder, a small splash of plant milk, vanilla if using, and that pinch of salt. Blend, scrape down, blend again. At first it looks crumbly and like it will never turn into anything, but keep going. It turns into a thick soft serve texture, and that is your vegan chocolate banana ice cream. Now for the sandwiches. Scoop the chocolate nice cream onto one cookie, top with another cookie, and gently press. If the nice cream is super soft, you can freeze the assembled sandwiches for 30 to 60 minutes so they firm up and become easier to eat. Sometimes I roll the sides in chopped nuts or cacao nibs if I have them. Sometimes I do nothing and just eat one over the sink. Both options are valid. What makes these ice cream sandwiches healthy? I am not into calling desserts magic health food, but these truly are a better option when you want something sweet without added sugar. The sweetness comes from fruit, and the texture comes from the frozen banana doing its thing. That is why No-Sugar Chocolate Banana Ice Cream Sandwiches feel like a treat, but still sit lightly. Here is what I love about them: For the cookie part, you can keep it simple. If you already have a banana based snack in your rotation, these delicious small batch banana oatmeal cookies no flour no sugar are honestly a great jumping off point. They are naturally sweet, and they freeze well too, which makes them perfect sandwich material. “I made a batch on Sunday and my kids thought it was regular ice cream. The best part is I did not have to argue about dessert turning into a sugar frenzy. We are keeping these in the freezer all summer.” How do you freeze bananas for nice cream? Freezing bananas sounds easy, and it is, but there are a couple little things that make the blending part so much smoother. If you freeze bananas the right way, you will get that thick creamy texture instead of icy chunks that fight your blender. Here is my method: 1) Use ripe bananas. You want the peels to have lots of brown spots. That is where the sweetness is. 2) Slice them before freezing. I do coins, about half an inch thick. Whole frozen bananas are a pain to blend. 3) Freeze on a tray first. Lay slices on parchment so they do not freeze into one giant banana brick. After they are frozen solid, toss them into a freezer bag or container. 4) Label the bag. This sounds extra until you find five mystery freezer bags later. If you are like me and end up with extra bananas every week, you might also enjoy baking them into banana chocolate chip mini muffins. I make those when I want something grab and go, and I freeze a few for later just like I do with banana slices. One more thing. If your blender is struggling, let the banana slices sit on the counter for 3 to 5 minutes. Not long enough to melt, just enough to take the icy edge off. What is Nice Cream? Nice cream is basically the internet nickname for blended frozen bananas that turn into an ice cream like texture. The banana acts like the creamy base, so you do not need heavy cream, condensed milk, or added sugar to make it satisfying. The flavor is super customizable. You can turn it into chocolate, peanut butter, strawberry, coffee, or even a cinnamon vibe. For this recipe we are going all in on chocolate banana, which is why these No-Sugar Chocolate Banana Ice Cream Sandwiches taste like a real dessert even though the base is fruit. Nice cream is best right after blending if you like soft serve. If you want scoopable and firm, freeze it for 1 to 2 hours in a container. Just know that it freezes harder than regular ice cream, so you may need to let it sit out a few minutes before scooping. Also, if you love no sugar added chocolate desserts, I have to point you to this cozy one: indulgent small batch coconut milk chocolate pudding no sugar added. It hits that same chocolate craving in a different way. A few tips for the perfect chocolate banana ice cream every time I have made this enough times to know where things can go weird. Here are the tips that keep it smooth, chocolatey, and sandwich worthy. Do not add too much plant milk at the start. Start with one tablespoon, then add more only if your machine needs help. Too much liquid makes it more like a smoothie, and then it leaks out of the cookies. Use good cocoa powder. You do not need fancy, but use one you actually like the taste of. If it tastes bitter in your pantry, it will taste bitter in your nice cream. Salt matters. A tiny pinch makes the chocolate taste deeper. Not salty, just better. Freeze the sandwiches after assembling. If you want that classic ice cream sandwich bite, freeze them on a tray first, then wrap individually. They keep well for about 2 weeks, though in my house they disappear faster. Cookie options that work. You want something that is sturdy enough to hold up, but not so hard that it is tough to bite when frozen. If you need another chocolate snack idea, these chocolate almond bites can be a fun side treat with your coffee while the sandwiches chill. Make them mini. This is my sneaky trick for portioning without feeling restricted. Mini No-Sugar Chocolate Banana Ice Cream Sandwiches are also easier for kids, and they freeze faster. Common Questions 1) Do these taste like bananas?  Yes, but in a good way. Chocolate covers a lot of it, and using ripe bananas makes it taste more like natural sweetness than banana flavoring. 2) Can I make these without a food processor?  A high powered blender works, but you will need to stop and scrape more often. If it is a small blender, blend in batches and use a little plant milk to help it move. 3) How long do they last in the freezer?  About 2 weeks for best texture. Wrap them individually so they do not pick up freezer smells. 4) Why did my nice cream turn icy?  Usually it is too much liquid, or the bananas were not ripe enough. Ripe bananas and minimal milk make it creamy. 5) Can I add peanut butter or protein powder?  Peanut butter is amazing, start with one tablespoon. Protein powder can work, but it can make the texture thicker and a bit chalky depending on the brand, so add slowly. Freezer friendly dessert that actually hits the spot If you try these No-Sugar Chocolate Banana Ice Cream Sandwiches, you will see why I keep bananas in my freezer like it is my job. They are simple, flexible, and they satisfy that chocolate craving without needing added sugar. Keep a batch stashed for late night cravings, hot afternoons, or the moment you want dessert but still want to feel good after. If you want another similar idea, this linked recipe for Healthy 4-Ingredient Chocolate Banana Ice Cream is also a great reference for extra variations. Now go rescue those ripe bananas on your counter and make yourself a couple sandwiches for later.  These No-Sugar Chocolate Banana Ice Cream…

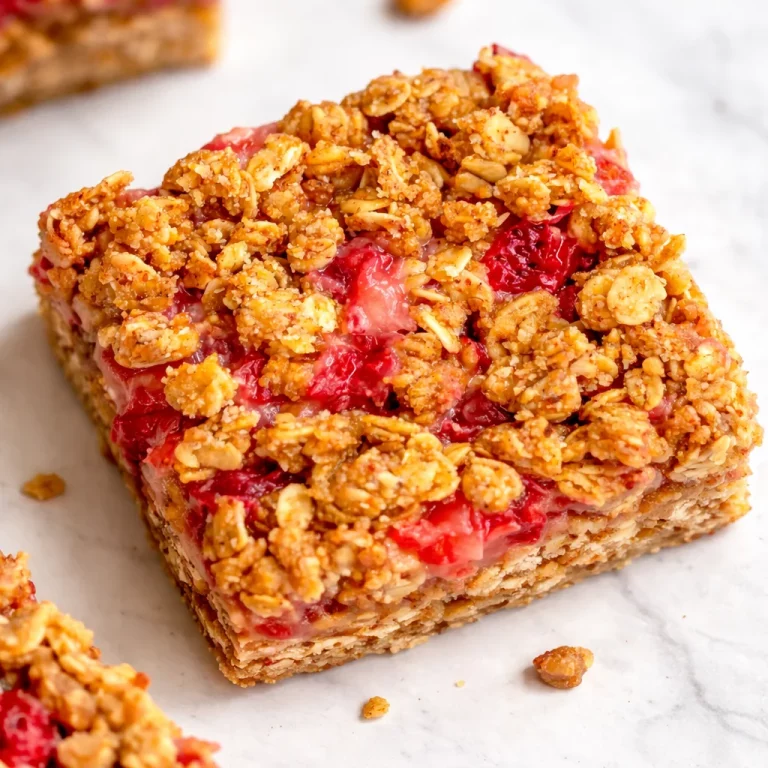
  • Delicious No-Bake Strawberry Oat Freezer Bars You’ll Love

    How to Make No-Bake Vegan Strawberry Almond Oat Bars Ingredients you will need Step by step directions Tips & Tricks for Perfect Oat Bars Storage Tips for No-Bake Bars More Ways to Enjoy Oat Bars Recommended Tools for Making Oat Bars Common Questions A sweet little freezer habit you will actually keep No-Bake Strawberry Oat…

Leave a Reply

Your email address will not be published. Required fields are marked *