Indulge in No-Bake Vanilla Cashew Cream Bars That Wow!
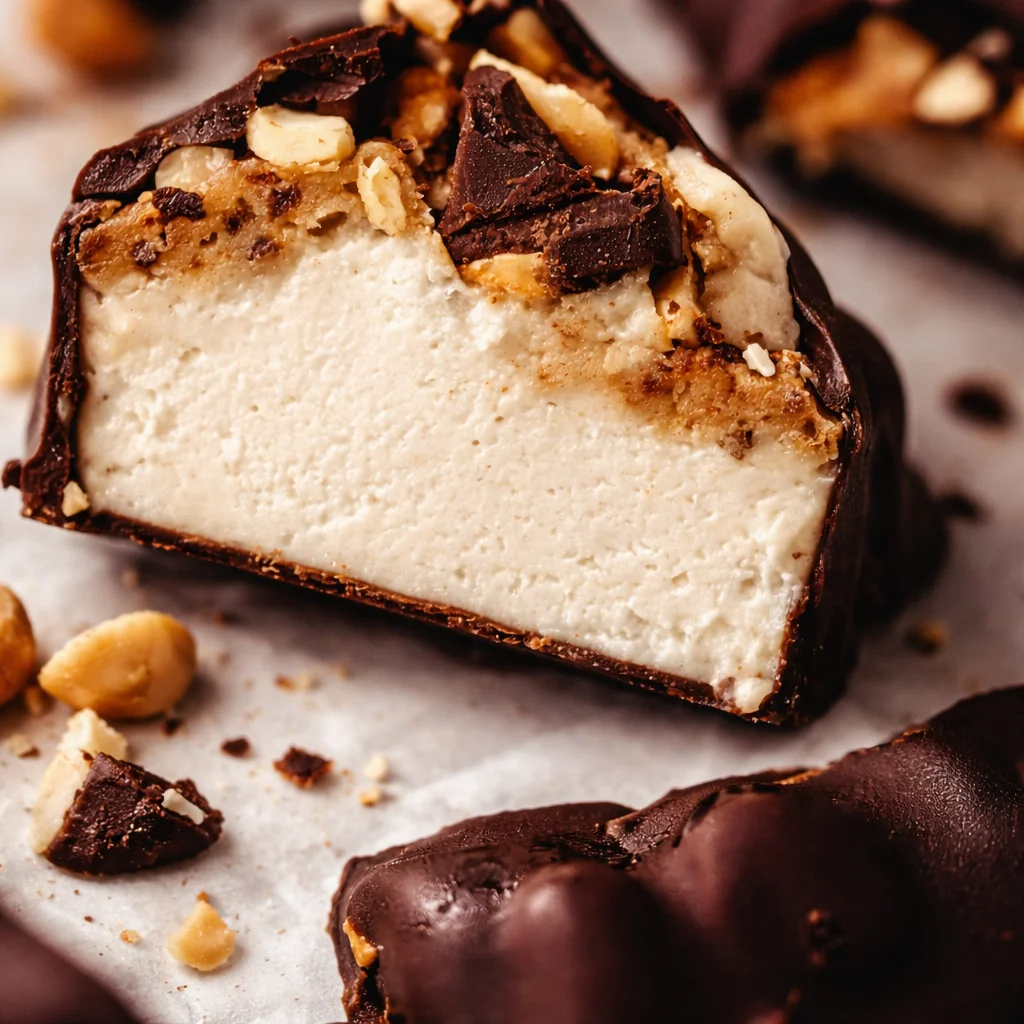
No-Bake Vanilla Cashew Cream Bars are my answer to that familiar moment when you want something sweet and impressive, but you do not want to turn on the oven. Maybe it is a hot day, maybe you are tired, or maybe you just want dessert without a bunch of steps. I have been there, standing in my kitchen with a snacky mood and zero patience. These bars are creamy, vanilla forward, and the cashew filling feels way fancier than the effort it takes. If you have a blender or food processor, you are basically halfway there. 
How to Make Caramel Cashew Ice Cream Bars
Okay, quick note before we start. My base recipe here is for No-Bake Vanilla Cashew Cream Bars, but you can totally push them into “ice cream bar” territory by freezing them a bit longer and adding a caramel vibe on top. I do this when I want that candy bar feeling, but still want to keep it homemade and simple.
Step by step overview
Here is the flow I follow every single time. No drama, no complicated techniques, just a solid method that works.
- Soak the cashews until they are soft. This is what makes the filling super smooth.
- Make a quick crust in the food processor, then press it into a lined pan.
- Blend the cashew filling with vanilla and a little sweetness until it looks like glossy cream.
- Pour the filling over the crust and chill until firm.
- For the caramel twist, drizzle a quick date caramel or melted caramel style sauce over the top, then freeze.
Once they are firm, I slice them into bars and stash them in the freezer. If you eat them straight from the freezer, let them sit 5 minutes so the bite is creamy instead of rock hard.
If you are the kind of person who likes to plan snacks (I am not, but I try), this is a great make ahead dessert for parties. Also, if you like other no bake treats, I usually pair these with something chocolatey like my no-bake chocolate bites on a dessert platter.
What Makes This Recipe Great
There are a lot of no bake bars out there, but this one has a few things going for it that keep me coming back. I have made these for friends who “do not really like cashews” and somehow they still go in for seconds. That creamy vanilla filling is just comforting.
Here is why I think No-Bake Vanilla Cashew Cream Bars are such a win:
1) You do not bake anything. Your kitchen stays cool and you do not have to babysit the oven.
2) The texture is legit. The filling sets up like a soft cheesecake vibe, especially after a good chill.
3) The flavor is flexible. Keep it classic vanilla, or add cinnamon, lemon zest, or a caramel drizzle for a candy bar mood.
4) They slice clean. That sounds small, but it is kind of everything when you want bars that look pretty on a plate.
“I brought these to a family get together and everyone thought they were from a bakery. The vanilla cashew layer tastes so creamy, and the crust has the perfect bite.”
Also, if you are building out a little collection of crowd pleasing sweets, you might like this easy homemade fudge too. Totally different vibe, but it scratches the same sweet tooth itch.
Ingredient Notes
This is the part where I save you from little disappointments like grainy filling or a crust that crumbles all over your lap. You do not need a ton of ingredients, but the few you use matter.
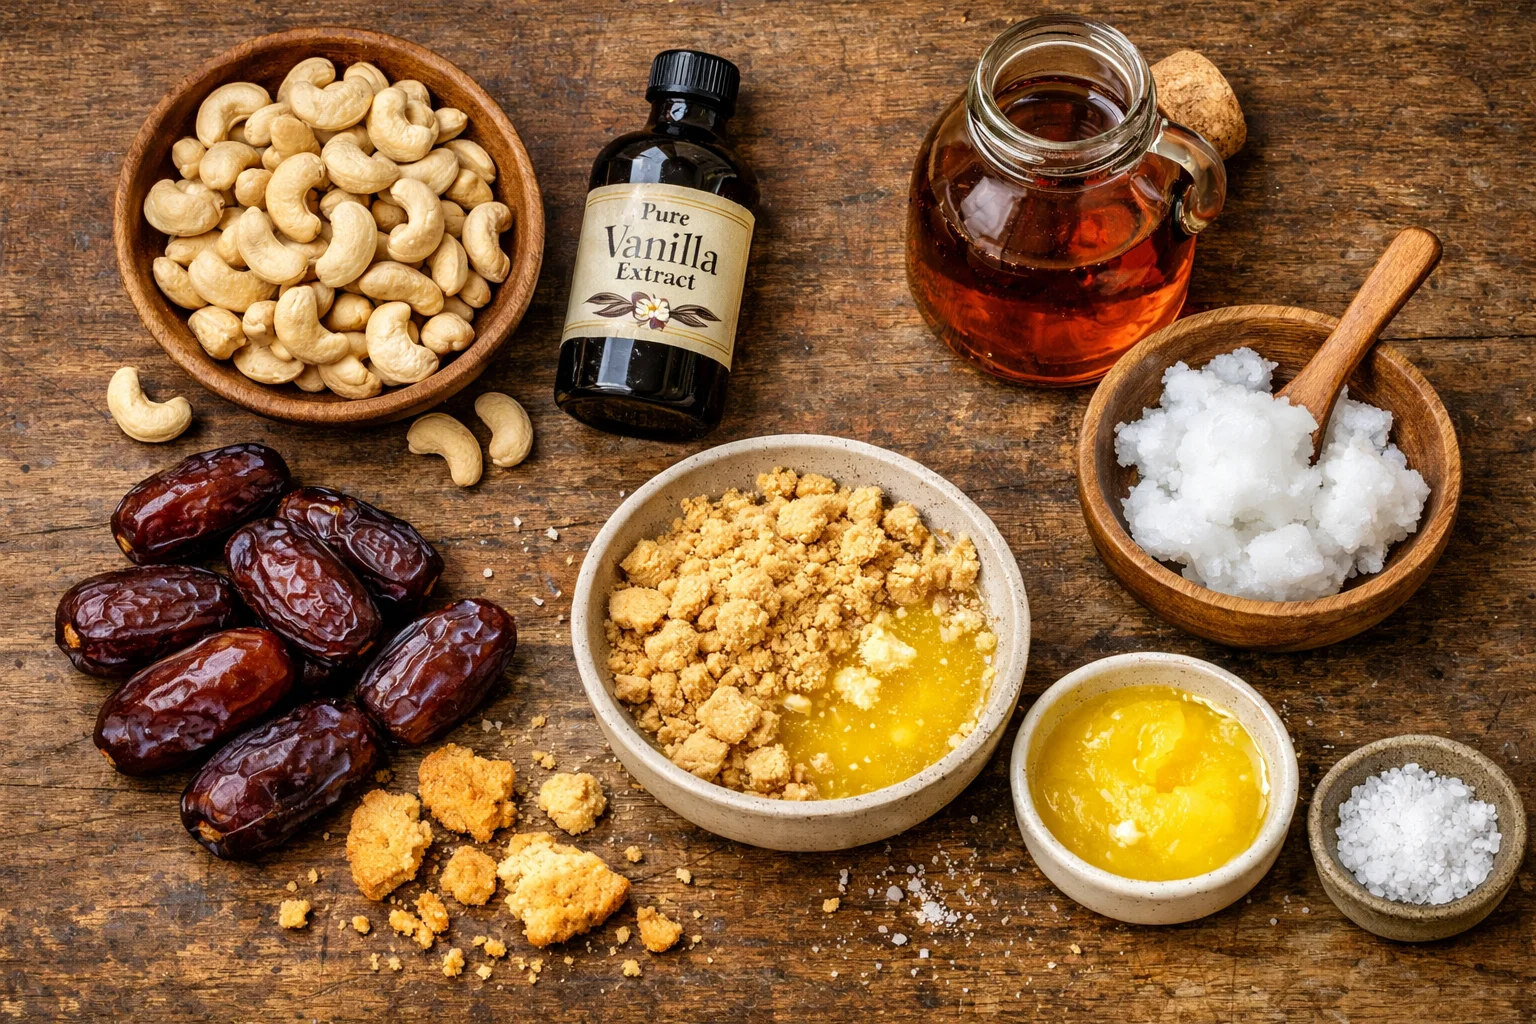
Cashews: Use raw cashews, not roasted and salted. Soaking helps them blend into that smooth, creamy texture. If you forget to soak, you can simmer them in hot water for about 15 minutes, then drain.
Vanilla: I love vanilla extract, but vanilla bean paste makes these taste extra special. Either works. Just do not skimp because vanilla is the main personality here.
Sweetener: Maple syrup is my go to for the filling. If you prefer honey or agave, those also work. Taste the mix before you pour it, because everyone likes a different level of sweet.
Coconut oil: This helps the filling set up firmly when chilled. If you do not like coconut flavor, use refined coconut oil. It is basically neutral.
Crust options: My easiest crust is dates plus nuts plus a pinch of salt. If you do not have dates, you can use crushed cookies and a bit of melted butter, but then it is more of a classic dessert bar instead of the naturally sweetened vibe.
One more thing, salt matters. Even just a tiny pinch in the filling makes the vanilla pop and keeps the sweetness from feeling flat.
And if you are the kind of person who loves keeping ingredients on hand for quick desserts, I wrote a simple pantry list here: dessert pantry staples.
Secrets to Success
I have made these bars enough times to learn what actually makes them turn out “wow” instead of “meh.” Here are my best real life tips.
Soak longer if your blender is not strong. A high speed blender makes it easy, but if yours struggles, soak the cashews a full 6 to 8 hours. Creamy filling is the goal.
Line your pan. Parchment paper is not optional in my kitchen for this recipe. It makes lifting and slicing so much easier.
Chill time is everything. For No-Bake Vanilla Cashew Cream Bars, I prefer at least 6 hours in the fridge, or 3 to 4 hours in the freezer, depending on how firm you want them.
Taste as you go. Before you pour the filling, taste it. Add a touch more vanilla, a pinch more salt, or a bit more sweetener if it needs it. Once it is chilled, changing the flavor is basically impossible.
Clean slices: Run your knife under hot water, wipe it dry, then slice. It sounds fussy, but it takes 10 seconds and makes the bars look so neat.
And if you are going for that caramel candy bar energy, drizzle the caramel on after the bars have set, then freeze again for 20 to 30 minutes so it firms up on top.
More Homemade Candy Bar Recipes Youll Love
If these bars are your kind of dessert, you are probably also into sweet snacks that feel like a treat from the store, but better. Here are a few directions you can go next, depending on your mood:
Chocolate dipped version: Freeze the bars until very firm, then dip the bottoms in melted chocolate and let them set.
Peanut butter swirl: Warm peanut butter slightly and swirl it into the filling before chilling.
Crunchy topping: Sprinkle chopped toasted nuts or cacao nibs on top before the filling sets.
Mini bars: Use a muffin tin with liners for grab and go portions.
Honestly, No-Bake Vanilla Cashew Cream Bars are also a great base recipe. Once you get the feel for the filling, you can play with flavors in a really relaxed way.
;
Common Questions
Do I have to soak the cashews?
It is strongly recommended. Soaking makes the filling smooth instead of gritty. If you are in a rush, hot water for 15 minutes helps.
How long do these keep?
In the fridge, about 5 days in a sealed container. In the freezer, they are great for around 2 months. I wrap individual bars so they do not get freezer smell.
Can I make them nut free?
Cashews are the core of the creamy layer, so it is tricky. A sunflower seed “cream” can work, but the flavor will be different and you might need a little extra sweetener.
Why is my filling not setting?
Usually it is not enough chill time or the coconut oil amount was too low. Also make sure you drained the cashews well, too much water can soften the set.
Can I double the recipe?
Yes. Use a larger pan and give it extra chill time. Thicker bars take longer to firm up all the way through.
A Sweet Little Final Push to Try Them
If you want a dessert that feels special without turning into an all day project, No-Bake Vanilla Cashew Cream Bars are the move. They are creamy, simple, and they slice into those neat little squares that make you feel like you have your life together. Keep them classic vanilla or go for a caramel drizzle and freeze them for that ice cream bar vibe. And if you are craving more inspiration in this style, check out Caramel Cashew Ice Cream Bars (vegan + paleo) | Feasting on Fruit because it is right in the same delicious lane. Now go soak those cashews and treat yourself, you deserve a dessert that wows with barely any effort.
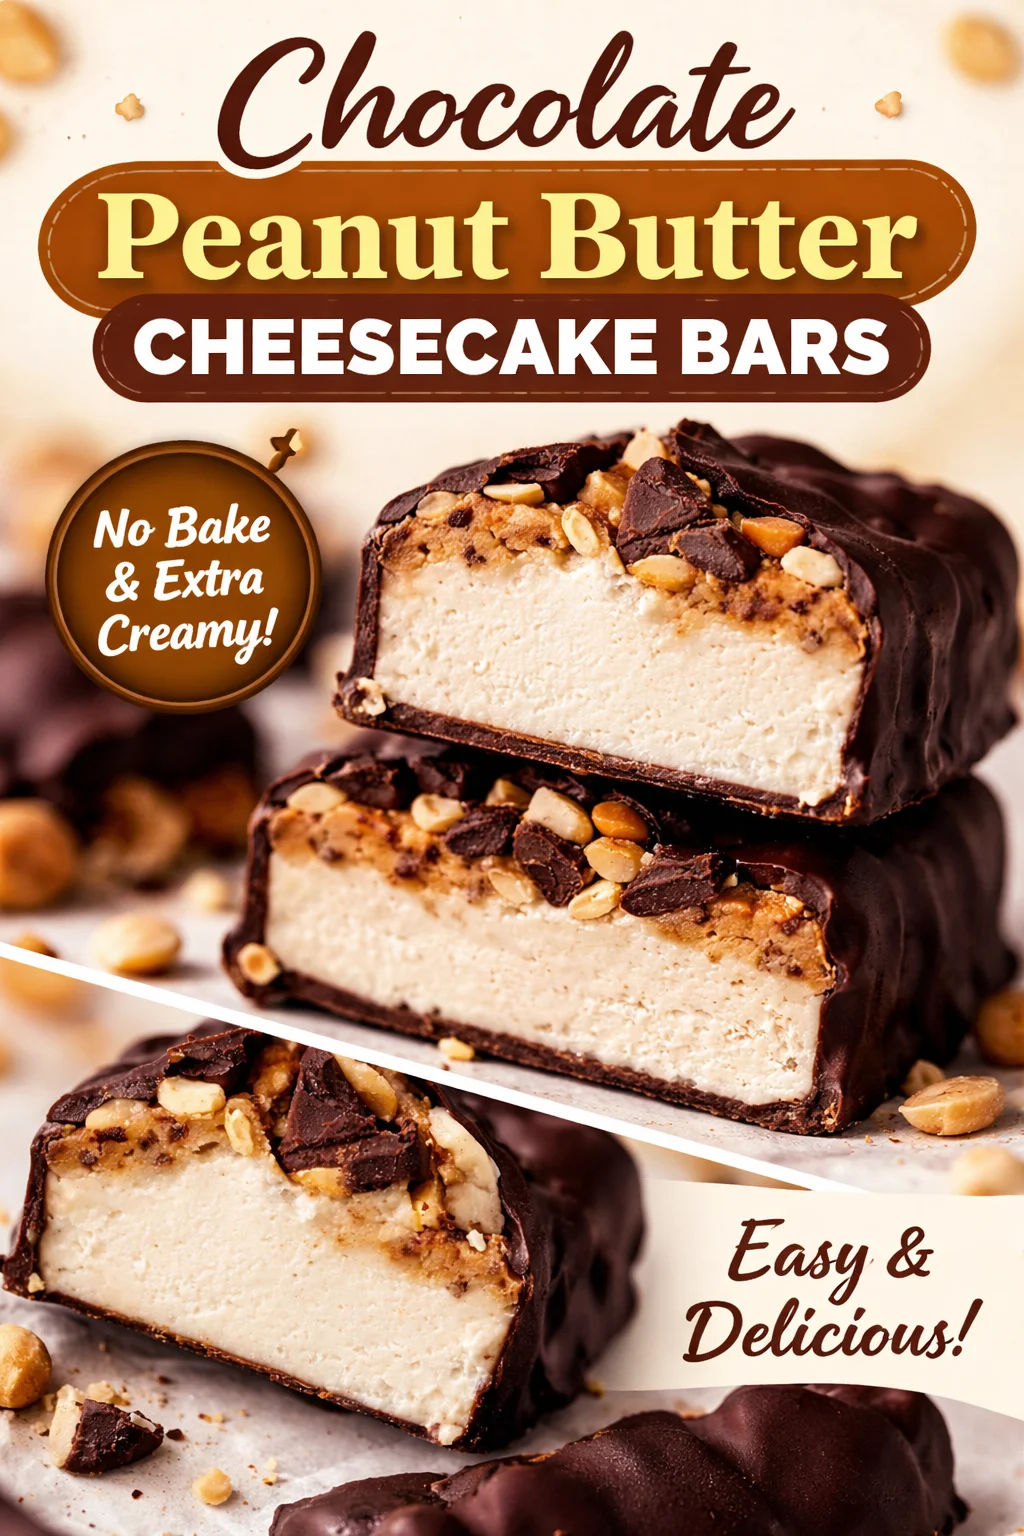
Caramel Cashew Ice Cream Bars
Ingredients
For the cashew filling
- 2 cups raw cashews Soaked for 6-8 hours or simmered in hot water for 15 minutes.
- 1 teaspoon vanilla extract Or use vanilla bean paste for a special flavor.
- 1/4 cup maple syrup Can substitute with honey or agave.
- 1/4 cup coconut oil Use refined if you prefer a neutral flavor.
- a pinch salt Enhances flavor.
For the crust
- 1 cup dates Pitted, or substitute with crushed cookies and melted butter.
- 1/2 cup nuts (almonds, pecans, or walnuts) Chopped, for the crust.
For the caramel topping
- 1/2 cup caramel sauce Use date caramel or melted caramel for a drizzle.
Instructions
Preparation
- Soak the cashews until soft (6 to 8 hours), or simmer in hot water for 15 minutes.
- In a food processor, blend dates and nuts into a crust mixture.
- Press the crust mixture into a lined pan to form the base.
- Blend the soaked cashews, vanilla, maple syrup, coconut oil, and salt until smooth and creamy.
- Pour the cashew filling over the crust and spread it evenly.
- Chill in the refrigerator for at least 6 hours or in the freezer for 3-4 hours until firm.
- For the caramel twist, drizzle the caramel sauce over the top and freeze for an additional 20-30 minutes.
Serving
- Slice the bars into squares and serve straight from the freezer for a creamy texture.