Easy Healthy Peanut Crunch Squares (No Flour) Recipe

Healthy Peanut Crunch Squares (No Flour) are my go to fix when I want something sweet, crunchy, and actually satisfying, but I do not want to turn the kitchen into a floury mess. You know those days when you are craving a candy bar vibe, but you also want to keep things a little more balanced? This is that recipe. It is no bake, super simple, and you can make it in one bowl plus a pan. I started making these when I needed an after dinner treat that felt fun but did not leave me with a sugar crash. Let’s get into it. 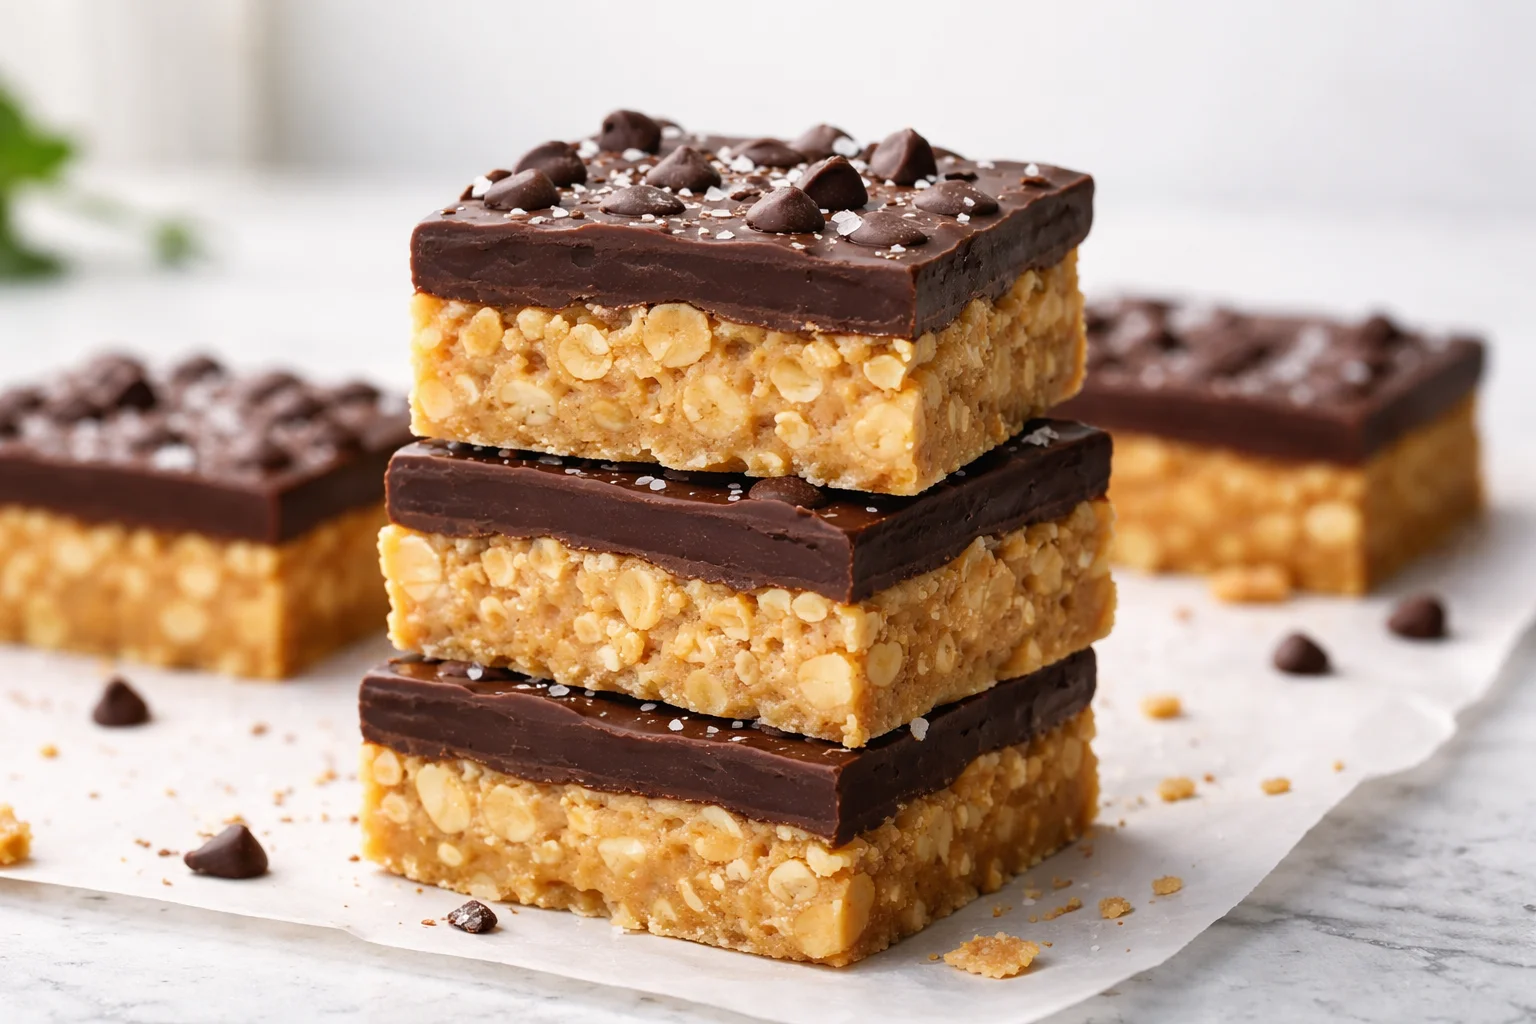
How to Make No Bake Peanut Butter Bars Step by Step
If you can stir, press, and wait for the fridge to do its thing, you can make these. The best part is that the steps are forgiving. I have made them while half distracted, and they still came out great.
What you will need
- A medium mixing bowl
- A spatula or sturdy spoon
- An 8×8 pan (or similar)
- Parchment paper (highly recommended for easy lifting)
Here is the simple step by step process I use:
Step 1: Line your pan with parchment paper. Leave a bit hanging over the sides so you can lift the bars out later without wrestling them.
Step 2: Warm the peanut butter and honey (or maple syrup) just enough to stir smoothly. I usually do 15 to 25 seconds in the microwave. You want it pourable, not hot.
Step 3: Stir in the crunchy add ins (more on the four ingredients below). Mix until everything looks evenly coated and sticky.
Step 4: Press the mixture firmly into the pan. Pressing matters. I use the back of a spoon and then I press again with my hands. If it is compact, it slices cleanly later.
Step 5: Melt the dark chocolate and spread it on top. Pop the pan in the fridge until the top is set and the base feels firm, usually about 45 to 60 minutes.
Step 6: Lift out, slice, and try not to eat the corner pieces immediately. (You will. I always do.)
If you are in a peanut butter mood lately, you might also like my other peanut butter obsessions, like these easy no bake peanut butter cookies that are basically the quickest sweet fix ever.
;
The Four Ingredients
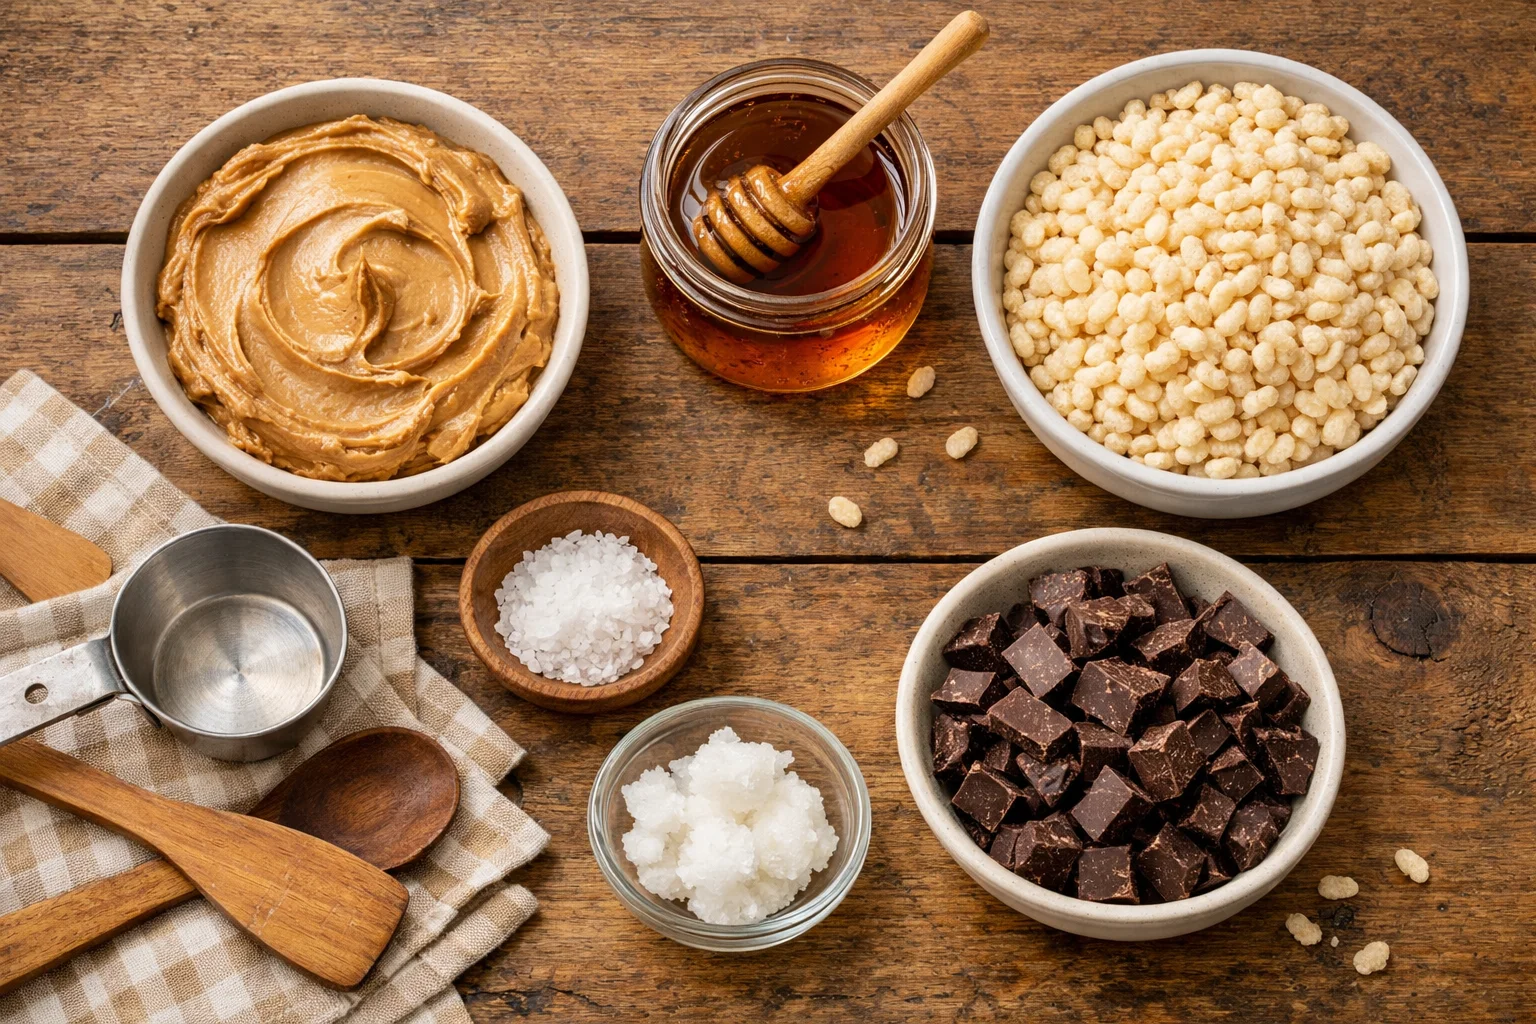
I love a short ingredient list, especially for treats. These are pantry basics for me, which means I can make Healthy Peanut Crunch Squares (No Flour) without a special grocery run. Here is what you need and why it matters.
My go to ingredient lineup
- Natural peanut butter: The sticky base that holds everything together. I like creamy for binding, but crunchy works too for extra texture.
- Honey or maple syrup: This sweetens and helps the bars set. Honey makes them a little firmer, maple syrup keeps them softer.
- Rice cereal or puffed rice: This is the crunch factor. It keeps the bars light and snacky, not heavy.
- Dark chocolate: The top layer that makes these feel like a real treat. I use chopped dark chocolate or chocolate chips.
That is it. Four ingredients, no flour, no oven, no complicated steps. If you want to play around, you can sprinkle flaky salt on top or mix in a spoon of chia seeds, but keep the base simple the first time so you learn the texture.
And if you love the peanut butter plus chocolate combo as much as I do, take a peek at chocolate peanut butter treats for more ideas that hit the same craving.
Recipe Tips
This is the part where I save you from the little mistakes I made the first couple times. None of them were disasters, but these tips make the bars cleaner, crunchier, and way easier to slice.
Tip 1: Use parchment paper. It turns this into a lift, slice, done situation. Without it, you will be digging bars out of the pan.
Tip 2: Do not overheat the peanut butter. Warm is good. Hot makes the mixture oily and harder to set.
Tip 3: Press firmly. I said it earlier, but it is worth repeating. The more you press, the better the squares hold together.
Tip 4: Let the chocolate cool slightly before spreading. If it is super hot, it can soften the base and make the top layer look messy. Still delicious, just messier.
Tip 5: Slice with a warm knife. Run the knife under hot water, wipe it dry, and slice. The chocolate layer cracks less this way.
“I made these for my kids lunches and ended up hiding a few squares for myself. They are crunchy, not too sweet, and they actually hold together. Total win.”
If you are trying to keep things on the healthier side in general, I keep a bunch of options in my healthy baking section. It is where I go when I want treats that still feel like everyday food.
Storing Leftovers
These store really well, which is dangerous because it means you can keep sneaking back for “just one more.” Here is what works best in my kitchen.
In the fridge: Store in an airtight container with parchment between layers. They stay firm and crunchy for about 5 to 7 days.
In the freezer: Freeze the squares in a single layer first, then move them to a container or freezer bag. They are great straight from the freezer if you like a snappy chocolate top. They keep well for about 2 months.
At room temperature: I only do this if my kitchen is cool. If it is warm, the chocolate softens and things get a little sticky.
One more thing: if you slice them small, they feel like a quick candy bite. If you slice them big, they are basically a snack bar. I usually go medium, because I like options.
More Gluten Free Candy Recipes
If you are the kind of person who likes a sweet treat but feels better skipping flour most days, you are my people. Healthy Peanut Crunch Squares (No Flour) are a great starting point, but here are a few more ideas to keep you stocked with easy treats.
I am a big fan of anything that feels like a bakery square without being complicated. These dark chocolate nut squares are one of those recipes that taste way fancier than the effort involved.
And when I want something warm and fast instead of chilled and crunchy, I make this flourless peanut butter mug cake. It is cozy, quick, and hits the peanut butter craving hard.
If you are new to flourless treats, the big secret is texture. You want a solid base, some crunch, and a little richness. Once you understand that, you can riff on flavors forever. Add chopped nuts, shredded coconut, or even a few dried cranberries if that is your thing.
Common Questions
Can I make these without honey?
Yes. Maple syrup works well. You can also use a thicker sweetener like date syrup, but the flavor will be stronger.
Why are my squares falling apart?
Usually it is because the mixture was not pressed firmly enough, or there is too much cereal. Add a bit more peanut butter and press tighter next time.
Can I use crunchy peanut butter?
Totally. It adds extra texture. If it feels a little dry, mix in an extra spoonful of peanut butter to help everything bind.
Do I have to use dark chocolate?
Nope. Milk chocolate works, and so does semi sweet. I like dark chocolate because it balances the sweetness of the base.
Are Healthy Peanut Crunch Squares (No Flour) kid friendly?
Very. If your kids like peanut butter cereal treats, these are basically the upgraded version with a chocolate top.
A sweet little wrap up
If you make these once, you will see why I keep coming back to them. Healthy Peanut Crunch Squares (No Flour) are quick, crunchy, and easy to stash in the fridge for that mid afternoon snack moment. If you want another fun variation, check out No Bake Peanut Butter Bars with Almond Flour – Vanilla And Bean for a slightly different spin on the idea. Let me know how you top yours, because I am always looking for new excuses to melt more chocolate. 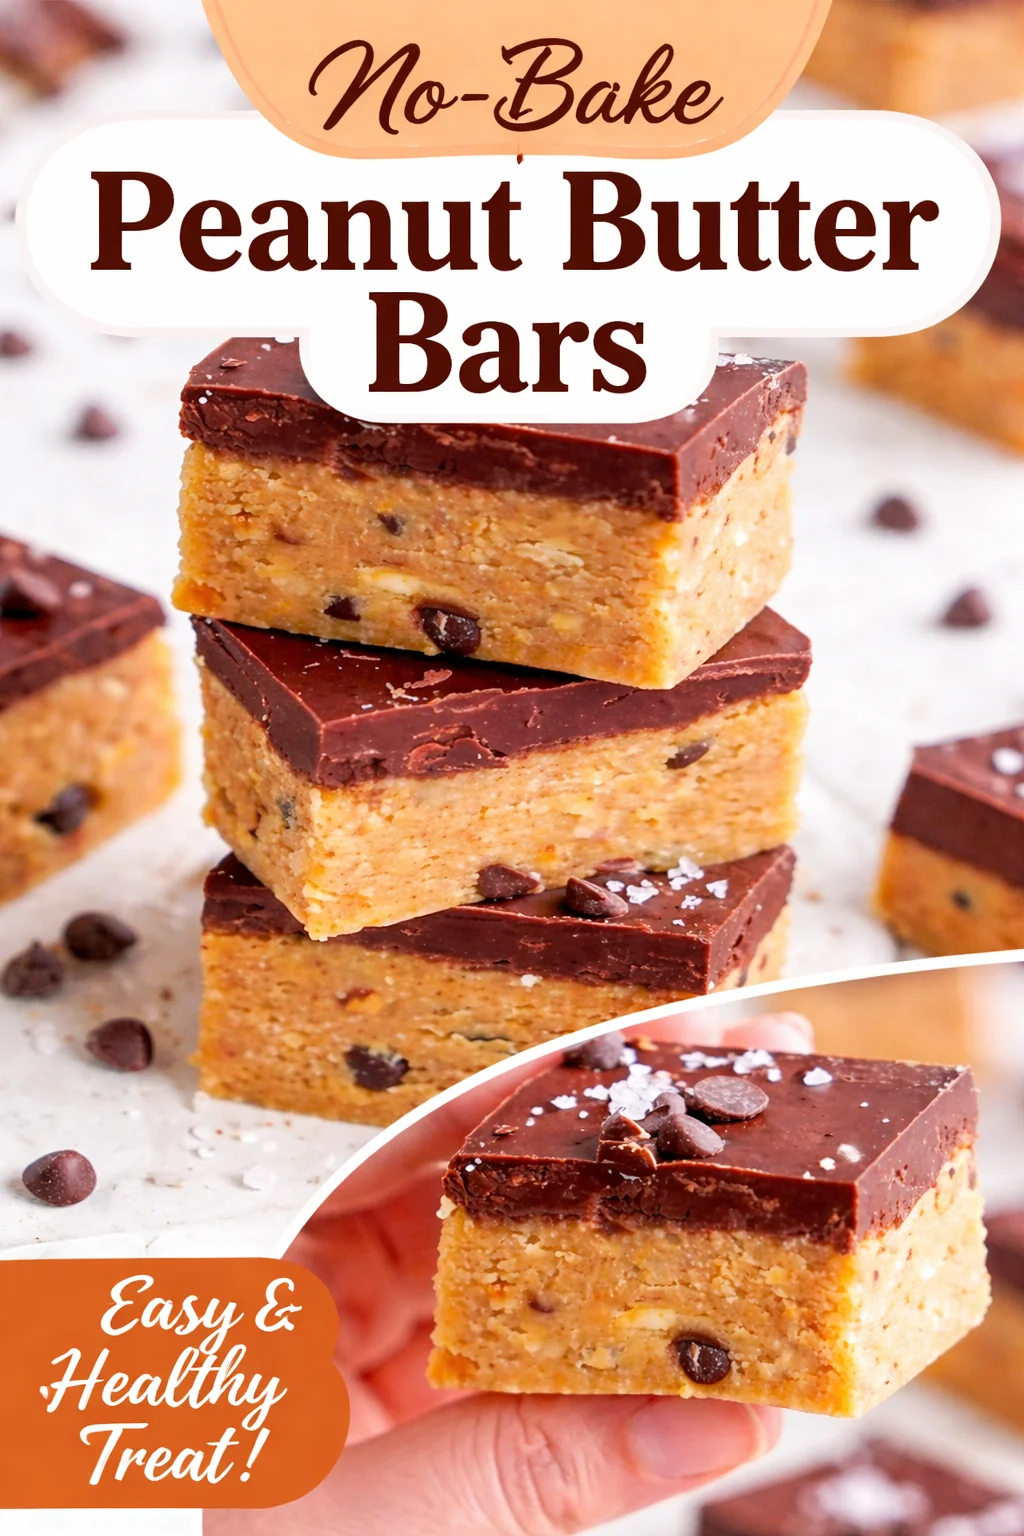
Healthy Peanut Crunch Squares
Ingredients
Base Ingredients
- 1 cup Natural peanut butter Creamy or crunchy for texture.
- 1/2 cup Honey or maple syrup Honey firms up the bars, maple syrup keeps them softer.
- 3 cups Rice cereal or puffed rice Provides crunch.
- 1 cup Dark chocolate Use chopped chocolate or chocolate chips.
Instructions
Preparation
- Line an 8x8 pan with parchment paper, leaving some hanging over the sides for easy lifting.
- Warm the peanut butter and honey (or maple syrup) in the microwave for 15 to 25 seconds until pourable.
- Stir in the rice cereal until the mixture is evenly coated and sticky.
- Press the mixture firmly into the lined pan, ensuring it is compact.
- Melt the dark chocolate and spread it evenly over the top of the pressed mixture.
- Refrigerate the pan until the chocolate is set and the base is firm, about 45 to 60 minutes.
- Lift the bars out using the parchment paper, slice, and enjoy.