Delightful Small Batch Mini Vanilla Cheesecake (6-inch) Recipe
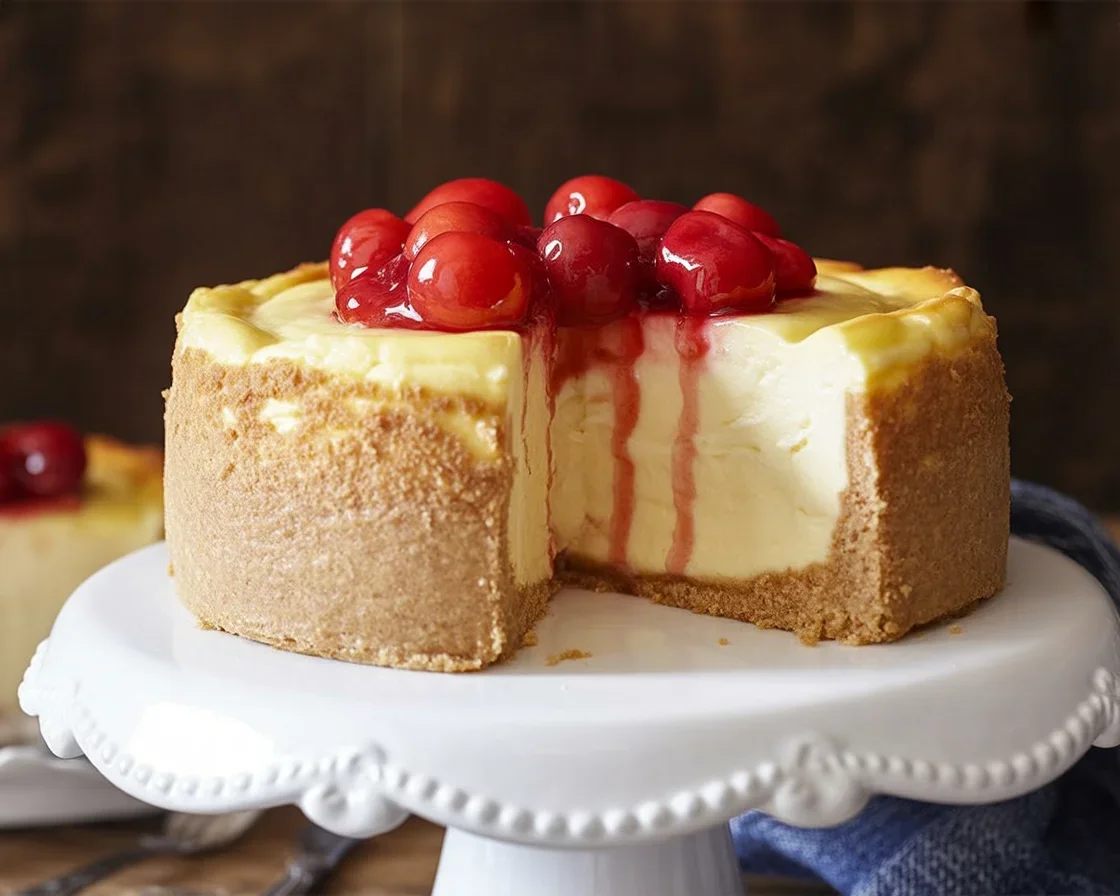
Small Batch Mini Vanilla Cheesecake (6-inch) is exactly what I make when a cozy dessert craving hits and the sink is already full of dishes. Picture this: it is a Tuesday night, you want something creamy and sweet, but you do not want a full 9 inch cheesecake lurking in the fridge all week. This cute little cake fits a small pan and an even smaller moment. It bakes quicker, chills faster, and slices like a dream. If you have been nervous about making cheesecake, this is the low stress way in. Let me show you how to get that silky middle and crisp buttery crust without any drama. 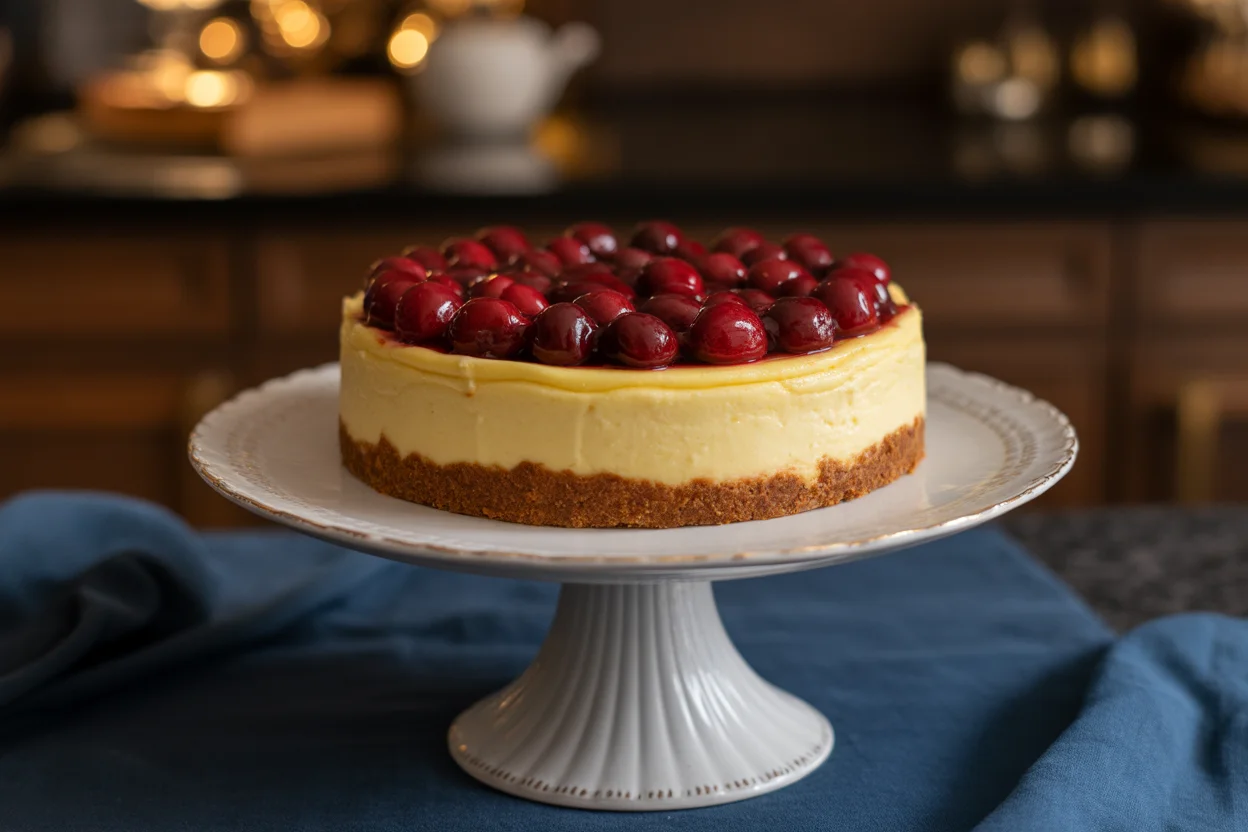
What pan do I need for a 6 inch cheesecake?
For the most reliable results, use a 6 inch springform pan with at least 2.5 inch tall sides. The latch makes unmolding simple and keeps the crust intact. A light colored pan helps prevent over browning on the edges. If all you have is a standard 6 inch cake pan, you can still make it work.
Here is how to adapt a regular pan:
Line the bottom with a round of parchment, then run a long strip up two sides to make a sling. Grease lightly so the parchment releases cleanly. When the cheesecake is chilled, lift it straight up by the sling, then slide onto a plate. It is not as tidy as a springform, but it gets the job done.
Can you use a removable bottom tart pan? I do not recommend it. The sides are too short, and the filling needs more height. A mini cheesecake pan with individual cups is a fun option, but this recipe is designed for one sweet 6 inch cake, so you would need to divide carefully and shorten the bake time.
Quick check before you start: your pan should hold about 4 cups of water with a bit of space to spare. Anything smaller and you risk overflow. This is a small bake, but we still want that nice tall slice.
Ingredients
- 3/4 cup graham cracker crumbs, about 7 full sheets
- 2 tablespoons granulated sugar for the crust
- 3 tablespoons unsalted butter, melted
- Pinch of salt
- 8 ounces cream cheese, softened to room temperature
- 1/3 cup granulated sugar for the filling
- 1 teaspoon pure vanilla extract
- 1/3 cup sour cream, also at room temperature
- 1 large egg, room temperature
- 1 teaspoon lemon juice or 1/4 teaspoon almond extract, optional
- 1 teaspoon cornstarch for extra stability, optional but helpful
Directions
- Heat the oven to 325 F. If you plan to use a water bath, set a full kettle to boil and wrap the outside of your springform in a tight layer of foil.
- Mix crumbs, 2 tablespoons sugar, melted butter, and salt until evenly moistened. Press firmly into the pan, going slightly up the sides. Bake 8 minutes, then cool while you make the filling.
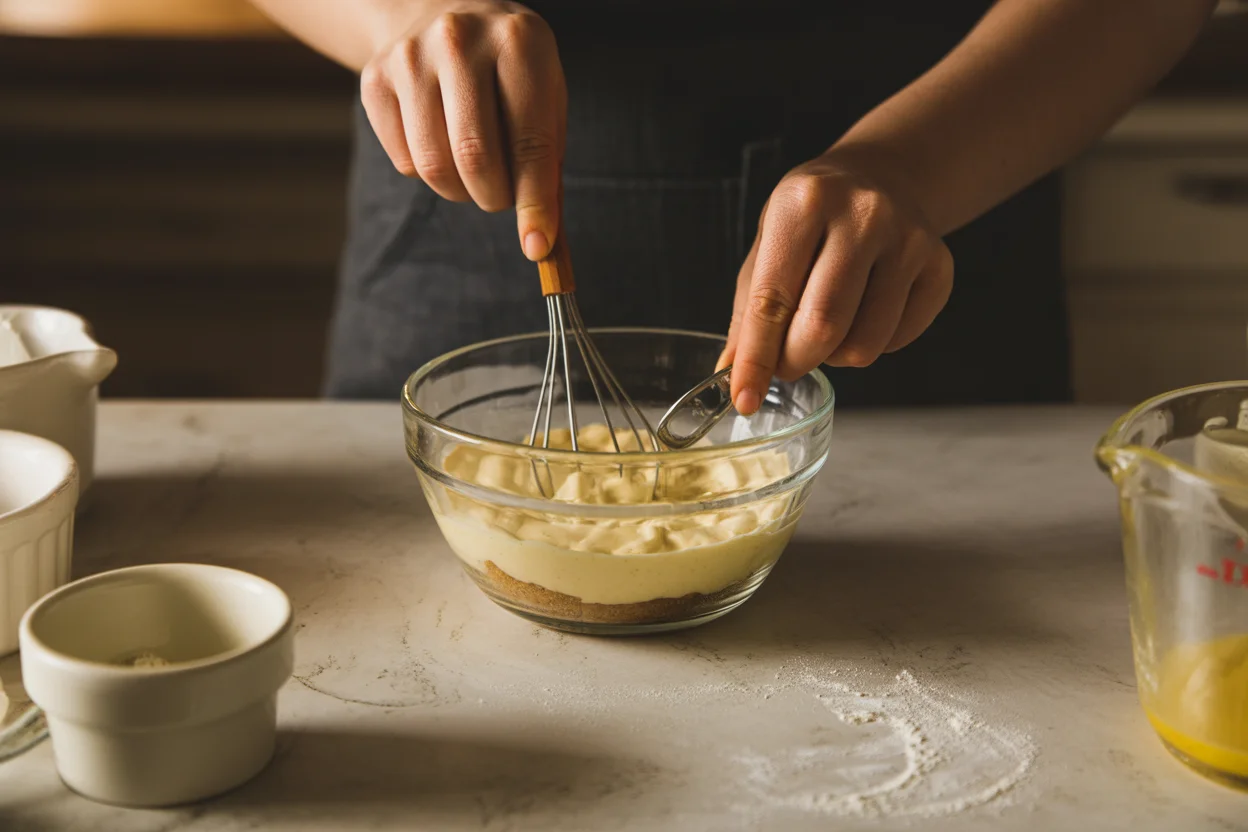
- Beat cream cheese on medium until completely smooth, about 1 minute. Scrape the bowl. Add 1/3 cup sugar, cornstarch if using, and vanilla. Mix on low until combined.
- Beat in sour cream and lemon juice on low until silky. Add the egg and mix just until combined. Do not overmix. Overmixing adds air and can cause cracks.
- Pour into the crust. Smooth the top and tap the pan gently to pop air bubbles.
- Bake at 325 F for 30 to 40 minutes. The edges should look set and the center should still have a gentle jiggle the size of a quarter.
- Turn off the oven, crack the door slightly, and let the cheesecake sit for 30 minutes. Remove and cool to room temp, then chill at least 4 hours, preferably overnight.
This base recipe is my go to Small Batch Mini Vanilla Cheesecake (6-inch). Dress it up with berries, chocolate drizzle, or a dusting of powdered sugar. Keep it classic and simple, or go wild.
How do you bake cheesecake faster?
Cheesecake wants gentle heat. But there are simple tweaks to speed things up without sacrificing that silky texture. First, start with room temperature cream cheese, sour cream, and egg. Cold dairy is the number one reason for longer bake times and lumpy batter. Give them 60 to 90 minutes on the counter before you begin.
Preheat fully and use a metal pan. Metal conducts heat better than glass, so your center sets sooner. If you have convection, use it at 300 F and begin checking at 28 minutes. Convection moves heat around more efficiently, which helps a small cheesecake bake evenly.
Skip the full water bath and place a shallow pan of hot water on the lower rack instead. It boosts moisture in the oven so the top does not dry out, and it saves you the time of wrapping the pan. Another quick trick is to let the baked cheesecake rest in the warm oven for only 15 minutes rather than 30, then cool on the counter. Just watch for carryover heat and do not overbake.
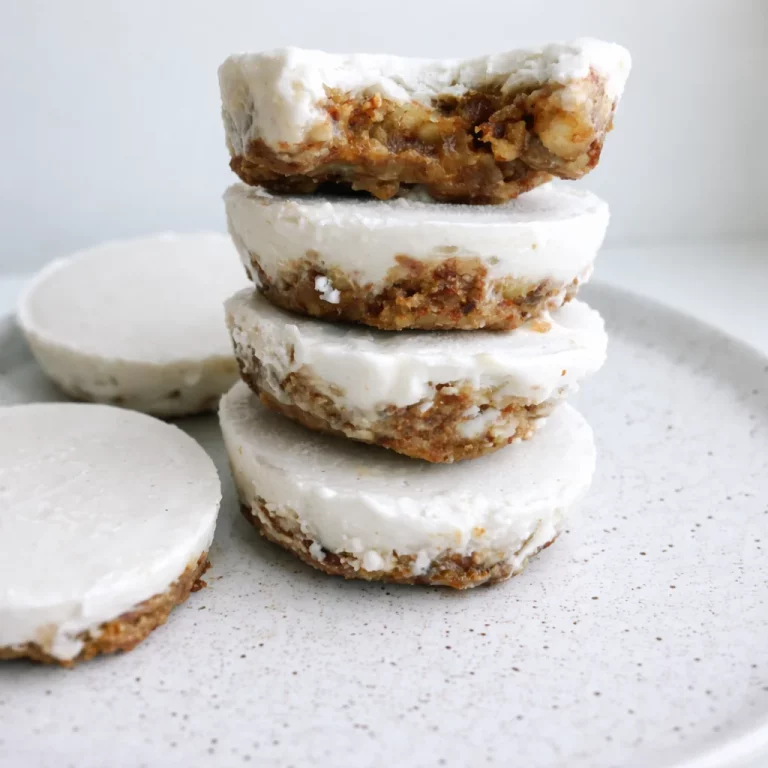
In a hurry for dessert tonight, but still craving cheesecake flavors? Try my creamy no bake cheesecake bites. They hit the same sweet spot with almost zero wait time.
When you line up these little timesavers, your Small Batch Mini Vanilla Cheesecake (6-inch) goes from mixer to fridge with minimal fuss. Fast, but still rich and smooth.
Do I need a water bath for cheesecake?
Short answer: it depends on your oven and how picky you are about the top. A water bath gives you the most insurance. It keeps the heat gentle and moist, so the surface stays pale and the inside stays creamy. For a 6 inch cheesecake, you can often skip the bath if you bake low and slow at 300 to 325 F, then cool gradually.
Personally, if I am serving to guests, I use a bath. If it is just me and a weeknight treat, I bake without it and place a pan of hot water on the lower rack. Both work. If your oven runs hot or your kitchen is very dry, the bath is your friend.
Reader Mia: I tried your small cheesecake without a water bath and it was still so creamy. The gentle jiggle test and the cool down tip made all the difference.
Want a fun twist while you are in a cheesecake mood? These crispy and creamy Air Fryer Cherry Cheesecake Egg Rolls are a total party favorite.
Either way, the core technique remains the same. Bake until the edges look set, the center wobbles lightly, then let it cool in stages. That is the path to an even, satiny Small Batch Mini Vanilla Cheesecake (6-inch).
How To Make A Water Bath
First, wrap your springform pan with two snug layers of heavy duty foil. The foil should come up the sides to the rim so water cannot sneak in. If your springform is not super tight, add a layer of parchment around the outside before the foil as extra insurance.
Set the filled and wrapped pan inside a larger roasting pan. Slide the setup onto your oven rack, then pour very hot water into the roasting pan until it comes halfway up the sides of the springform. Pouring the water after you set the pans on the rack prevents sloshing and keeps things safe.
Bake until the cheesecake edges are set and the center has a soft jiggle. To remove, carefully lift out the springform and set it on a cooling rack. Peel off the foil once the pan is cool enough to handle. If you see any moisture on the bottom, blot it with a towel before chilling.
Two little helpers: keep the oven door closed as much as possible, and handle the bath with oven mitts with good grip. The water is very hot, and we want this to be a calm bake.
Why did my cheesecake crack?
Cracks happen. It is almost always about temperature swings, overbaking, or air bubbles. Here is how to dodge them.
Start with room temp ingredients so the batter blends smooth with minimal mixing. Beat on low, scrape the bowl, and stop as soon as everything is silky. When you pour the filling, tap the pan to release bubbles. If bubbles hang around, gently pop them with a toothpick before baking.
Ovens run hot, so check early. When the center still wobbles slightly, you are done. Err on the side of a softer set because cheesecake continues to firm up as it cools. Cracks also come from cooling too fast. Let it sit in the off oven with the door cracked, then cool on the counter, then chill. That gradual cool keeps the top smooth.
If a hairline crack does show up, no big deal. Cover it with a swoop of whipped cream, a few berries, or a spoonful of jam. Your Small Batch Mini Vanilla Cheesecake (6-inch) will still taste dreamy.
Common Questions
How long do I chill a 6 inch cheesecake? At least 4 hours, but overnight is best. The texture sets and the flavor deepens.
Can I use Greek yogurt instead of sour cream? Yes, use full fat Greek yogurt for the richest result. The texture stays creamy and the tang is lovely.
What if I only have 1 egg and it is cold? Put the egg in a bowl of warm tap water for 10 minutes. It will warm up enough to blend smoothly.
How do I store leftovers? Cover the pan or use an airtight container. Refrigerate up to 5 days. You can also freeze slices for 1 month. Thaw in the fridge.
Can I double the recipe for a 9 inch pan? You can double, but the bake time will increase significantly. If you want a tested 9 inch option, use a recipe made for that size.
One Last Little Nudge to Bake It
There is something so comforting about a recipe that fits your life instead of taking it over. This Small Batch Mini Vanilla Cheesecake (6-inch) bakes up creamy, chill enough for a late night taste test, and slices like a little cafe treat. If you want another solid reference for small pans, I also love this clear and helpful guide from 6 Inch Cheesecake Recipe – Homemade In The Kitchen. Once you master this version, riff with citrus zest, a chocolate crust, or caramel swirls.
I hope you feel ready to grab that tiny pan and bake. You deserve a fancy dessert that does not feel fussy. Leave a comment if you try it, and tell me what topping you chose. Happy baking and happy snacking.
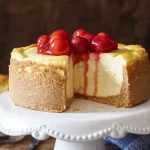
Small Batch Mini Vanilla Cheesecake
Ingredients
For the crust
- 3/4 cup graham cracker crumbs, about 7 full sheets
- 2 tablespoons granulated sugar for the crust
- 3 tablespoons unsalted butter, melted
- Pinch of salt
For the filling
- 8 ounces cream cheese, softened to room temperature
- 1/3 cup granulated sugar for the filling
- 1 teaspoon pure vanilla extract
- 1/3 cup sour cream, also at room temperature
- 1 large egg, room temperature
- 1 teaspoon lemon juice or 1/4 teaspoon almond extract, optional
- 1 teaspoon cornstarch for extra stability, optional but helpful
Instructions
Preparation
- Preheat the oven to 325°F. If using a water bath, set a kettle to boil and wrap the outside of your springform in foil.
- Mix graham cracker crumbs, 2 tablespoons sugar, melted butter, and salt until moistened. Press firmly into the bottom of the pan and slightly up the sides. Bake for 8 minutes, then cool.
- Beat cream cheese on medium until smooth, about 1 minute. Scrape the bowl, then add 1/3 cup sugar, cornstarch (if using), and vanilla. Mix on low until combined.
- Add sour cream and lemon juice, mixing on low until silky. Beat in the egg just until combined; do not overmix to avoid cracks.
- Pour the filling into the crust. Smooth the top and gently tap the pan to release air bubbles.
Baking
- Bake at 325°F for 30 to 40 minutes. The edges should look set, and the center should jiggle slightly.
- Turn off the oven, crack the door, and let the cheesecake sit for 30 minutes. Remove and cool to room temperature, then chill for at least 4 hours, preferably overnight.