Delicious Small-Batch Cottage Cheese Lemon Cake Recipe

Delicious Small-Batch Cottage Cheese Lemon Cake with a lemony flavor.

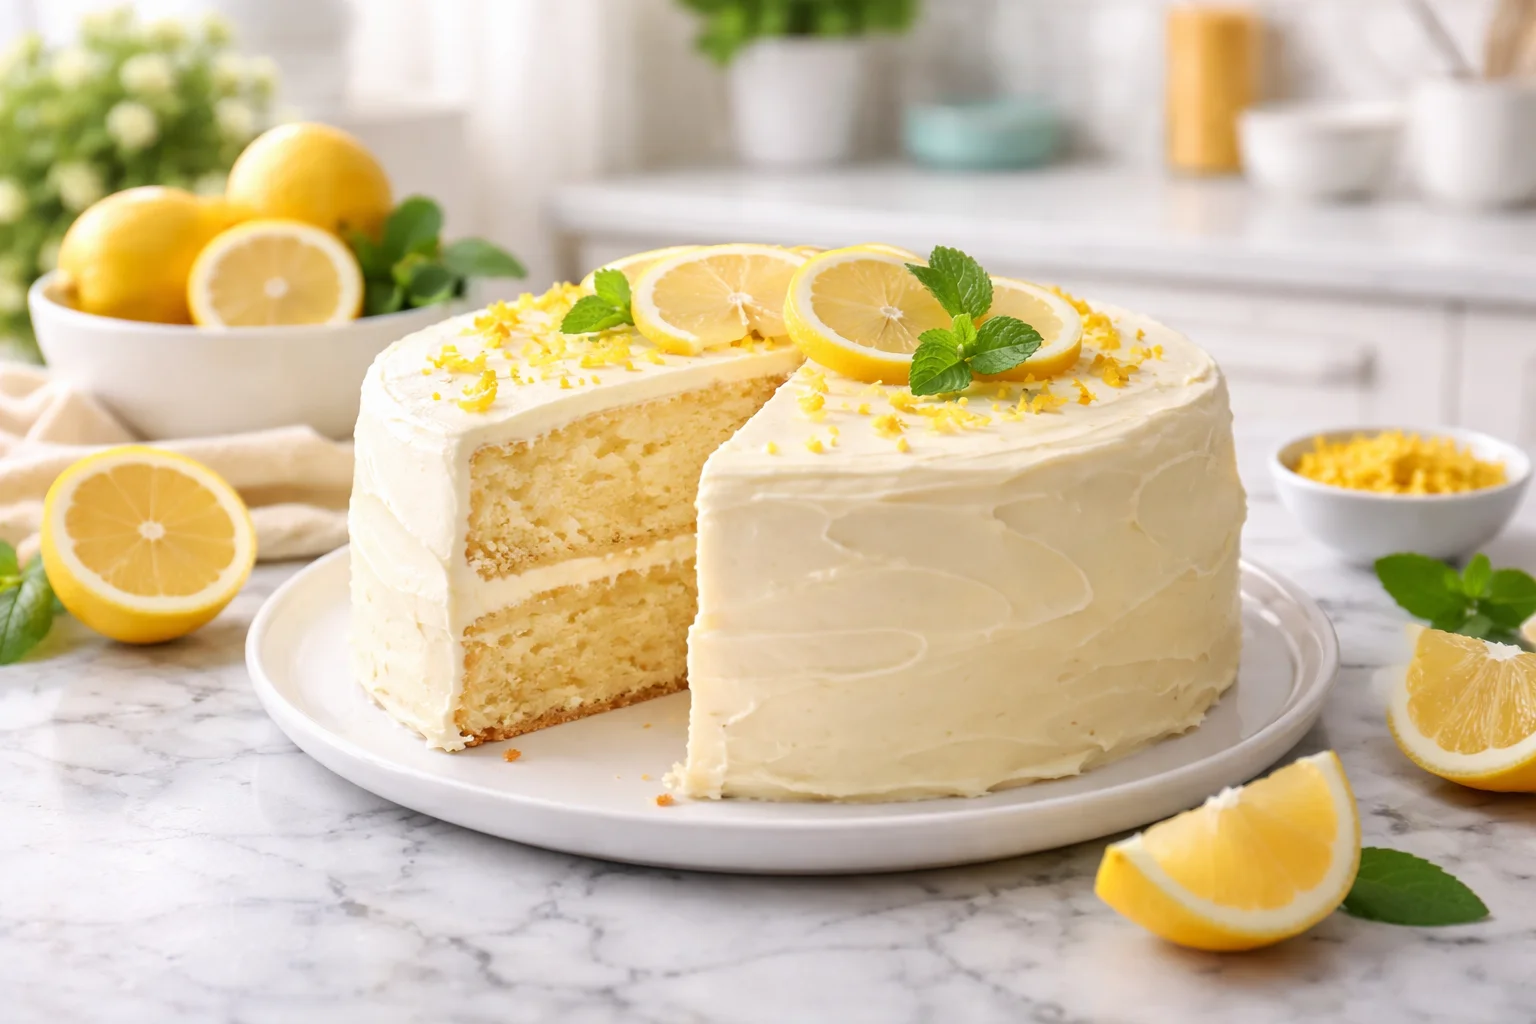
Small-Batch Cottage Cheese Lemon Cake is my answer for those days when you want something bright and sweet, but you do not want a giant cake sitting on the counter all week. I started making this when I had a lonely lemon in the fridge and zero interest in hauling out my stand mixer. This recipe feels like a little treat that still counts as a real cake, not a sad mug dessert. It bakes up soft, lightly tangy, and it smells like sunshine in your kitchen. If you are baking for two, or just want a smaller payoff, you are in the right place.

Delicious Small-Batch Cottage Cheese Lemon Cake Recipe
Reasons to Love These Small Batch Lemon Cupcakes

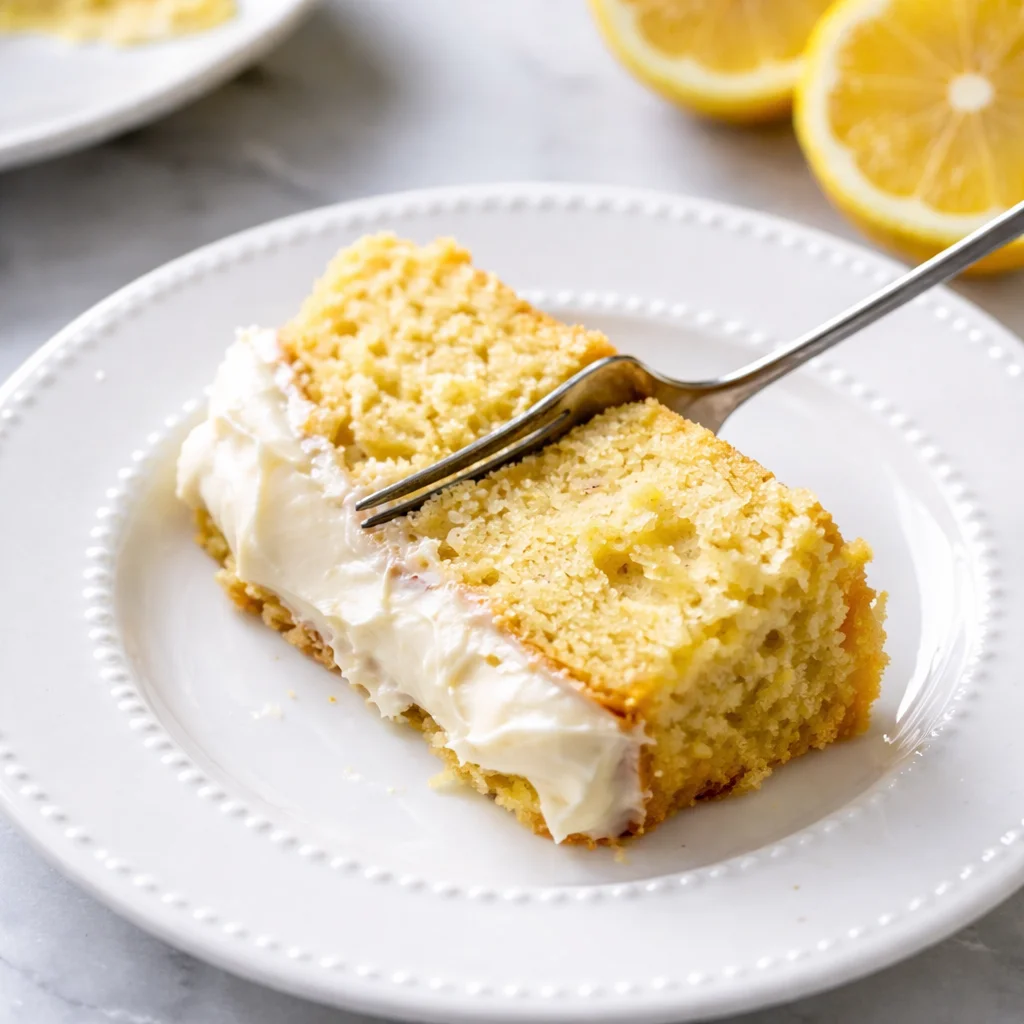
I know the keyword says cake, but I am putting this in cupcake form half the time because it is easy and cute. Either way, the flavor is the same. This Small-Batch Cottage Cheese Lemon Cake has that fresh lemon pop, plus a super tender crumb thanks to cottage cheese. And before you worry, it does not taste like cottage cheese at all. It just makes the cake moist and a little creamy.

Here is why I keep coming back to it:

  • Small batch means no pressure to feed a crowd, and no mountain of leftovers.
  • One bowl vibe for the batter, so cleanup is not a whole thing.
  • Bright lemon flavor from real zest and juice, not just extract.
  • Soft texture that stays nice even the next day.
  • Flexible because you can bake it as 6 cupcakes or one small cake layer.

Also, if you love lemon plus something fruity, you might like these little bites too. I make them when I want a quick snack instead of a full bake: lemon blueberry cottage cheese protein bites.

“I made these for a weeknight dessert and my husband asked if they were from a bakery. The lemon flavor is perfect and the crumb is so soft. I am officially obsessed.”
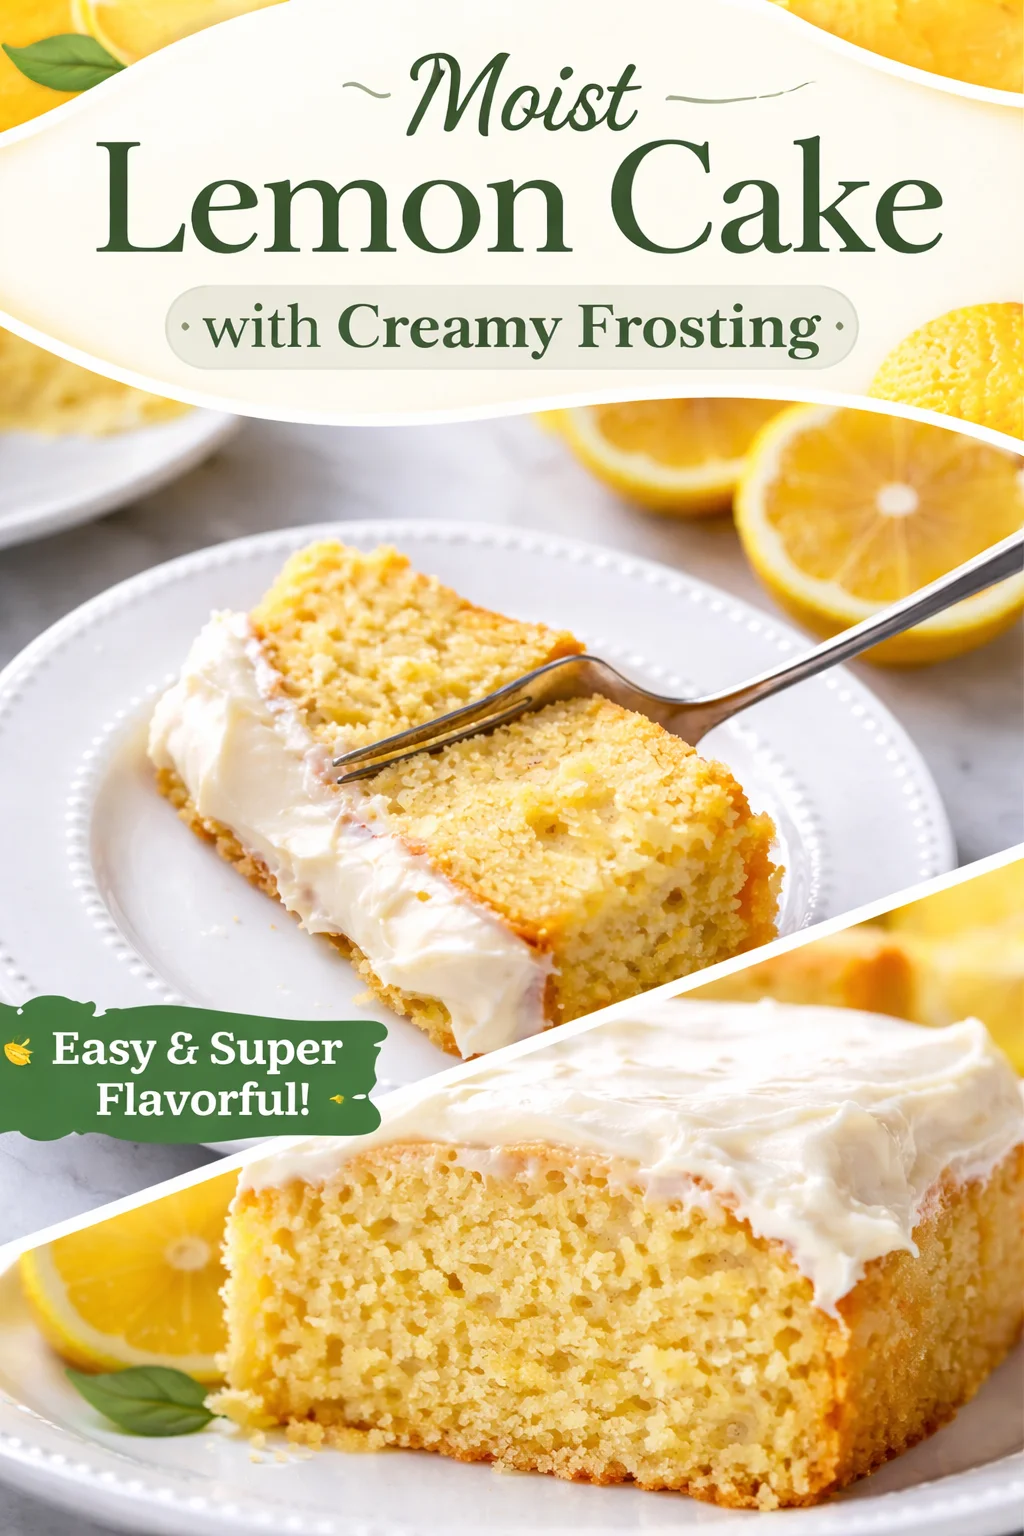
Small-Batch Cottage Cheese Lemon Cake

How to Make The Best Lemon Cupcakes

This is where I walk you through it like I would if you were in my kitchen stealing lemon zest off the cutting board. You can bake this as cupcakes or as a small cake. When I say small cake, I mean an 8 inch round pan works great, or a loaf pan if that is what you have. I usually go with 6 cupcakes because they bake fast and cool faster, which means you eat sooner.

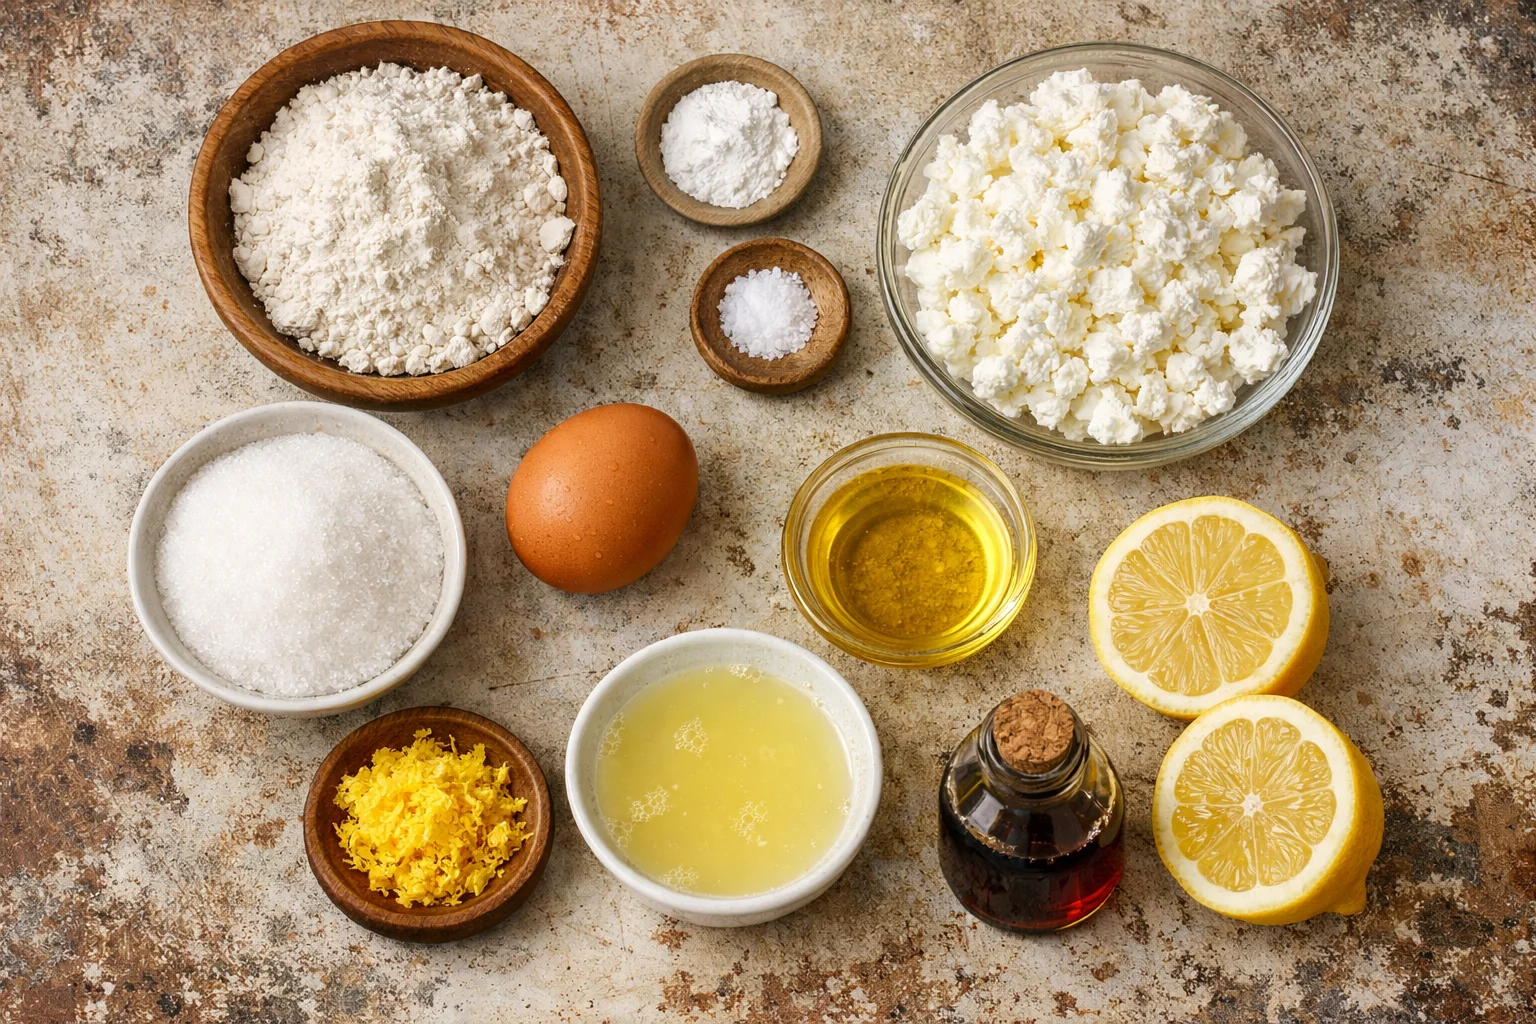
Ingredients you will need

Nothing weird here. Just normal grocery store stuff.

  • All-purpose flour
  • Baking powder
  • Salt
  • Granulated sugar
  • 1 large egg
  • Cottage cheese (small curd is easiest, full fat is best)
  • Neutral oil or melted butter
  • Fresh lemon zest
  • Fresh lemon juice
  • Vanilla extract

Step by step directions

1) Heat your oven to 350 F. Line a muffin pan for cupcakes, or grease and line your small pan if making a cake.

2) In a bowl, whisk flour, baking powder, and salt.

3) In the same bowl or a second bowl, whisk sugar and egg until it looks a bit lighter. Stir in cottage cheese, oil (or butter), lemon zest, lemon juice, and vanilla.

4) Add the dry ingredients into the wet and stir just until you do not see flour anymore. Do not overmix. A few tiny lumps are fine.

5) Scoop into liners about two thirds full for cupcakes, or spread into your pan for a cake.

6) Bake cupcakes about 16 to 20 minutes. For a small cake, start checking at 22 minutes and keep going until a toothpick comes out clean.

7) Cool in the pan for 5 minutes, then move to a rack. Do not frost warm cupcakes unless you want a frosting puddle. I have done it, and it is messy.

If you want to go full lemon dessert mode on another day, I have a soft spot for a loaf cake too. This one is super cozy and citrusy: coconut lemon loaf cake.

Essential Cupcake Tools

You do not need fancy gadgets for this. The point of a small batch recipe is that it should feel easy. Here is what I actually use when I make Small-Batch Cottage Cheese Lemon Cake as cupcakes.

What you will need:

  • Mixing bowl and whisk
  • Microplane or fine grater for lemon zest
  • Measuring cups and spoons
  • Muffin pan and paper liners
  • Cookie scoop (optional, but it makes portioning neat)
  • Cooling rack

Little side note: if you are looking for another fun small batch dessert that feels like a party trick, try these sometime. They are crunchy, creamy, and so snackable: air fryer cherry cheesecake egg rolls.

Recipe Tips

This is the section that saves you from the common cupcake sadness like dry crumb, flat tops, or weak flavor. I have made all the mistakes so you do not have to.

Little tweaks that make a big difference

Zest first. Always zest your lemon before you juice it. Trying to zest a squishy lemon half is a personal nightmare.

Use full fat cottage cheese if you can. Low fat can work, but full fat gives a softer texture and better flavor. If your cottage cheese looks watery, give it a quick stir and measure after stirring.

Do not overmix. Once the flour goes in, stir just until combined. Overmixing can make cupcakes tough.

Want it extra smooth? If you do not like any curds showing, you can blend the cottage cheese quickly. I usually do not bother because it bakes up tender either way.

Make a simple lemon glaze. If you want a fast topping, stir powdered sugar with a spoon or two of lemon juice. Drizzle when the cupcakes are fully cool. It makes the lemon flavor pop.

If you are a frosting person, cream cheese frosting is amazing here. I usually keep it simple so the lemon stays in charge. But if you want a totally different cheesecake style dessert for another weekend bake, these are a favorite in my house: caramel apple cheesecake bars.

Storage

This is a moist little cake, so it stores nicely. Here is what works best for me.

Room temperature: If unfrosted or glazed lightly, keep it in an airtight container for up to 2 days. I like adding a paper towel in the container to catch extra moisture.

Fridge: If you used cream cheese frosting, refrigerate. It is good for about 4 to 5 days. Let it sit out 15 minutes before eating so the texture softens.

Freezer: Wrap individual cupcakes tightly and freeze up to 2 months. Thaw at room temp still wrapped so they do not dry out.

One more note. Lemon flavor actually gets a bit stronger by the next day, in a good way. That is one reason I love this Small-Batch Cottage Cheese Lemon Cake. It is not a one hour wonder that turns sad overnight.

Common Questions

Can I bake this as one small cake instead of cupcakes?
Yes. An 8 inch round pan works well, or a small loaf pan. Just start checking around 22 minutes and keep an eye on it.

Will I taste the cottage cheese?
No. It melts into the batter and mostly shows up as a tender, moist crumb with a slight tang that works perfectly with lemon.

Do I need a mixer?
Nope. A whisk and a spoon are enough. This is part of the charm for me.

Can I use bottled lemon juice?
You can, but fresh tastes brighter. If you can only do one fresh thing, make it the zest. That is where a lot of the lemon flavor lives.

How do I keep cupcakes from sticking to the liners?
Let them cool fully first. Also, decent liners help. If they still stick, a quick 10 minute chill in the fridge can make the paper peel off cleaner.

A sweet little send off

If you want a cheerful bake that does not take over your kitchen, this Small-Batch Cottage Cheese Lemon Cake is such a good one to keep in your back pocket. It is simple, lemony, and the texture stays soft for days. If you want to keep the lemon theme going, you might enjoy this Single Layer Lemon Cake with Lemon Cream Cheese Frosting for a slightly different spin. Now grab that lemon, preheat the oven, and promise me you will sneak one warm cupcake to yourself after they cool just enough.
Delicious Small-Batch Cottage Cheese Lemon Cake Recipe

Small-Batch Cottage Cheese Lemon Cupcakes

These Small-Batch Cottage Cheese Lemon Cupcakes are soft, moist treats bursting with fresh lemon flavor, perfect for a smaller bite without the leftovers.
Prep Time10 minutes
Cook Time20 minutes
Total Time30 minutes
Course: Dessert, Snack
Cuisine: American
Keyword: cottage cheese cake, easy dessert, homemade cupcakes, lemon cupcakes, Small Batch Baking
Servings: 6 cupcakes
Calories: 150kcal

Ingredients

Dry Ingredients

  • 1 cup All-purpose flour
  • 1 tsp Baking powder
  • 1/4 tsp Salt
  • 3/4 cup Granulated sugar

Wet Ingredients

  • 1 large Egg
  • 1/2 cup Cottage cheese (small curd, full fat)
  • 1/4 cup Neutral oil or melted butter
  • 1 tbsp Fresh lemon zest
  • 2 tbsp Fresh lemon juice
  • 1 tsp Vanilla extract

Instructions

Preparation

  • Preheat your oven to 350°F (175°C). Line a muffin pan with paper liners or grease a small pan if making a cake.
  • In a bowl, whisk together the flour, baking powder, and salt.
  • In a separate bowl, whisk together the sugar and egg until light in color. Stir in the cottage cheese, oil or melted butter, lemon zest, lemon juice, and vanilla until well combined.
  • Gradually add the dry ingredients to the wet, stirring just until no flour is visible. Do not overmix; a few tiny lumps are fine.
  • Scoop the batter into the prepared liners about two-thirds full for cupcakes, or spread into your prepared pan for a cake.

Baking

  • Bake the cupcakes for 16 to 20 minutes or until a toothpick comes out clean. For a small cake, start checking at 22 minutes.
  • Allow cupcakes to cool in the pan for 5 minutes before transferring to a cooling rack. Avoid frosting while warm to prevent melting.

Notes

For a simple glaze, mix powdered sugar with a bit of lemon juice and drizzle over cooled cupcakes. Cream cheese frosting works well if you're a frosting lover.

Similar Posts

  • Crunch Time with Spinach and Artichoke Dip Cups

    Spinach and artichoke dip cups are a delightful twist on the classic creamy dip that many of us know and love. These bite-sized treats are perfect for parties, game day gatherings, or just a cozy night in. Imagine the rich flavors of creamy cheese, fresh spinach, and tangy artichokes, all snugly baked in flaky phyllo…

  • Deliciously Creamy Small Batch Matcha Tiramisu Cups to Savor

    Why you'll love this recipe How to make matcha tiramisu Ingredients What you will need Step by step Storage Freezing Tips & tricks Common Questions A sweet little matcha moment Small Batch Matcha Tiramisu Cups for those nights when you want something creamy, cozy, and not too fussy. Maybe you are craving a café dessert…

  • Pesto Chicken Garlic Knot Sliders

    Pesto Chicken Garlic Knot Sliders are the perfect snack or meal for any gathering! These delightful little sliders combine the savory flavors of shredded rotisserie chicken, aromatic pesto, and gooey mozzarella cheese, all wrapped in warm, fluffy garlic knots. They’re easy to make, fun to serve, and absolutely delicious, making them a go-to recipe for…

  • Make Small-Batch Strawberry Protein Ice Cream (Ninja Creami Style) at Home!

    Small-Batch Strawberry Protein Ice Cream (Ninja Creami Style) is my fix for those nights when I want something sweet, but I also want to feel good after eating it. You know the vibe: you had dinner, you are still thinking about dessert, and suddenly the freezer feels like it is judging you. This recipe is creamy, strawberry forward, and has that scoop shop texture without a ton of effort. It is also small batch, which is perfect if you do not want a giant tub calling your name for a week. Let me walk you through how I make it at home and what actually matters so it turns out amazing.  Helpful Tips I have made this enough times to know where things can go weird, like when it turns out too icy or you get that powdery protein taste. The good news is most issues are easy to fix with a couple small tweaks. Also, if you are a strawberry lover, you might also like my breakfast version of the flavor combo, Creamy Strawberry Cheesecake Overnight Oats, because it scratches the same creamy fruity itch. How to avoid icy texture (the real secret) The biggest thing is balancing water and creaminess. Strawberries have a lot of water, so if you blend in a bunch of plain fruit with no support, you will get a firmer, icier pint. Here is what helps: One more tip: if you taste the blended base before freezing and it tastes slightly too sweet, that is usually perfect after freezing. Cold dulls sweetness. “I tried your strawberry protein ice cream exactly as written and it was shockingly creamy. I thought it would taste like a protein shake, but it honestly tasted like real strawberry soft serve.” Getting Started If you are new to the Creami world, do not overthink it. This is not like old school churned ice cream where you babysit a machine for 30 minutes. For Small-Batch Strawberry Protein Ice Cream (Ninja Creami Style), you basically blend, freeze, and spin. Here is what you will need on a practical level: And just a quick heads up: plan ahead for freezing. I usually mix this up after lunch or after dinner, then freeze overnight. If you want something else cozy and filling while you wait, I am obsessed with Creamy Baked Chicken and Rice Casserole. It is total comfort food, and it makes dessert feel even more earned. My freezer rule: put the pint on a flat surface so it freezes level. If it freezes at an angle, the Creami can still handle it, but the spin is smoother when the top is even. Ingredient 101 This is the part where I save you from wasting money on random “healthy ice cream” ingredients you will never use again. You only need a few basics for Small-Batch Strawberry Protein Ice Cream (Ninja Creami Style), and you can customize it depending on your goals and what is in your fridge. The simple ingredient list (and easy swaps) My go to base is below. It hits that sweet spot of creamy texture, real strawberry flavor, and solid protein. A quick note on protein powder: some brands thicken more than others. If your base looks like pudding before freezing, add a splash more milk. If it looks watery, add a spoonful more yogurt. If you are in a big “protein dessert” phase, you would probably love these Small-Batch Protein Brownies too. I make them when I want something chocolatey that still feels like a smart snack. How To Make A Ninja Creami Okay, here is the exact flow I use. Nothing fancy. This is how you get that creamy, scoopable result that makes you feel like you hacked the system. Step by step: my exact method 1) Blend the base  Add strawberries, milk, Greek yogurt, protein powder, and sweetener to a blender. Blend until very smooth. If you hate seeds, blend a little longer. If you like a more “real fruit” vibe, you can leave it slightly textured. 2) Taste and adjust  Taste it now. Add a touch more sweetener if needed, or a pinch of salt if it tastes flat. This tiny step makes a big difference later. 3) Freeze  Pour into your Ninja Creami pint. Put the lid on and freeze at least 12 hours, or until solid. 4) Spin  Take the pint out, remove the lid, and place it in the outer bowl. Spin on the Lite Ice Cream setting (or whichever setting you like for protein style bases). 5) Re spin if needed  If it looks crumbly or powdery after the first spin, add 1 to 2 tablespoons of milk and hit Re spin. Most of the time, this is the moment it turns into that dreamy soft serve texture. 6) Add mix ins (optional)  If you want chunks, make a small well in the center, add your mix ins, then use the Mix In setting. My favorites are mini chocolate chips, crushed freeze dried strawberries, or a few chopped graham crackers for a strawberry cheesecake vibe. Sometimes I serve this after a simple dinner like Creamy Smothered Chicken and Rice. The combo of savory comfort food and cold strawberry dessert is just right. My Favorite Ninja Creami Recipes Once you get comfortable making Small-Batch Strawberry Protein Ice Cream (Ninja Creami Style), you start looking at everything in your kitchen like “could this be a Creami pint?” Honestly, it is kind of fun. Here are a few ideas I rotate through when I want variety, but still want the same easy process. 1) Strawberry cheesecake protein pint  Use strawberries, vanilla protein powder, Greek yogurt, and a spoonful of cream cheese. Add crushed graham crackers as a mix in at the end. 2) Chocolate strawberry pint  Add 1 tablespoon cocoa powder to the base, or use chocolate protein powder and keep the strawberries. It tastes like a chocolate dipped strawberry. 3) Berry lemonade style  Strawberries plus a squeeze of lemon and a little extra sweetener. This one is brighter and more refreshing, especially in summer. 4) “Dessert snack plate” night  I will do a scoop of the ice cream with two cookies on the side. My favorite with strawberry is these 4-Ingredient Strawberry Cool Whip Cookies. It is giving “movie night” without a lot of work. Once you have the base method down, it is basically mix, freeze, spin, tweak. That is it. Common Questions Can I use frozen strawberries?  Yes, I use them all the time. Frozen strawberries are usually picked ripe, and they blend easily. You might need a splash more milk to help the blender get going. Why did my pint come out crumbly?  That is super common with protein bases. Add 1 to 2 tablespoons milk and hit Re spin. It almost always turns creamy on the second round. How much protein is in it?  It depends on your protein powder and whether you use yogurt or milk. As a rough idea, one scoop of protein powder plus Greek yogurt can easily land you in the 25 to 40 gram range for the whole pint. Can I make it dairy free?  Yes. Use almond milk or oat milk and a dairy free yogurt, plus a plant based protein powder you like. Texture can be a bit less creamy, so do not be shy about the Re spin. How long does it keep in the freezer?…

  • Cranberry Orange Pistachio Shortbread Cookies

    Introduction Cranberry Orange Pistachio Shortbread Cookies are a delightful treat that perfectly balances the tartness of cranberries with the brightness of orange zest and the crunch of pistachios. These cookies boast a rich buttery flavor and a melt-in-your-mouth texture that makes them irresistible. Ideal for holiday gatherings, tea parties, or simply enjoying with a cup…

Leave a Reply

Your email address will not be published. Required fields are marked *

Recipe Rating