Delicious Retro Cherry Dump Cake (Perfect for Small Gatherings)
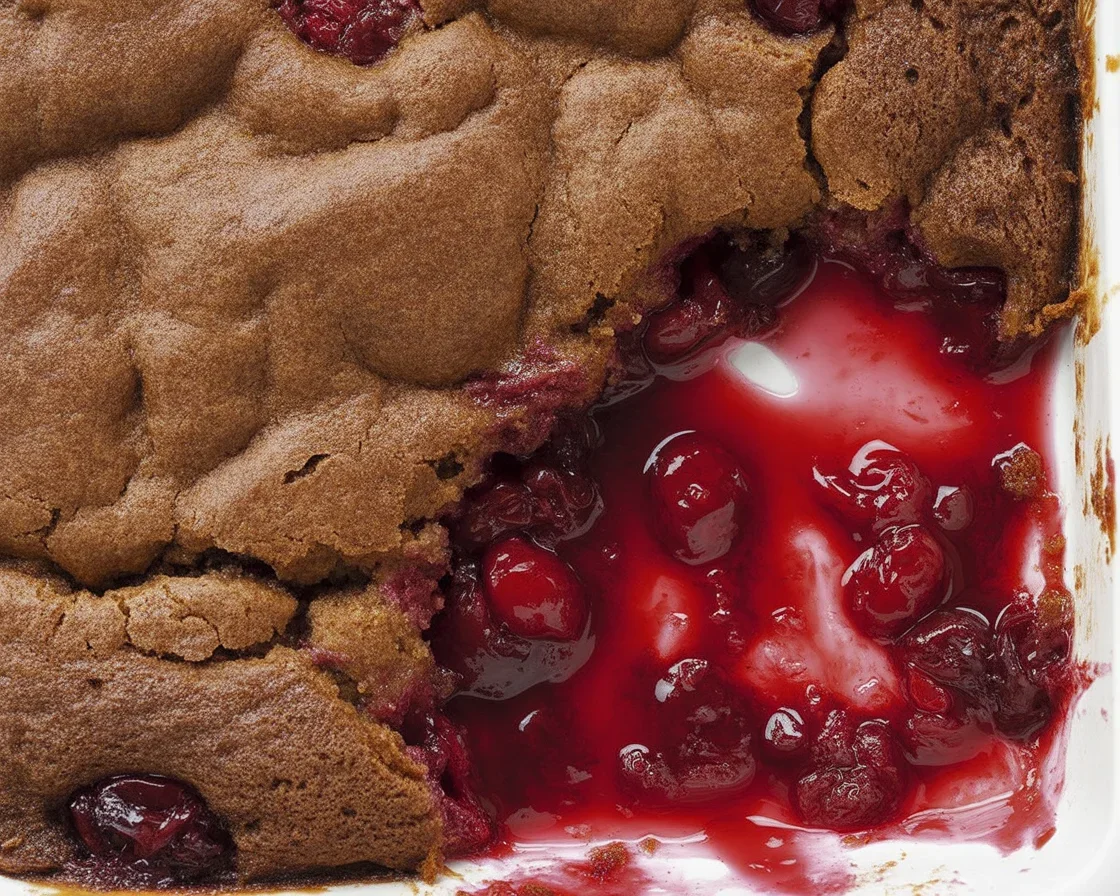
Retro Cherry Dump Cake (Small Dish Bake) is what I pull out when friends text they’re coming over in an hour and I don’t want to spend the whole time in the kitchen. It’s cozy, fast, and it always gets those happy sighs around the table. Today I’m sharing exactly how I make it for a small group, with all the little tips that make it come out bubbling, golden, and not too sweet. If you’ve ever had a dump cake turn out dry or weirdly gloopy, I’ll fix that for you here. You’ll find a simple method, smart tweaks, and storage advice that really works. Let’s bake something that tastes like a warm hug. 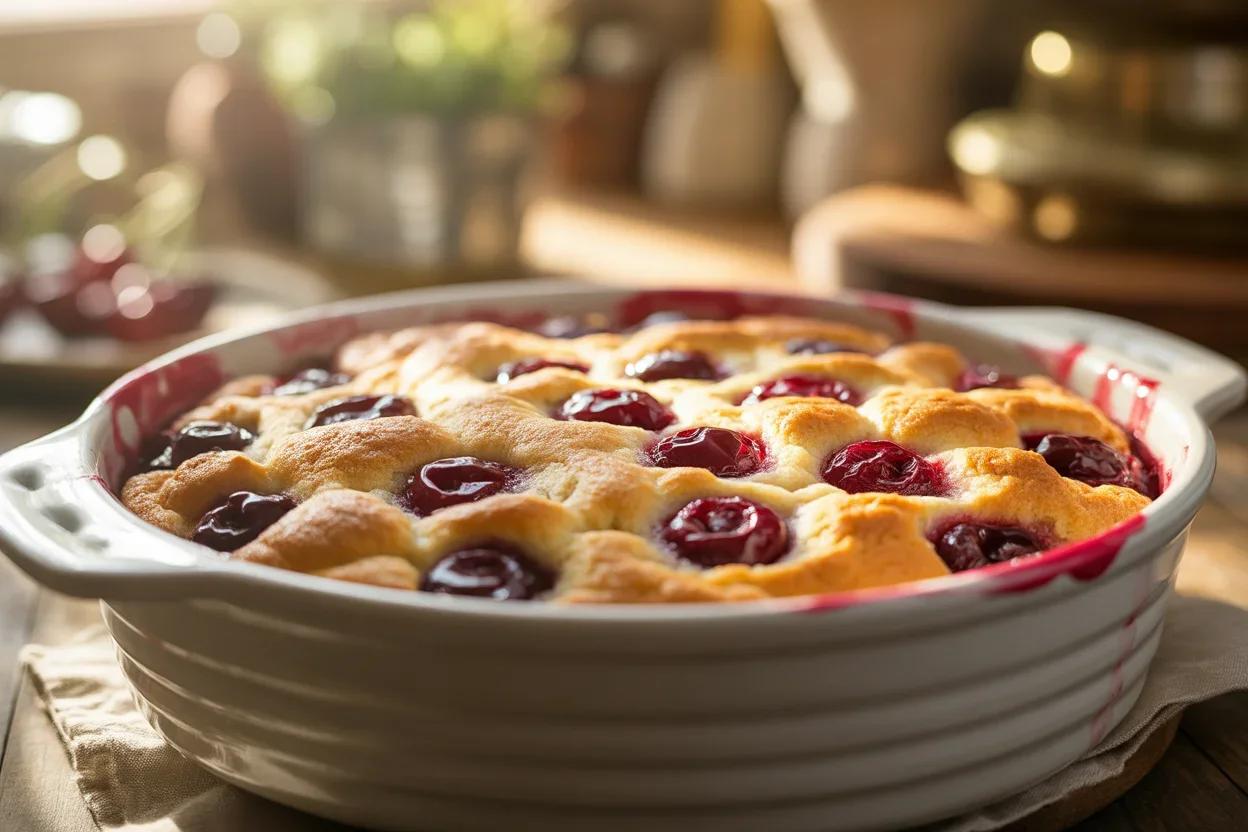
Why is it called a dump cake?
The name is simple because the method is simple. A dump cake is built by “dumping” layers into a baking dish without needing to cream butter or whip eggs. Usually there’s fruit on the bottom, a dry cake mix over that, and melted butter drizzled on top. The magic happens in the oven as the butter hydrates parts of the cake mix and it bakes into a cobbler-like topping.
Dump cakes showed up in old community and church cookbooks back in the 60s and 70s. That gently messy, low-fuss spirit is exactly why I love it for last-minute guests. You still get that nostalgic, bake-sale flavor without hauling out a mixer or making a sink full of dishes. If you’re into retro recipes, you might also like this bright and tender cherry cake for a slightly more classic vibe.
For a small gathering, I downsize the pan and focus on balance. The fruit should be generous and juicy, the top should be crisp at the edges and tender where it meets the cherries, and the sweetness needs to be in check. Get those right and you’re golden. 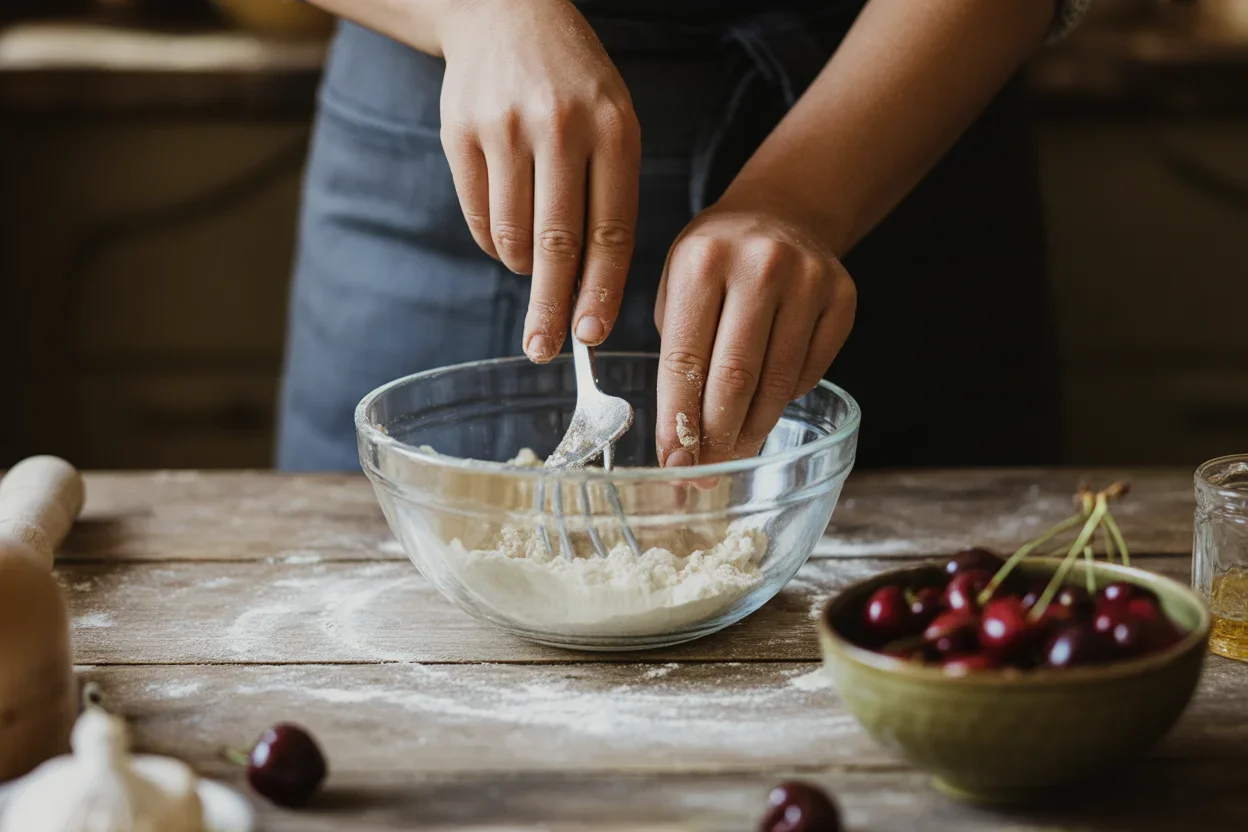
The Problem With Dump Cakes
Dump cakes are famous for two things: being easy and being a little unpredictable. The most common complaints I hear are dry floury spots on top, greasy pools of butter, edges that burn before the middle sets, and a flavor that can taste one-note sweet.
Here’s what actually fixes it:
– Use a small dish so everything cooks evenly. Too big and the top dries before the fruit bubbles. I like an 8-inch square, 9-inch round, or a 1.5-quart casserole.
– Melt the butter and drizzle it evenly. Don’t just put butter slices on top. Drizzling means more of the cake mix hydrates and bakes up crisp.
– Don’t skip a little salt and a splash of vanilla or almond. That tiny bit of seasoning makes it taste like a recipe, not a shortcut.
– Bake long enough for bubbling fruit. If the fruit isn’t bubbling at the center when you pull it, the middle won’t set as it cools.
“I honestly thought I didn’t like dump cakes until I tried this small-dish method. It came out perfectly toasty on top and the cherry layer tasted bright, not syrupy. I took the last spoonful standing at the counter.”
Follow these tweaks and you’ll be on your way to the kind of dessert people ask for again. It’s how I get the texture I want with the flavor I remember. And when I’m hosting, I often call it my weeknight hero dessert.
How To Make a Dump Cake From Scratch
I make my version from pantry staples and good butter. It feels a little retro, a little modern, and a lot delicious.
What You Will Need
– A small baking dish, about 8-inch square, 9-inch round, or similar 1.5-quart.
– A small saucepan or microwave-safe bowl for melting butter.
– A spoon and a rubber spatula.
Ingredients
- 1 can cherry pie filling, 21 ounces. If you can, choose a brand with whole cherries.
- 1 cup dry yellow cake mix or vanilla cake mix. You don’t need the whole box for a small dish.
- 6 tablespoons unsalted butter, melted and slightly cooled.
- 1 teaspoon vanilla extract, or 1/4 teaspoon almond extract for a bakery-style note.
- Pinch of fine salt, to balance sweetness.
- Optional extras: 2 tablespoons chopped nuts, 2 tablespoons mini chocolate chips, or a sprinkle of cinnamon.
Directions
- Heat the oven to 350 degrees F. Lightly butter your small dish.
- Scrape the cherry pie filling into the dish and gently stir in the vanilla or almond and the pinch of salt so the fruit tastes bright and balanced.
- Sprinkle the dry cake mix evenly over the cherries. You want thin, even coverage with a few tiny gaps where the cherries peek through. Don’t pack it down.
- Drizzle the melted butter everywhere you can. Aim to wet most of the surface. A few dry patches are fine and will turn into crunchy bits.
- Top with nuts or chocolate if using.
- Bake for 32 to 40 minutes, until the fruit is bubbling in the center and the top is golden with crisp edges. If the top is browning too quickly, tent loosely with foil for the last 10 minutes.
- Cool for at least 10 minutes so the juices thicken slightly. Serve warm.
Serving Suggestions
I love it plain, but if I’m feeling extra, I add a scoop of vanilla ice cream or a dollop of lightly sweetened whipped cream. A tiny sprinkle of sea salt just before serving takes it over the top. And if cherries are your love language, you might also get a kick out of these crispy-cheesy air fryer cherry cheesecake egg rolls for a fun party snack to go alongside dessert.
If you’re wondering about scaling up, just double everything and use a 9 by 13 inch pan. Keep the same method and start checking at 40 minutes.
Pro tips I never skip: use real butter for the best flavor, taste your fruit before baking to make sure the seasoning is right, and let it rest a bit so each spoonful is jammy, not runny. This is how I get the most reliable results with the Delicious Retro Cherry Dump Cake (Perfect for Small Gatherings).
Ways To Add Variety to Dump Cakes
Once you nail the basic method, it’s fun to switch things up depending on who’s coming over. Here are easy twists that keep the spirit of the dessert while changing the vibe.
- Almond bakery style: Add 1/4 teaspoon almond extract to the cherry layer and top with sliced almonds before baking.
- Black Forest moment: Use chocolate cake mix and sprinkle mini chocolate chips over the top.
- Tart and sweet: Stir a handful of frozen pitted cherries into the pie filling to add extra fruit and a touch of tartness.
- Warm spice: Mix a pinch of cinnamon and cardamom into the dry cake mix before sprinkling.
- Dairy free: Use melted coconut oil instead of butter and choose a dairy free cake mix.
- Gluten free: Swap in a gluten free cake mix and watch the edges, which may brown a few minutes faster.
If you like playing with cherry and chocolate, my family also goes wild for this fizzy-sweet chocolate cherry cola cake. It has that same fun, nostalgic energy. And honestly, the Delicious Retro Cherry Dump Cake (Perfect for Small Gatherings) can wear lots of outfits, so don’t be afraid to try your own twist.
How To Store Dump Cake
Room temp for a couple of hours is fine while serving, but after that, pop leftovers in the fridge. Cover the dish or transfer to an airtight container. It keeps well for 3 to 4 days. The top softens in the fridge, but you can bring back the crisp in the oven.
To reheat, warm single portions in the microwave for 20 to 30 seconds, or re-crisp the whole dish in a 325 degree F oven for 10 to 12 minutes. If freezing, spoon cooled leftovers into a freezer-safe container for up to 2 months. Thaw overnight in the fridge, then reheat in the oven to refresh the texture.
Need another easy cherry dessert that travels well? These bars are a win for potlucks: cherry bars with almond glaze. When I don’t want to fuss with plates and forks, bars and dump cake are my go-to desserts for a small crowd.
Common Questions
Can I use fresh cherries?
Yes, but you’ll want to cook them briefly with sugar to make a quick pie filling. Simmer 4 cups pitted cherries with 1/2 cup sugar, 1 tablespoon lemon juice, and 2 teaspoons cornstarch for 5 to 7 minutes until glossy and thickened. Cool slightly before assembling.
What cake mix works best?
Yellow cake mix is classic because it gets you that buttery, caramelized crunch. White or vanilla cake mix works too. Chocolate is great for a Black Forest twist. For the small dish version, measure out about 1 cup of mix and save the rest for muffins or another small bake.
Do I have to stir the cake mix into the fruit?
No. Keep the layers separate. The cherry layer steams the bottom of the cake mix while the butter crisps the top, which creates that cobbler-meets-cake texture.
How do I prevent dry spots?
Drizzle melted butter slowly and evenly. I like to work in a zigzag across the surface, then go back to fill in bare areas. A few tiny dry patches are fine and become crunchy bits, but aim to wet at least 80 percent of the surface.
Can I make it ahead?
Yes. Bake, cool, and refrigerate up to 24 hours. Reheat at 325 degrees F for 10 to 12 minutes to re-crisp the top. It’s still awesome the next day for breakfast with coffee.
A Sweet Little Crowd-Pleaser
If you’ve been craving the flavor of a vintage dessert without the fuss, the Delicious Retro Cherry Dump Cake (Perfect for Small Gatherings) is the one to try. It uses everyday ingredients, bakes in a small dish, and comes out with that just-right mix of juicy cherry and crisp, buttery topping. Keep the tips in mind and you’ll get reliable, golden results every time. If you want to see another simple take, this guide from Vintage Kitchen Notes on a Dump Cake Recipe is a handy reference for the classic three-ingredient approach. Now grab a spoon, call a couple of friends, and make something warm and happy tonight. 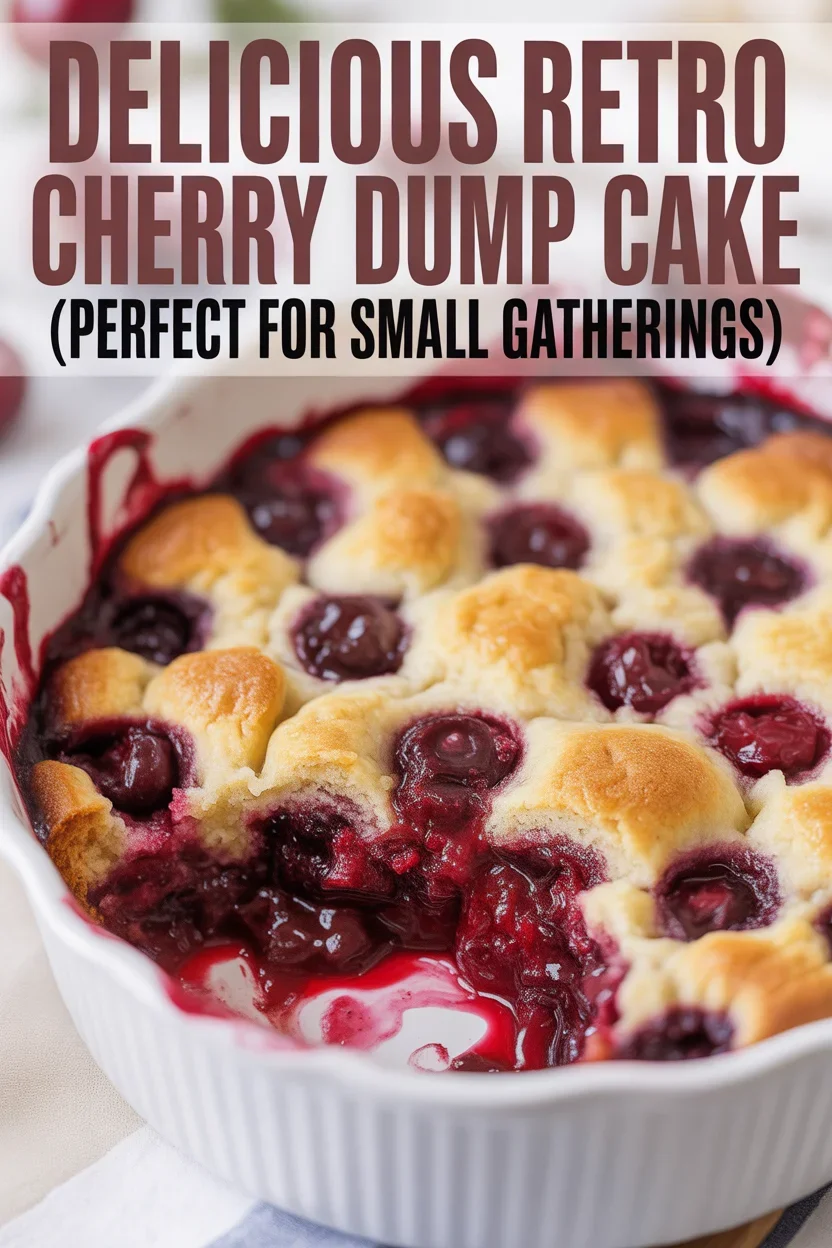
Delicious Retro Cherry Dump Cake
Ingredients
Main Ingredients
- 1 can cherry pie filling, 21 ounces. Choose a brand with whole cherries if possible.
- 1 cup dry yellow cake mix or vanilla cake mix. You don't need the whole box for a small dish.
- 6 tablespoons unsalted butter, melted and slightly cooled. Real butter is recommended for best flavor.
- 1 teaspoon vanilla extract. Alternatively, use 1/4 teaspoon almond extract for a bakery-style note.
- 1 pinch fine salt. Helps balance sweetness.
Optional Extras
- 2 tablespoons chopped nuts. For added crunch.
- 2 tablespoons mini chocolate chips. To add a chocolate twist.
- 1 sprinkle cinnamon. For extra warmth.
Instructions
Preparation
- Heat the oven to 350 degrees F. Lightly butter your small baking dish.
- Scrape the cherry pie filling into the dish and gently stir in the vanilla or almond extract and the pinch of salt to enhance the fruit's flavor.
Assembly
- Sprinkle the dry cake mix evenly over the cherries, aiming for thin coverage while leaving some gaps for the cherries to peek through.
- Drizzle the melted butter evenly over the top, ensuring most of the surface is wet.
- If desired, top with chopped nuts or mini chocolate chips.
Baking
- Bake for 32 to 40 minutes until the fruit is bubbling in the center and the top is golden with crisp edges.
- If the top browns too quickly, tent loosely with foil for the last 10 minutes.
- Cool for at least 10 minutes before serving to allow juices to thicken.