Delicious Mini Strawberry Lemon Cheesecake Jars to Savor
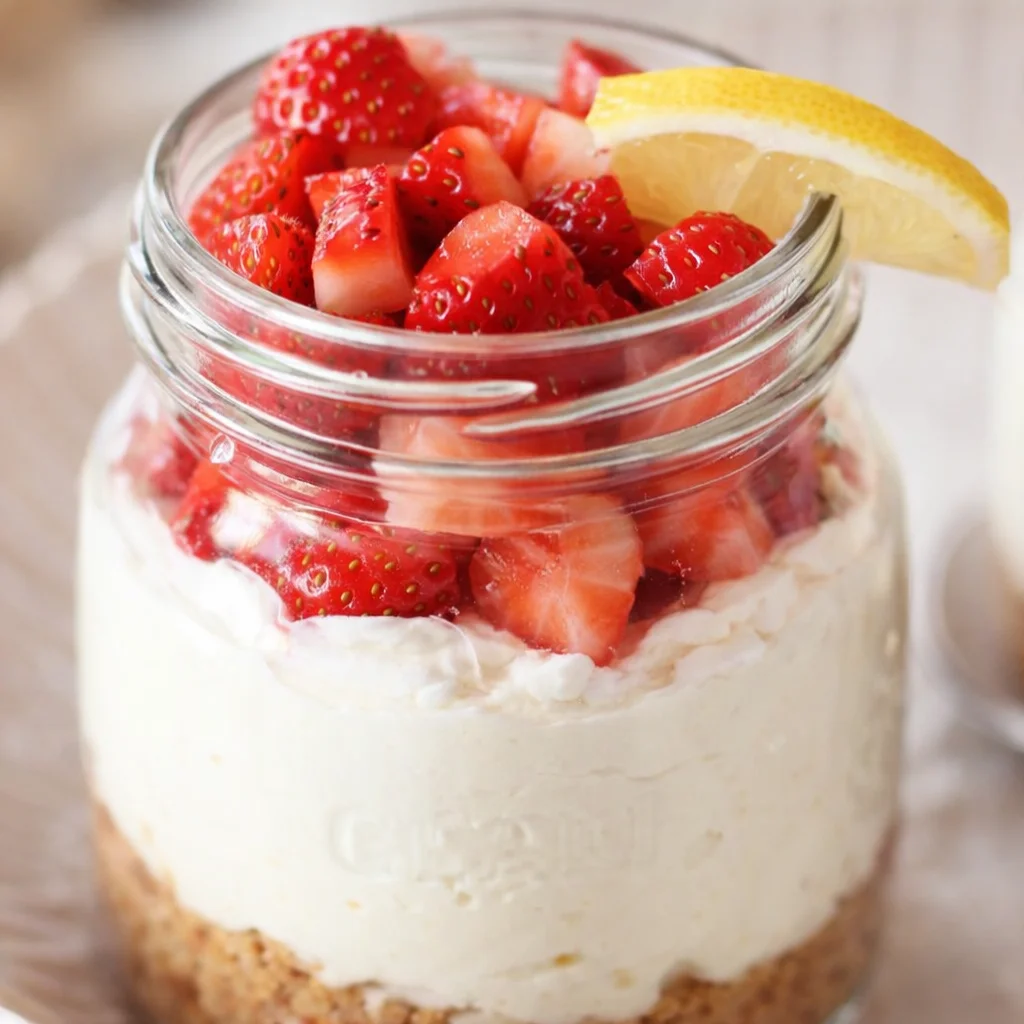
Mini Strawberry Lemon Cheesecake Jars are my go to move when I want something that feels special, but I do not want to turn my kitchen into a disaster zone. You know those days when you are craving cheesecake, but you do not want to deal with water baths, cracked tops, or waiting forever for it to cool? Same. These little jars fix all of that with bright lemon flavor, sweet strawberries, and that creamy cheesecake vibe in every bite. They are also the kind of dessert that looks fancy on the table, even if you made them in your pajamas. Let me walk you through how I make them at home and all the small tricks that make them come out right every time.
Why Youll Love Cheesecake Jars
I have made a lot of desserts that taste amazing but stress me out. Cheesecake jars are the opposite. They are chill, forgiving, and honestly kind of fun to assemble. Plus, everyone gets their own little portion, which means no slicing drama and no arguing about who got the bigger piece.
Here is why I keep coming back to them:
- No bake means no oven, no overheating the house, and no cracked cheesecake tops.
- Perfect portions that are easy to serve at parties, picnics, or weeknight cravings.
- Make ahead friendly so you can prep them the night before and relax later.
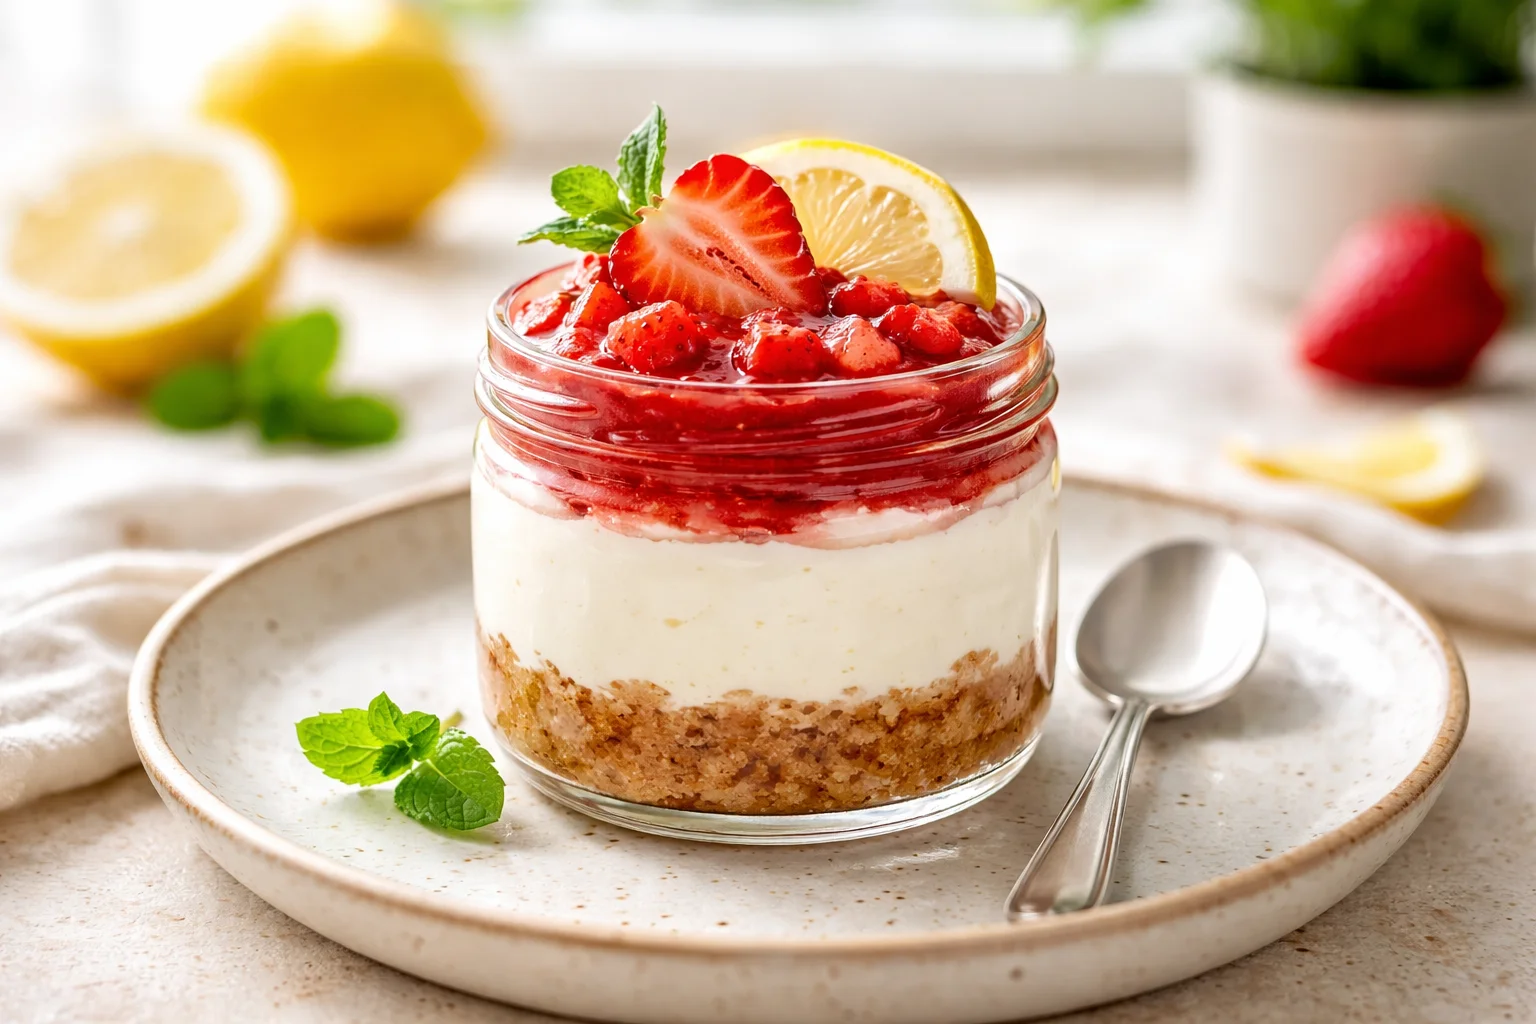
- Beautiful layers that look like you bought them from a cute bakery.
- Easy to customize with different fruits, crumbs, or even a drizzle of chocolate.
I also love that the texture stays creamy and light. You still get that cheesecake richness, but it does not feel heavy. The lemon brightens everything up, and the strawberry layer makes it taste like spring and summer in a spoon.
How to Make Strawberry Lemon Cheesecake Jars
This is the part where you realize it is mostly mixing and layering. If you can stir stuff in a bowl, you can make this. I usually use small jars or little cups. Anything around 6 to 8 ounces is perfect.
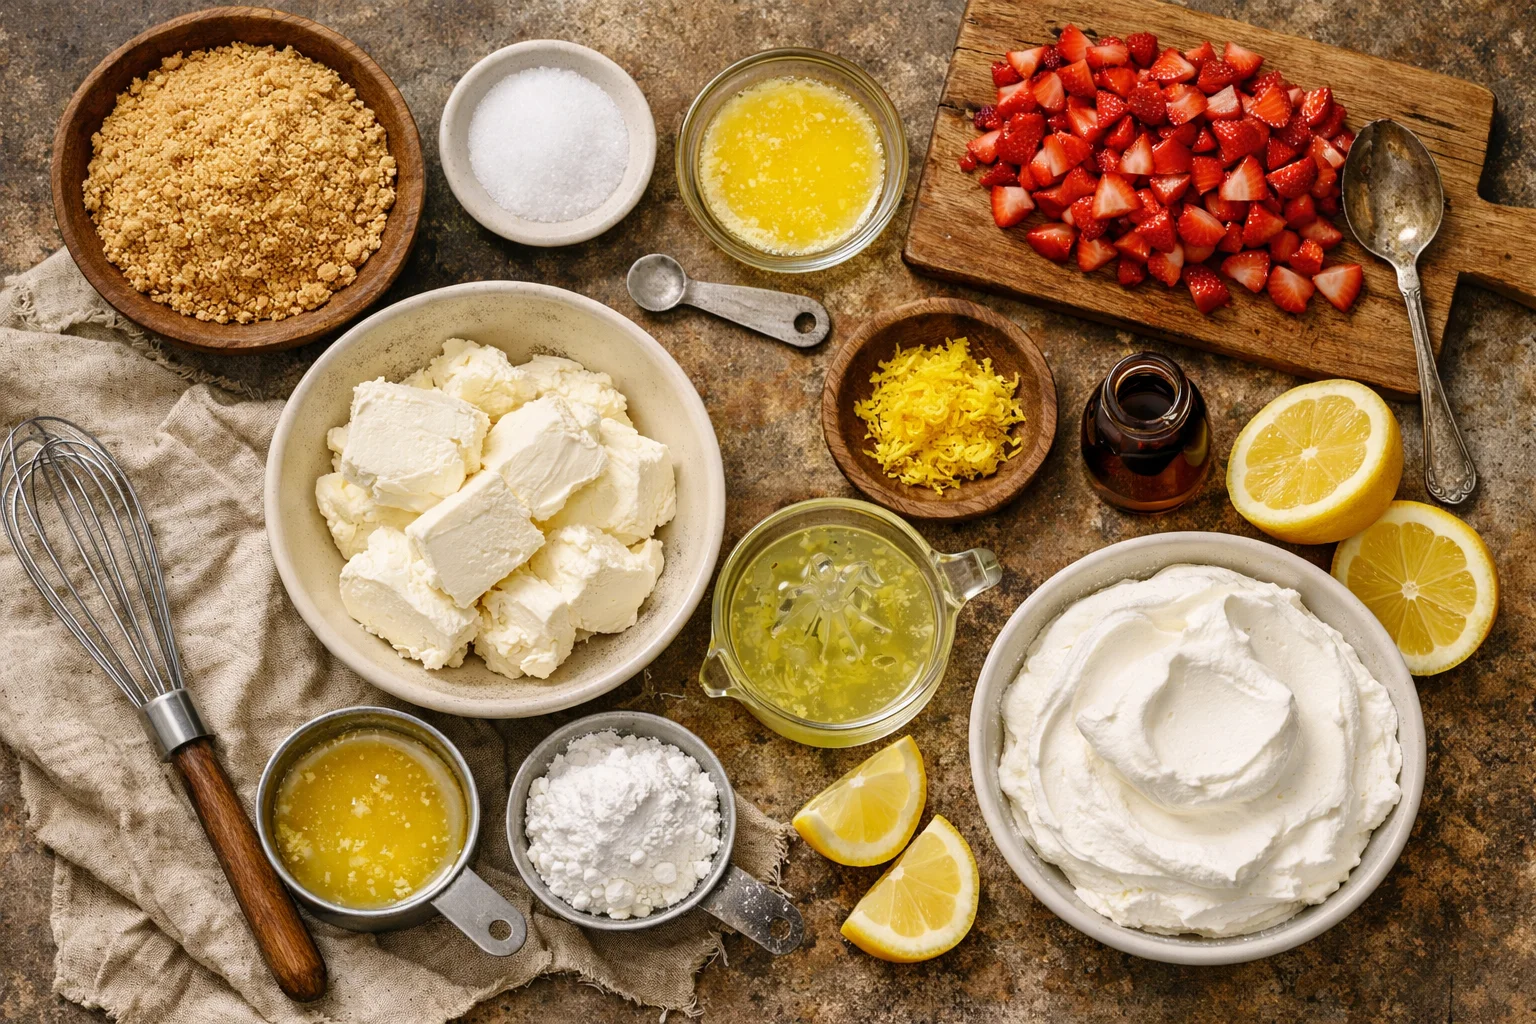
What you will need
Keep it simple. Here is my typical list, and you can adjust based on what you have.
- Crust layer: graham cracker crumbs, a little sugar, melted butter
- Cheesecake layer: cream cheese (softened), powdered sugar, lemon zest, lemon juice, vanilla, whipped topping or homemade whipped cream
- Strawberry layer: chopped strawberries, a spoon of sugar or honey, tiny squeeze of lemon (optional)
My easy step by step
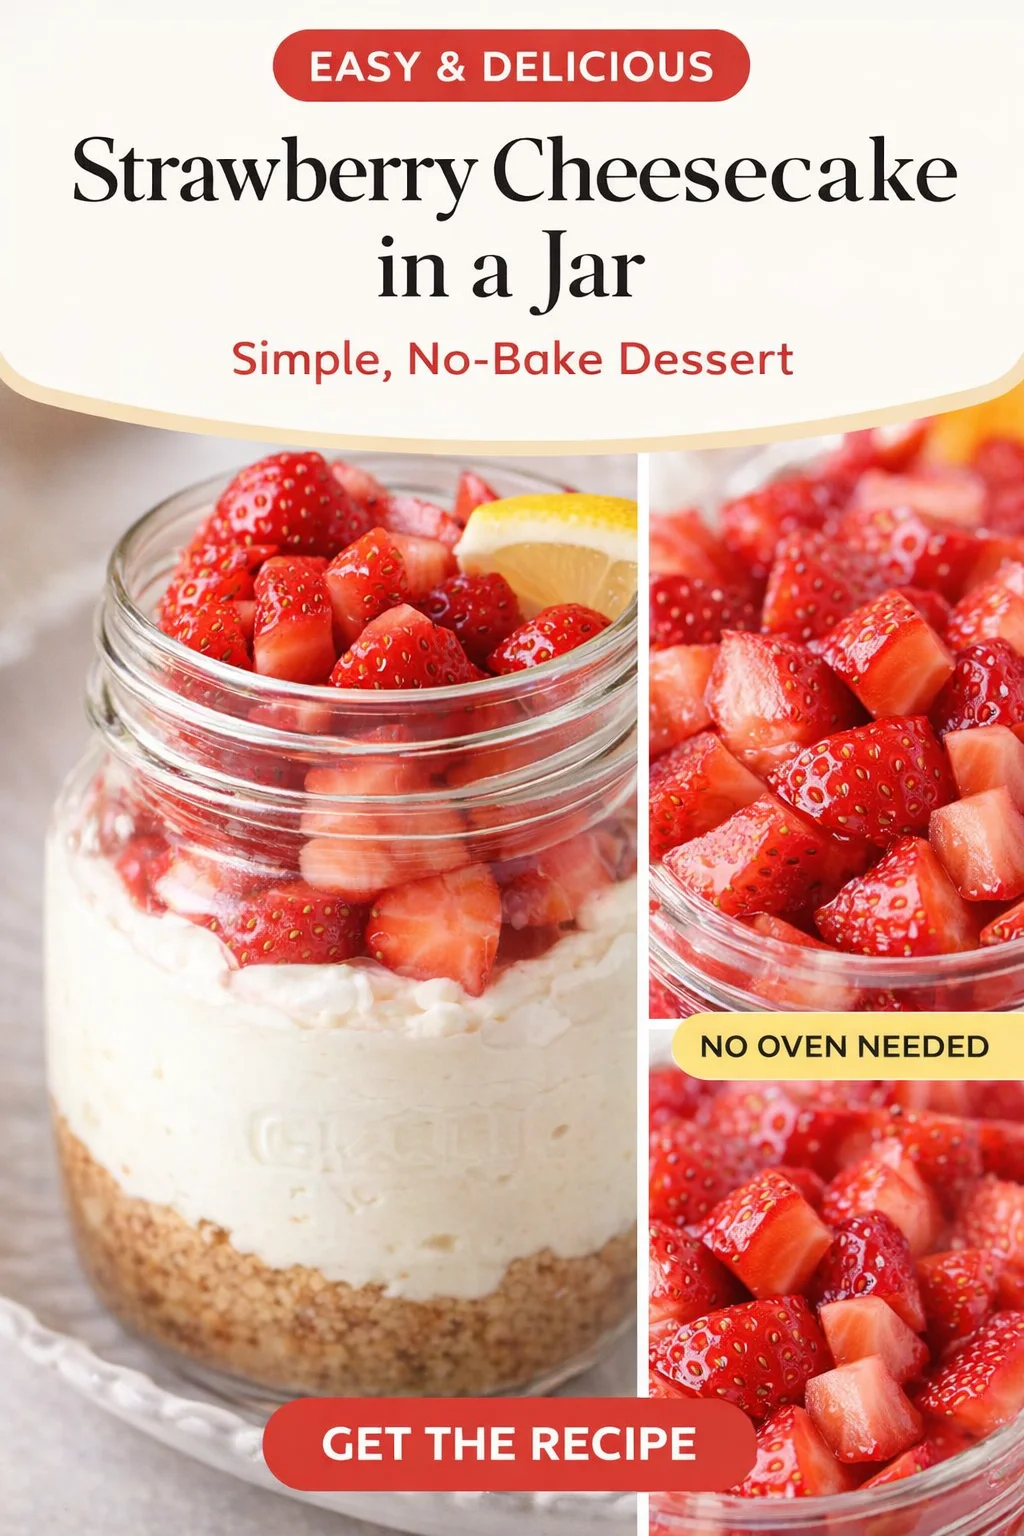
1) Make the crust. Mix graham crumbs with melted butter and a little sugar until it looks like damp sand. Spoon it into each jar and press it down lightly. I use the bottom of a spoon or a small glass.
2) Prep the strawberries. Chop them small so they layer nicely. If your berries are not super sweet, stir them with a little sugar and let them sit for 10 minutes. You will get a light syrup, which is basically dessert magic.
3) Make the cheesecake filling. Beat the softened cream cheese until smooth. Add powdered sugar, lemon zest, lemon juice, and vanilla. Then fold in whipped topping or whipped cream until it is fluffy. The key word is fold, not stir like you are mad at it. This keeps it light.
4) Layer it up. Crust first, then cheesecake filling, then strawberries. Repeat if your jars are tall enough. I like finishing with a little extra zest on top because it makes the flavor pop.
5) Chill. Pop the jars in the fridge for at least 3 hours. Overnight is even better because the crust sets and the flavors come together.
If you are into mini desserts in general, you might also like these small batch mini cheesecakes jars. Same vibe, slightly different twist, and they are great when you want variety.
Best No Bake Cheesecake Recipe Tips
This is where I save you from the little mistakes I made the first few times. Nothing tragic, but let us skip the learning curve if we can.
Start with truly softened cream cheese. If it is cold, you will chase lumps forever. I leave it out for about 45 to 60 minutes. If you forgot, cut it into chunks and let it sit 15 minutes. Do not microwave it into a puddle.
Use lemon zest, not just juice. Lemon juice gives tang, but zest gives that real lemon flavor that makes people go, wait what is that amazing taste? It is worth it.
Do not overmix after adding whipped cream. When you fold, you keep it airy. When you overmix, it gets dense. Still tasty, but not as dreamy.
Let the strawberries sit if they are watery. Fresh strawberries can release a lot of juice. Letting them macerate first gives you control. If they are super juicy, you can spoon strawberries on with a slotted spoon so your cheesecake layer does not get runny.
Jar size matters. Smaller jars make the layers look cuter and help the dessert chill faster. If you only have big glasses, it still works, but it might need a longer chill time.
And one more thing, if you love strawberry cheesecake flavors in other forms, I have been obsessed with these creamy strawberry cheesecake overnight oats for busy mornings. It is like dessert for breakfast, but somehow it feels acceptable.
;
Looking for More Desserts in a Jar?
I get it. Once you make one jar dessert, it is hard to stop. They are portable, tidy, and weirdly satisfying to layer. I like them for parties because you can line them up in the fridge, grab and go, and you are not slicing or plating anything at the last minute.
Here are a few easy ways to switch things up while keeping the same basic method:
Swap the crust: Try crushed vanilla wafers, shortbread cookies, or even lemon cookies for extra zing.
Change the fruit: Blueberries, raspberries, peaches, or mango all work. If you use frozen fruit, thaw and drain it first.
Add a drizzle: Strawberry sauce, lemon curd, or white chocolate on top makes them feel extra fun.
Try a crunch topping: A sprinkle of toasted coconut or chopped almonds is so good with the lemon.
Also, do not underestimate the power of serving these with cute little spoons. It sounds silly, but it makes the whole thing feel like a treat.
No Bake Strawberry Lemon Cheesecake Jars
This is the version I make the most, because it hits that sweet spot between bright and creamy. The lemon keeps it from tasting too heavy, and the strawberries make it feel fresh. When I bring these to get togethers, people always ask if they are hard to make, and I get to be like, nope, not at all.
If you are making Mini Strawberry Lemon Cheesecake Jars for guests, here are my favorite serving tips:
Chill them fully before serving. That is when the texture is best and the layers stay neat.
Top right before serving with extra strawberries so they look fresh and glossy.
Wipe the jar edges after layering. It takes 10 seconds and makes them look bakery level.
Make a few extras because someone always goes back for seconds, and it is usually me.
And yes, these Mini Strawberry Lemon Cheesecake Jars are great for holidays too. They feel light after a big meal, and the individual jars make everything simple. I have even packed them into a cooler for a picnic and they held up great.
Before you go, if you want to see another take on this exact flavor combo, check out this helpful recipe for No Bake Strawberry Lemon Cheesecake Jars. I like comparing versions because you can always steal a fun idea, like a different crust or topping, and make it your own.
Common Questions
1) How long do these jars need to chill?
At least 3 hours, but overnight is best if you have the time. The flavor gets better and the layers set nicely.
2) Can I make Mini Strawberry Lemon Cheesecake Jars a day ahead?
Yes, they are perfect for that. I usually make them the night before and add the final strawberry topping right before serving.
3) How long do they last in the fridge?
About 3 days covered. After that the crust starts to soften more and the strawberries can get a little too juicy.
4) Can I use frozen strawberries?
You can, just thaw them first and drain off extra liquid. Frozen berries are softer, but the flavor still works great.
5) What if my cheesecake filling is runny?
Usually it is from overmixing after adding whipped cream or using cream cheese that was too warm and loose. Pop the filling in the fridge for 20 to 30 minutes, then layer. It thickens up.
If you make these Mini Strawberry Lemon Cheesecake Jars, I hope you have that same little moment I do when you take the first bite and the lemon hits, then the creamy cheesecake, then the strawberry. It is simple, but it feels like a mini celebration in a jar.
No Bake Strawberry Lemon Cheesecake Jars
Ingredients
Crust layer
- 1 cup graham cracker crumbs For crust
- 2 tablespoons sugar To sweeten the crust
- 5 tablespoons melted butter To bind the crumbs
Cheesecake layer
- 8 ounces cream cheese Softened
- 1/2 cup powdered sugar
- 1 tablespoon lemon zest Freshly grated
- 1 tablespoon lemon juice
- 1 teaspoon vanilla extract
- 1 cup whipped topping Or homemade whipped cream
Strawberry layer
- 1 cup chopped strawberries Fresh
- 1 tablespoon sugar Add more if strawberries are tart
- 1 teaspoon lemon juice Optional
Instructions
Preparation
- Make the crust by mixing graham cracker crumbs, melted butter, and sugar until it resembles damp sand. Press into the bottom of each jar.
- Chop strawberries small and mix with sugar. If needed, let sit for 10 minutes to create a syrup.
- Prepare the cheesecake filling by beating softened cream cheese until smooth, then adding powdered sugar, lemon zest, lemon juice, and vanilla. Gently fold in whipped topping until combined.
- Layer in jars: add the crust, followed by cheesecake filling, then strawberries. Repeat until jars are filled, finishing with extra lemon zest on top.
- Chill these jars in the fridge for at least 3 hours or overnight for best results.