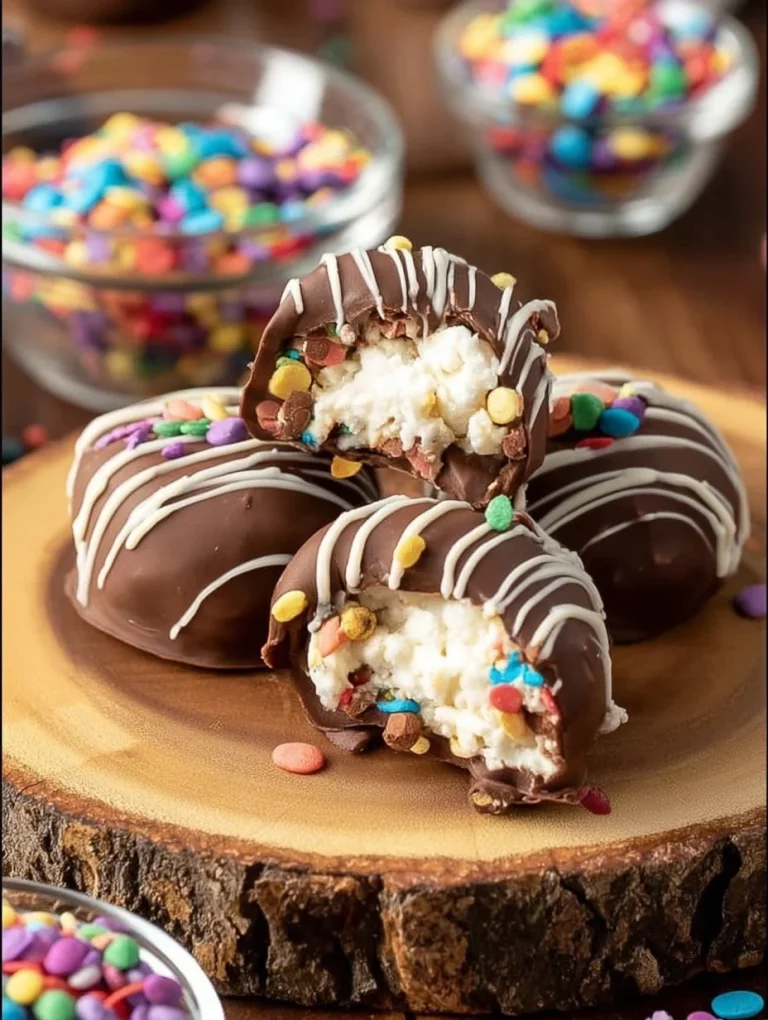
Delicious Healthy Mini Frozen Cheesecake Cups (Honey Sweetened)
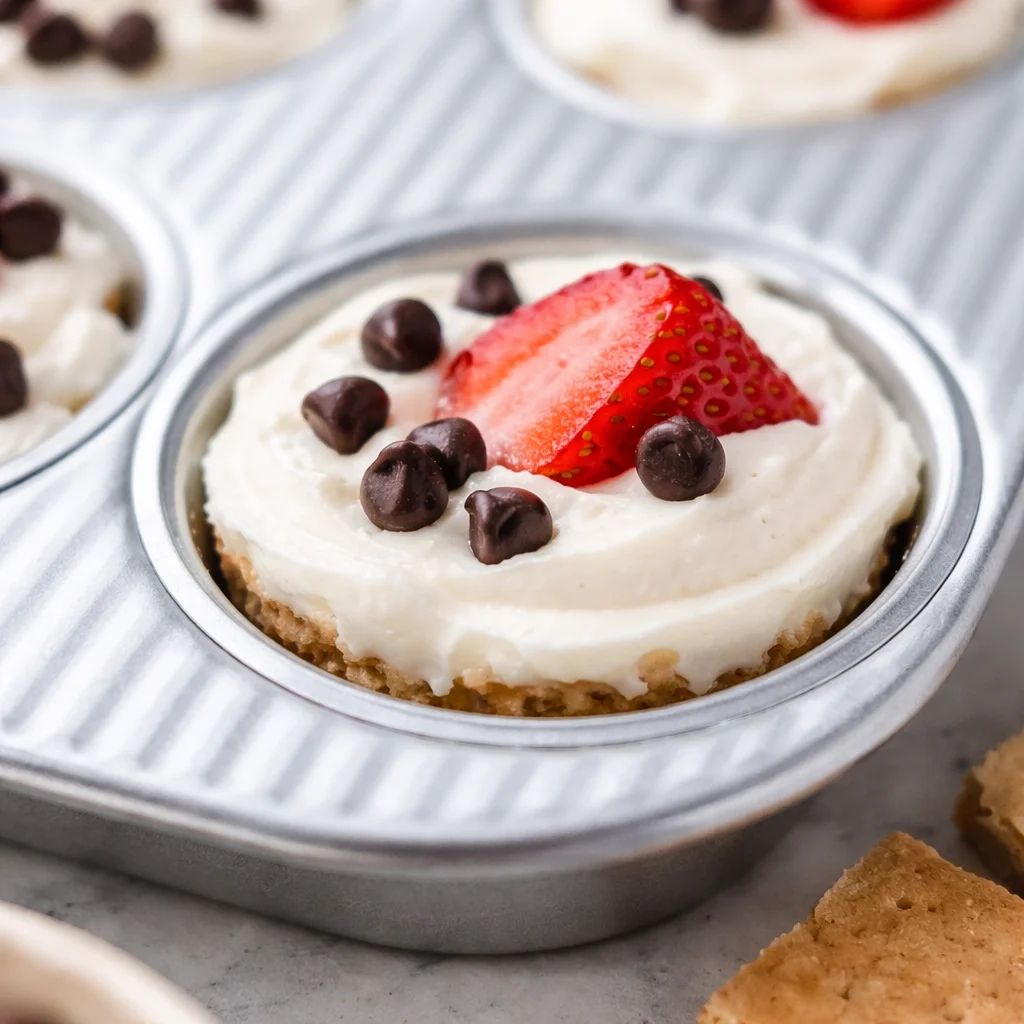
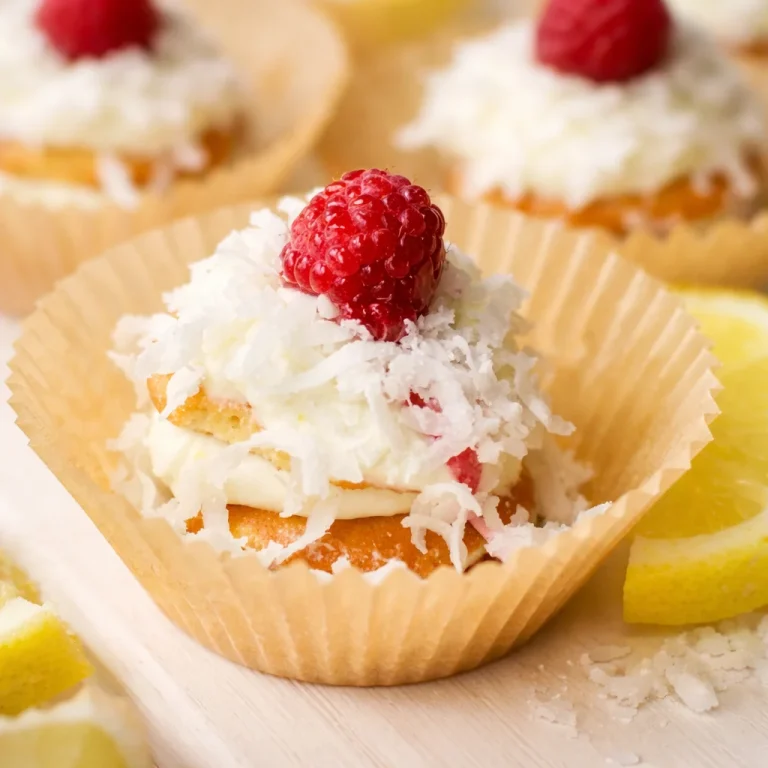
Healthy Mini Frozen Cheesecake Cups (Honey Sweetened) are my answer to that very specific craving when you want something creamy and sweet, but you also want to feel good after you eat it. You know the moment, it is 9 pm, you are tired, and the idea of baking a full cheesecake sounds like a whole project. These little cups are the opposite of that. They are cold, refreshing, and perfectly portioned, so you can grab one straight from the freezer and call it dessert without overthinking it. And since they are honey sweetened, the flavor feels warm and natural instead of sugary loud. 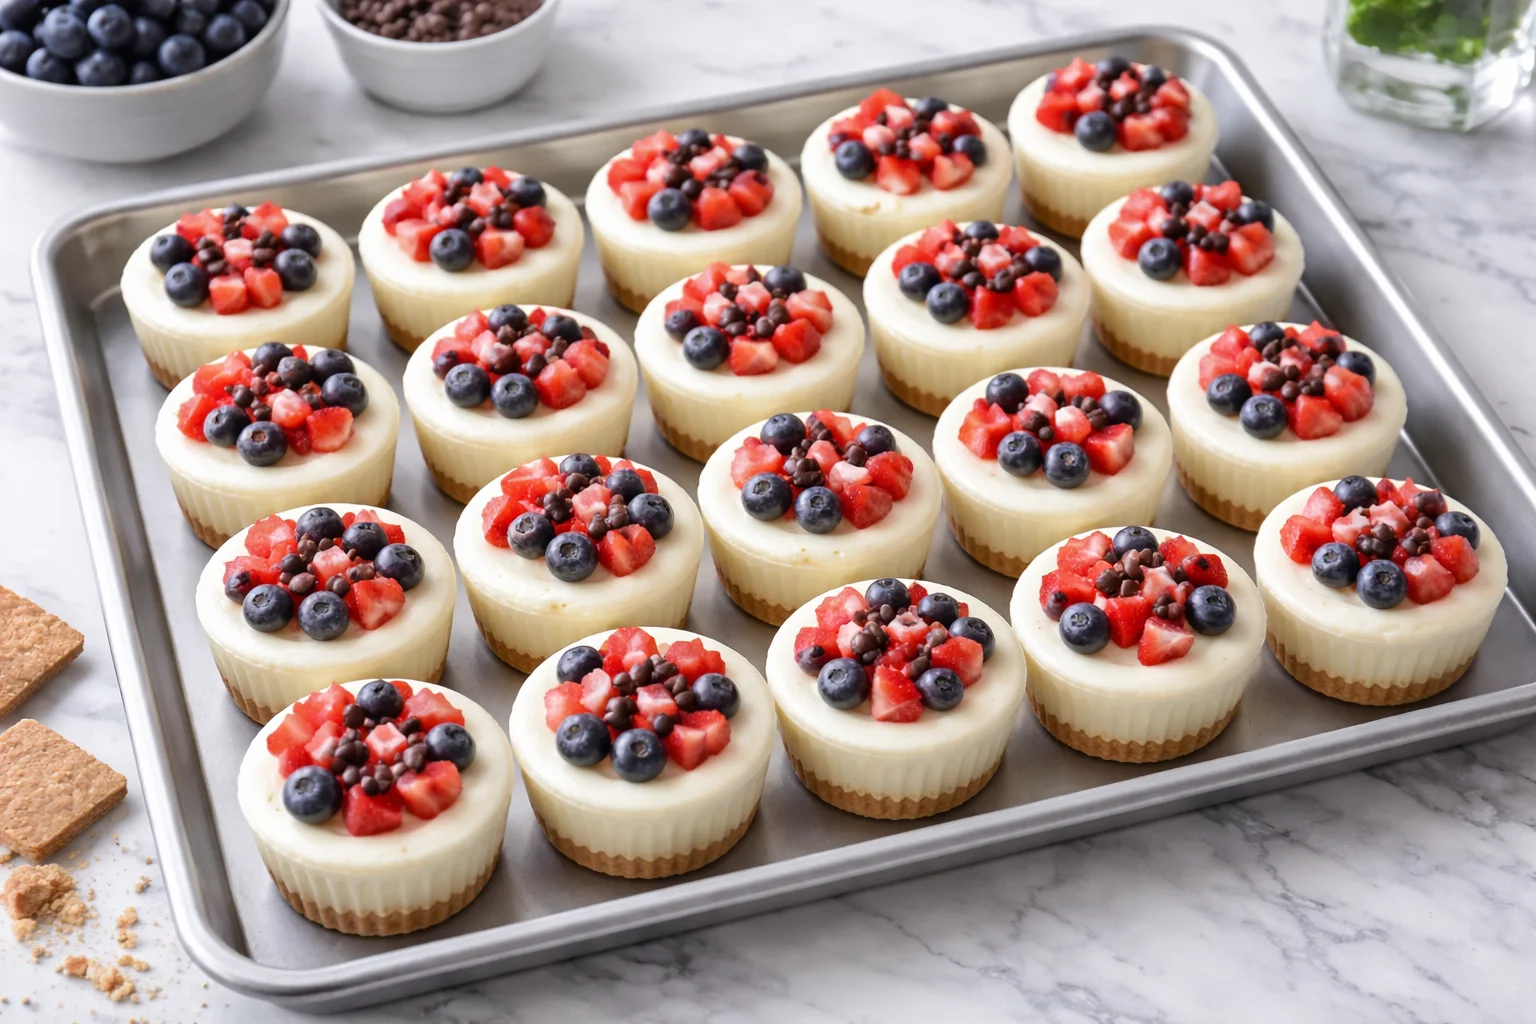
Why You Will Love This Easy Mini Cheesecakes Recipe
I keep coming back to this recipe because it hits that sweet spot between healthy-ish and actually satisfying. Not “sad dessert” satisfying. Real dessert satisfying.
Here is why these have a permanent spot in my freezer:
- No baking, no water baths, no cracking cheesecake drama.
- Portion friendly, because they are already in cute little cups.
- Honey sweetened, so the sweetness tastes smooth and gentle.
- Freezer stash magic, you can make them once and enjoy all week.
- Easy to customize with different crusts and toppings.
Also, if you love small desserts like I do, you might want to peek at these no-bake Christmas mini cheesecakes too. They are more festive, but the mini format is the same kind of fun.
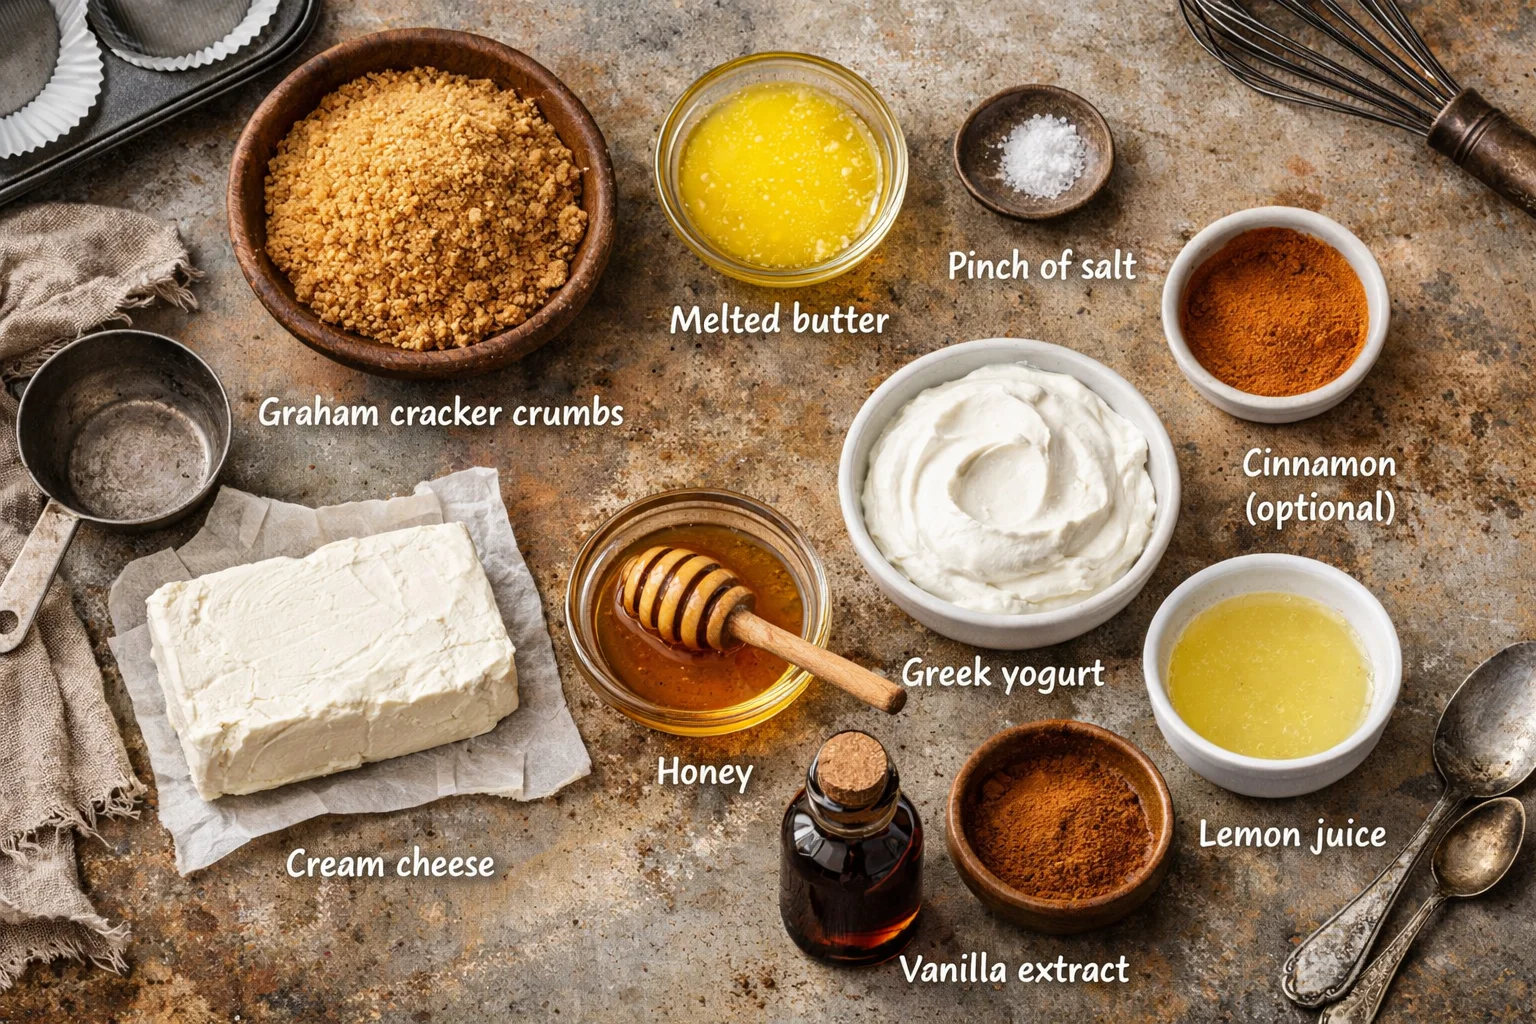
Ingredients and Substitutions
This is the part where I usually talk you out of buying anything fancy. You do not need specialty ingredients to make Healthy Mini Frozen Cheesecake Cups (Honey Sweetened). Just a few basics that blend well and freeze well.
What you will need for the crust
- Graham cracker crumbs (or crushed oats cereal, or digestive biscuits)
- Butter, melted (or coconut oil)
- Pinch of salt
- Optional: cinnamon
What you will need for the filling
- Cream cheese, softened (full fat for the creamiest texture)
- Plain Greek yogurt (adds protein and keeps it light)
- Honey (your main sweetener)
- Vanilla extract
- Lemon juice (just a little, it brightens everything)
- Pinch of salt
Easy swaps that still work
If you are out of Greek yogurt, you can use sour cream, but it will be richer. If you want dairy free, use a dairy free cream cheese and coconut yogurt, just know the texture can freeze a bit firmer. For honey, maple syrup works too, but the flavor changes slightly and it tends to freeze a little softer.
And if you are on a kick of healthier treats, I keep a whole little browsing rabbit hole in my own kitchen, like this healthy baking section when I want snacky ideas that do not feel like a sugar bomb.
Step-by-Step Instructions
This is one of those recipes where you read the steps and think, wait that is it? Yep, that is it. The hardest part is waiting for them to freeze. I usually “check” them too early and then regret it because soft cheesecake sticks to everything.
Quick Prep Before You Start
Set your cream cheese on the counter for about 30 minutes so it blends smooth. Line a muffin tin with paper liners, or use silicone liners if you have them. Silicone liners make popping them out almost too easy.
Step 1: Make the crust
Mix your crumbs, melted butter (or coconut oil), salt, and cinnamon if using. It should look like wet sand. Spoon about 1 to 1.5 tablespoons into each liner and press it down firmly with the back of a spoon or a small glass.
Step 2: Blend the filling
In a bowl, beat the softened cream cheese until smooth. Add Greek yogurt, honey, vanilla, lemon juice, and salt. Mix until creamy and fluffy looking. If you taste it now, it should taste like cheesecake batter that you would happily eat with a spoon.
Step 3: Fill the cups
Spoon the filling over the crusts. Smooth the tops. If you want a swirl situation, add a tiny spoon of jam on top and gently swirl with a toothpick.
Step 4: Freeze
Freeze for at least 4 hours, but overnight is best for the perfect firm bite. Once frozen, you can move the cups into a freezer bag or container to save space.
Little side note: if you like the whole “fun dessert you can hold” idea, these air fryer cherry cheesecake egg rolls are a totally different vibe, but so good for weekends when you want a treat.
“I made these for a girls night and everyone thought they were store bought. The honey flavor is so nice and they are not too sweet. I am officially keeping a batch in my freezer at all times.”
Mini Cheesecake Recipe Variations
Once you make Healthy Mini Frozen Cheesecake Cups (Honey Sweetened) the basic way, it is really easy to start playing around. I do this based on whatever I have in the fridge, or whatever fruit is about to go soft.
Flavor Ideas You Can Mix and Match
Berry swirl: swirl in mashed raspberries or a spoonful of chia jam before freezing.
Chocolate drizzle: melt dark chocolate and drizzle on top after they freeze. It hardens fast and feels fancy.
Peanut butter cup: mix a spoonful of peanut butter into the filling, then top with chopped peanuts.
Lemon pop: add extra lemon zest for a brighter flavor, especially nice in summer.
Crust change: crushed almonds and dates make an awesome naturally sweet crust, just press it in firmly.
If you want a slightly more classic cheesecake moment for a party, you can also do toppings like cherry pie filling, crushed pistachios, or caramel sauce. For caramel fans, I am also obsessed with the general idea behind these caramel apple cheesecake bars, especially in fall.
The main tip with variations is simple: do not add too much extra liquid. A little swirl is perfect. Too much sauce makes them freeze icy instead of creamy.
Expert Tips + Tricks for the Perfect Mini Cheesecakes
I have made these enough times to learn a few things the hard way, so you do not have to. The goal is creamy, not crumbly, and frozen but still soft enough to bite easily.
My Best Practical Tips
Soften the cream cheese: if it is cold, you will get lumps. Lumps are annoying in mini cups because you really notice them.
Do not over sweeten: honey tastes sweeter after freezing, so start with less and add more if you need it.
Press the crust firmly: a loose crust falls apart when you peel the liner off. Pack it in like you mean it.
Freeze on a flat surface: if your freezer shelf is uneven, the filling sets lopsided. Still tasty, but you know.
Let them sit for 3 to 5 minutes before eating: this is the difference between too hard and perfectly creamy.
Storage wise, these keep well for about 2 to 3 weeks in the freezer if stored in a sealed container. After that, they are still safe to eat, but the flavor slowly gets a little dull and the texture can get more icy around the edges.
One more thing that helps a lot: label the container. I have pulled out mystery cups before thinking they were “the cheesecake ones” and surprise, it was something totally different. Not my finest moment.
Common Questions
1. Do these taste like real cheesecake?
Yes. They are creamy, tangy, and vanilla sweet, just a bit lighter than a classic baked cheesecake. Healthy Mini Frozen Cheesecake Cups (Honey Sweetened) still feel like dessert, not like a yogurt cup pretending to be one.
2. Can I make them without a crust?
Totally. Just spoon the filling into liners and freeze. The crust adds crunch, but the filling alone is still great.
3. How do I keep them from sticking to the paper liners?
Let them sit at room temp for a few minutes, then peel. Silicone liners work even better if you have them.
4. Can I use low fat cream cheese?
You can, but the texture is less creamy and can freeze a bit more icy. If you want the best texture, use full fat cream cheese and stick with Greek yogurt for balance.
5. How long do they need to freeze?
Minimum 4 hours, but overnight is ideal. If you want that perfect clean bite, give them time.
Your Freezer Dessert Era Starts Here
If you need an easy treat that feels both refreshing and comforting, make a batch of Healthy Mini Frozen Cheesecake Cups (Honey Sweetened) and stash them for the week. They are simple, customizable, and honestly kind of addictive in the best way. Keep them plain for everyday snacking, or dress them up with swirls and toppings when friends come over. If you try them, I hope you get that same little moment of joy when you open the freezer and remember you already made dessert. 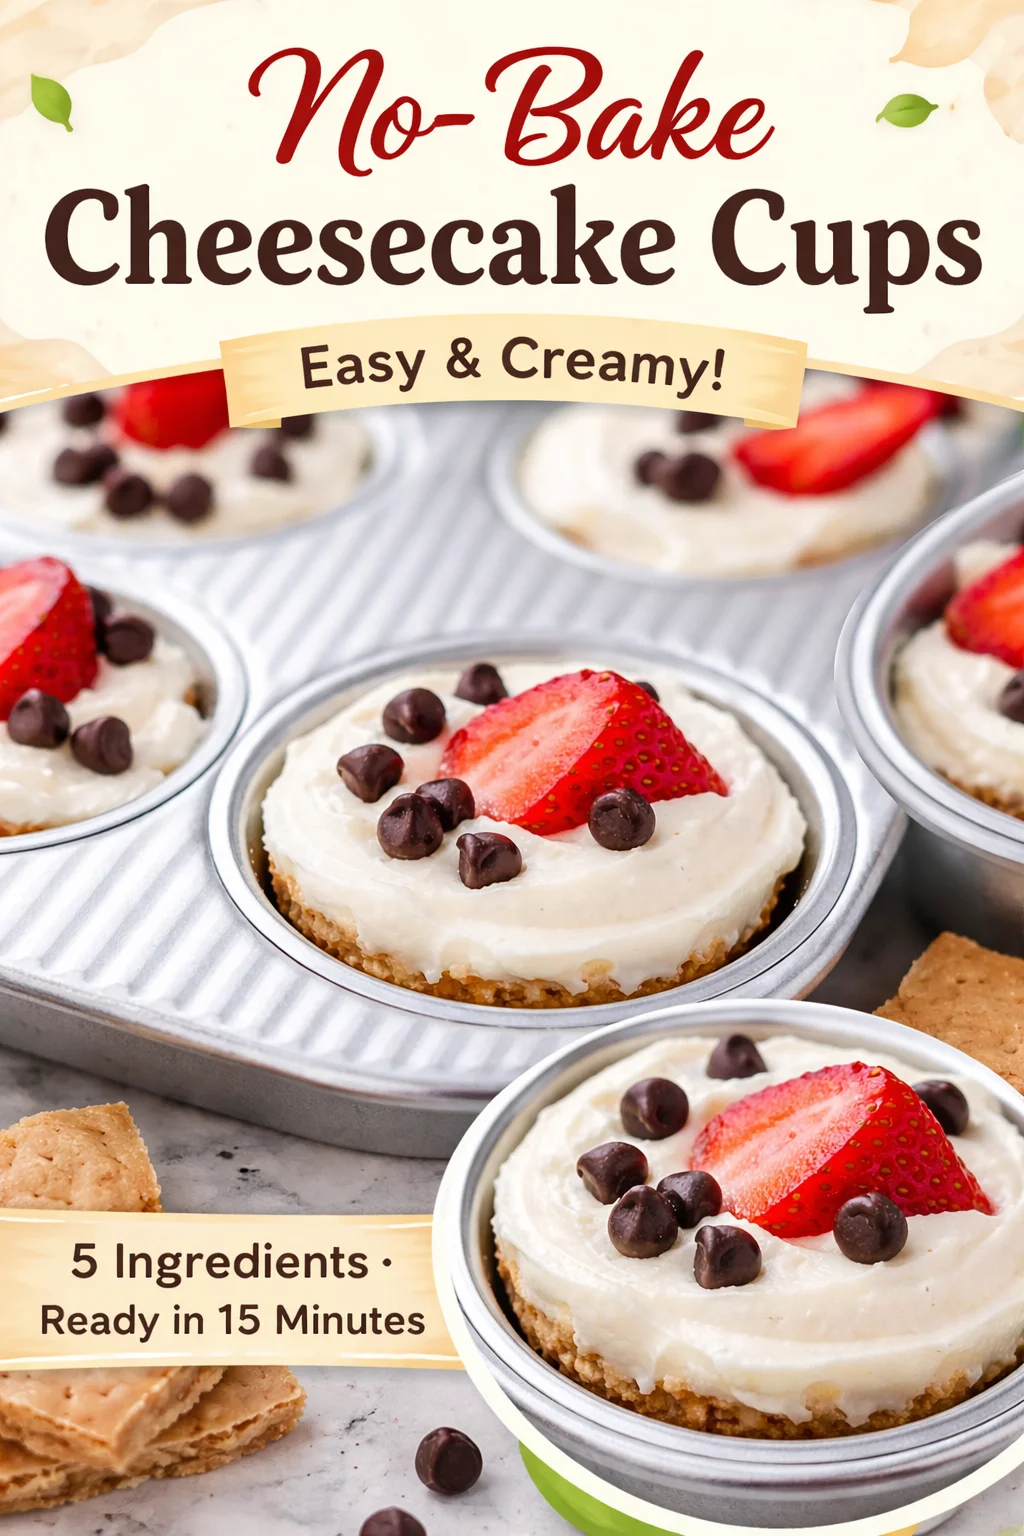
Mini Cheesecakes
Ingredients
For the crust
- 1 cup Graham cracker crumbs or crushed oats cereal or digestive biscuits You can use crushed oats or digestive biscuits as alternatives.
- 4 tablespoons Butter, melted Coconut oil can be used as a substitute.
- 1 pinch Salt
- 1 teaspoon Cinnamon Optional.
For the filling
- 8 ounces Cream cheese, softened Full fat for the creamiest texture.
- 1 cup Plain Greek yogurt Adds protein and keeps it light.
- 1/3 cup Honey Main sweetener.
- 1 teaspoon Vanilla extract
- 1 tablespoon Lemon juice Brightens the flavor.
- 1 pinch Salt
Instructions
Preparation
- Set your cream cheese on the counter for about 30 minutes to blend smoothly.
- Line a muffin tin with paper or silicone liners.
Make the crust
- Mix the crumbs, melted butter (or coconut oil), salt, and cinnamon if using. It should look like wet sand.
- Spoon about 1 to 1.5 tablespoons into each liner and press it down firmly.
Blend the filling
- In a bowl, beat the softened cream cheese until smooth.
- Add Greek yogurt, honey, vanilla, lemon juice, and salt. Mix until creamy and fluffy.
Fill the cups
- Spoon the filling over the crusts and smooth the tops.
- Optional: Add a tiny spoon of jam on top and gently swirl with a toothpick.
Freeze
- Freeze for at least 4 hours, preferably overnight.
- Once frozen, move the cups into a freezer bag or container.