Delicious Small Batch Chocolate Peanut Butter Mug Cake in the Oven
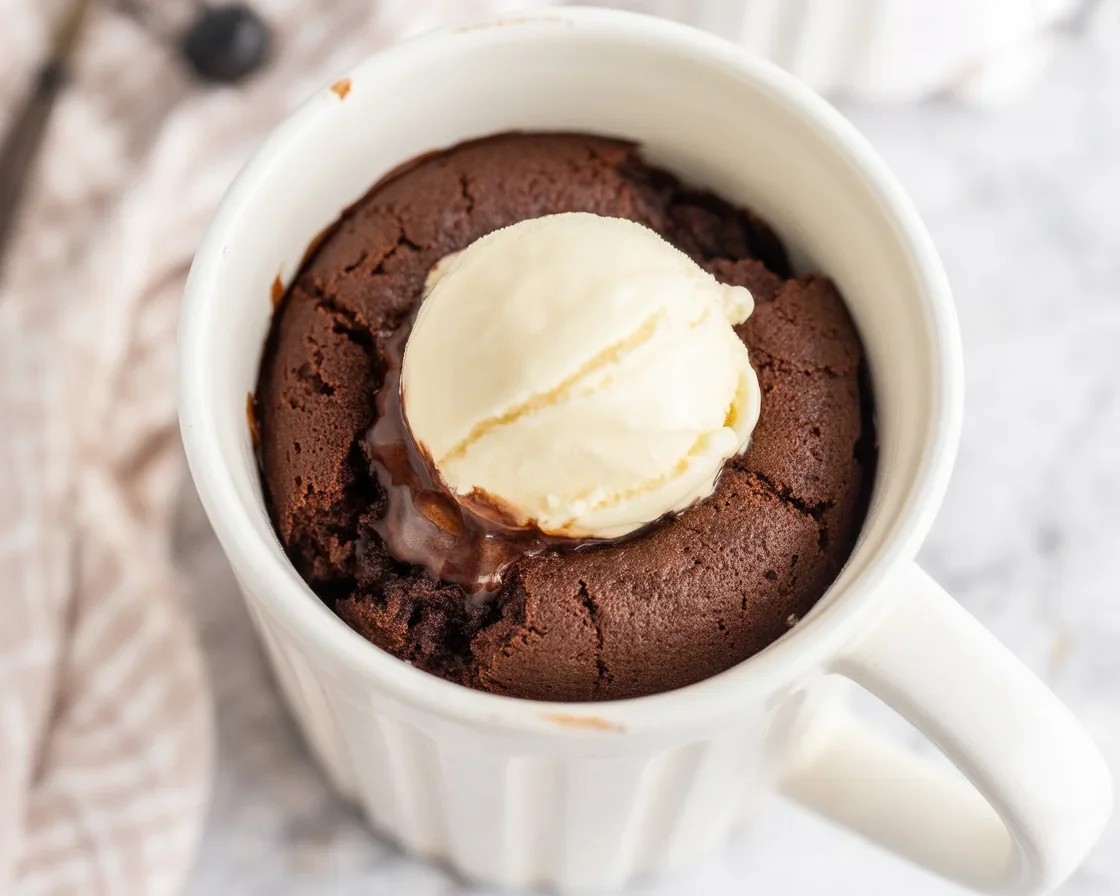
Small Batch Chocolate Peanut Butter Mug Cake (Oven-Baked) is the kind of sweet fix I wish I had discovered years ago. If you have a late-night craving but do not want a full pan of cake staring at you tomorrow, this is your new move. It is quick to mix, easy to clean up, and you do not need a microwave. I love that it bakes right in the mug so there is no fuss with pans or liners. The texture is soft and fudgy with melty chocolate and a creamy peanut butter swirl. Ready to try it tonight? 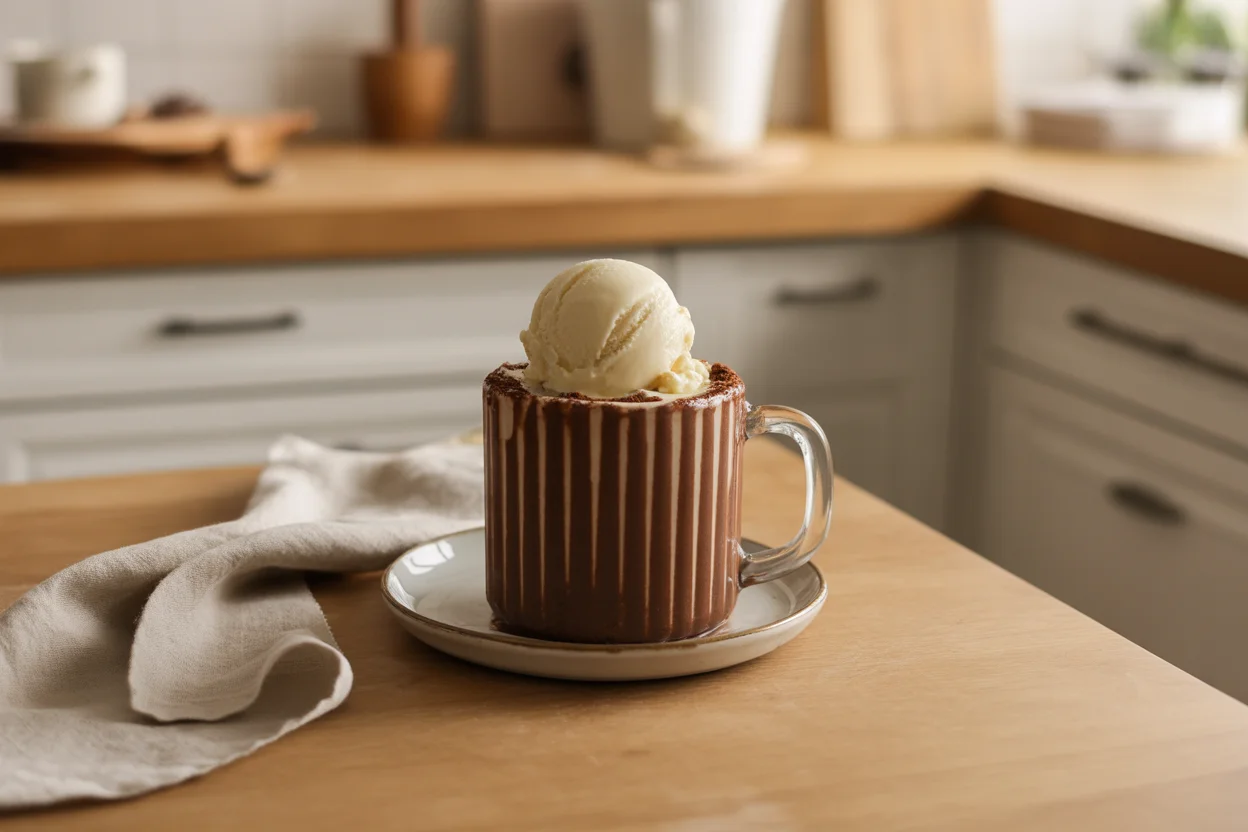
What is a mug cake?
A mug cake is exactly what it sounds like, a single-serving cake mixed and baked in a mug. Most people think of microwave versions, but I prefer the oven. The oven gives a more even rise, a gentle crust on top, and a tender crumb that feels like a real cake instead of a sponge. It takes a few more minutes, but the results are worth it.
When you make a mug cake in the oven, you use the same basics as a small cupcake: flour, cocoa, a little sugar, leavening, fat, and liquid. The batter comes together in one bowl, then you pour it into an oven-safe mug and bake until it springs back. The Small Batch Chocolate Peanut Butter Mug Cake (Oven-Baked) is my favorite because chocolate and peanut butter are a comfort combo and the portion stays perfectly reasonable.
You can mix in chips, drizzle in peanut butter, or add a pinch of flaky salt on top. It is a low-stress, high-reward dessert with cozy vibes and minimal dishes.
What size mug do I need for a mug cake?
Choose a sturdy, oven-safe ceramic mug that holds about 12 to 14 ounces when filled to the brim. This size gives the batter room to rise without overflowing. If you are unsure whether your mug is oven-safe, check the bottom for a stamp or use a small oven-safe ramekin instead.
Here is what works well for me:
Material: Thick ceramic or stoneware stands up to oven heat and bakes evenly.
Capacity: A 12 to 14 ounce mug fits one generous serving. If you only have 8 ounce mugs, divide the batter between two.
Shape: Straight sides help the cake rise neatly. Curved bowls work too, but watch the center for doneness.
Set your mug on a small baking sheet to stabilize it and make it easier to move in and out of the oven. Position the handle so it is easy to grab with an oven mitt. A tiny bit of planning saves a lot of juggling later.
How To Make A Chocolate Peanut Butter Mug Cake
What you will need
Grab one mixing bowl, a whisk or fork, and your favorite oven-safe mug. Preheat the oven to 350 F with the rack in the center. Lightly grease the inside of the mug with butter or oil to prevent sticking.
Ingredients
- 4 tablespoons (30 g) all-purpose flour
- 1.5 tablespoons (7 g) unsweetened cocoa powder
- 2.5 tablespoons (30 g) granulated sugar or use half brown sugar
- 1/4 teaspoon baking powder
- Pinch of fine salt
- 1 large egg yolk at room temp for tenderness
- 5 tablespoons (75 ml) milk dairy or unsweetened almond milk
- 1.5 tablespoons (20 ml) neutral oil or melted butter
- 1/2 teaspoon vanilla extract
- 1 to 2 tablespoons chocolate chips optional but lovely
- 1 heaped tablespoon creamy peanut butter for the swirl
Step-by-step
- Preheat the oven to 350 F. Place a small baking sheet on the middle rack to heat with the oven. This helps the mug cake bake evenly from the bottom.
- In a bowl, whisk flour, cocoa, sugar, baking powder, and salt until no cocoa lumps remain.
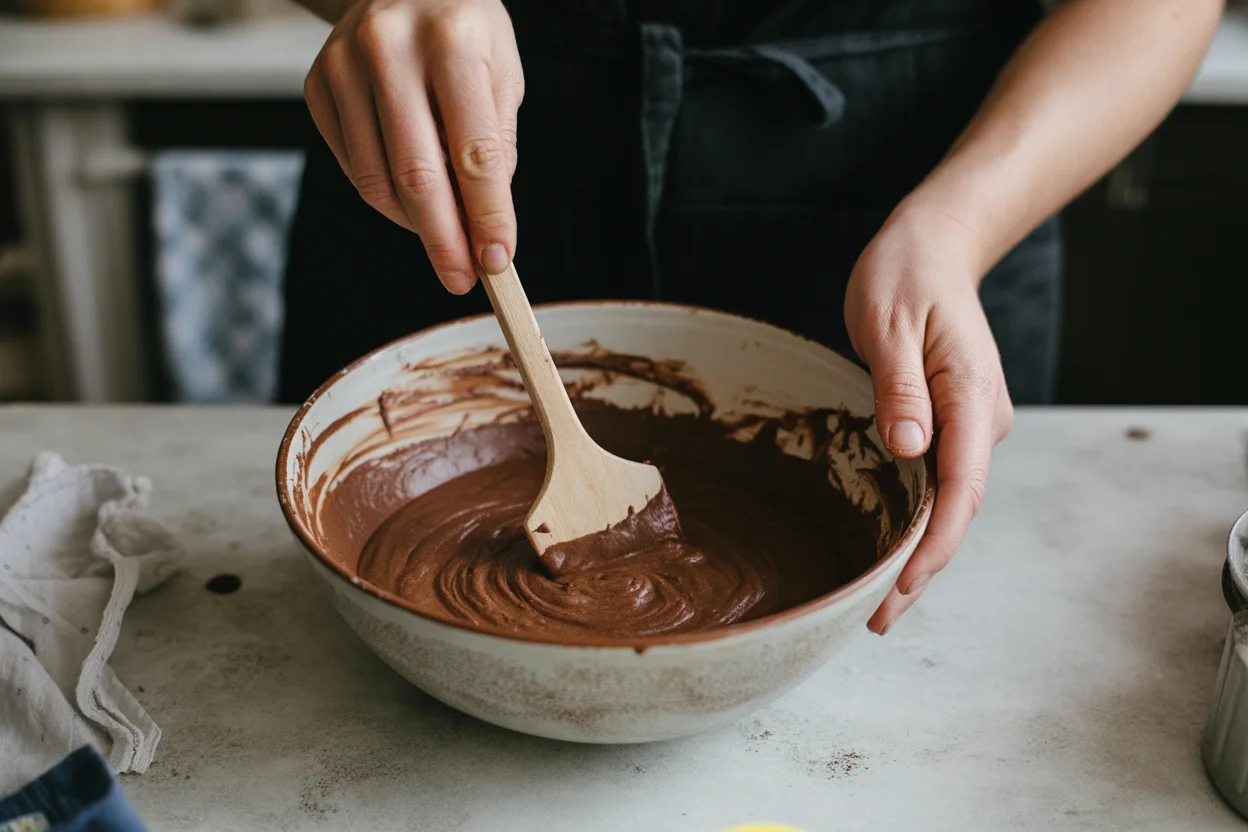
- Whisk in the egg yolk, milk, oil, and vanilla until smooth and glossy. Do not overmix, just combine until you have a silky batter. Fold in chocolate chips if using.
- Pour the batter into the greased mug, filling it about two-thirds full.
- Warm the peanut butter in the microwave for 10 to 15 seconds until soft, or stir vigorously to loosen. Dollop it on the batter and use a toothpick or knife to swirl it through. Aim for 2 to 3 figure-eights, not too many, so you get pockets of peanut butter.
- Place the mug on the hot baking sheet and bake for 12 to 16 minutes. Start checking at 12. The top should look set and a toothpick poked off-center should come out with a few moist crumbs.
- Cool 5 minutes before digging in. Top with a scoop of ice cream, a drizzle of chocolate sauce, or a sprinkle of flaky salt.
Yields: 1 generous mug cake or 2 small ones if you divide the batter. If you split it, start checking for doneness at 9 minutes.
The Small Batch Chocolate Peanut Butter Mug Cake (Oven-Baked) should taste rich and chocolatey with ribbons of creamy peanut butter, not dry or bouncy. If it seems dry, reduce the bake time by a minute next time or add an extra teaspoon of milk to the batter.
Baking Tips
- Measure lightly and level. Too much flour leads to a dense cake. Spoon flour into the tablespoon, level with a knife.
- Use room temperature ingredients. A cold yolk or cold milk makes the batter tight and bakes slower.
- Natural peanut butter works if well stirred. If it is very runny, reduce milk by 1 teaspoon so the cake stays tender, not oily.
- Do not overbake. Pull it when the center is barely set. Residual heat finishes the job.
- Sweetness and salt. Peanut butter is salty, chocolate is bitter. Taste the batter and add an extra pinch of sugar or salt to balance your peanut butter brand.
- No egg option: Skip the yolk and add 1 tablespoon plain Greek yogurt. The texture is a bit more brownie-like but still moist.
- Gluten free: Use a 1:1 gluten-free baking blend and check at 11 minutes.
“I made this for a cozy movie night and it was shockingly good for such a tiny batch. The peanut butter swirls stayed creamy and the center was fudgy. I baked mine 13 minutes and it was perfect.”
These small tweaks keep your Small Batch Chocolate Peanut Butter Mug Cake (Oven-Baked) soft, lush, and flavorful every time.
Variations of Peanut Butter Cookie
Peanut butter cookies and this mug cake are cousins in my kitchen. If you love classic peanut butter cookie flavors, try one of these twists.
Cookie crunch topping: Crumble a peanut butter cookie over the warm cake to add buttery crunch. A tiny pinch of flaky salt on top is dreamy.
Peanut butter blossom vibes: After baking, press a milk chocolate kiss into the center and let it melt slightly, just like the cookie. It looks cute and tastes nostalgic.
Pretzel swirl: Swirl the peanut butter, then sprinkle crushed pretzels on top before baking. You get sweet, salty, and crunchy all in one bite. If you like this combo, check out my go-to peanut butter pretzel bites for snacking while you wait on the oven.
Double peanut butter: Swap chocolate chips for peanut butter chips, then drizzle more peanut butter over the top after baking. It is bold in the best way.
More ideas: If you are as obsessed with this duo as I am, you will love browsing these chocolate peanut butter treats for more inspiration to pair with your mug cake night.
Common Questions
Can I bake two at once? Yes. Divide the batter into two smaller mugs or ramekins. Bake both on the same sheet. Start checking at 9 to 11 minutes.
Can I skip the egg yolk? You can. Replace it with 1 tablespoon Greek yogurt or 1 tablespoon extra milk plus 1 teaspoon oil. The cake will be slightly less tender but still tasty.
Which peanut butter works best? Creamy peanut butter is easiest to swirl. Natural is fine if well stirred and not too runny. If it is very loose, reduce milk slightly.
How do I know it is done? The top should look set and spring back lightly. A toothpick inserted near the edge should come out with a few moist crumbs. If the center looks wet, give it another minute.
Can I make it dairy free? Use almond milk or oat milk and oil instead of butter. Check a minute earlier, as dairy free versions can set faster.
Sweet, small, and totally do-able
I love how fast this comes together, and the portion keeps me from overdoing it. You mix, swirl, bake, and five minutes later you are spooning into something warm and cozy. If you want more small batch dessert ideas, this one pairs nicely with a scoop of ice cream or a simple fruit compote. For another take on this flavor duo, peek at Chocolate Peanut Butter Mug Cake – Homemade In The Kitchen over at Chocolate Moosey. It is fun to compare methods and find your personal favorite.
Give the Small Batch Chocolate Peanut Butter Mug Cake (Oven-Baked) a try tonight and tweak it to fit your taste. Keep the basics the same, play with chips or toppings, and take notes on your sweet spot for bake time. I think you will love the convenience. And if you do, tell me how yours turned out so we can all learn from each other.
Chocolate Peanut Butter Mug Cake
Ingredients
For the cake
- 4 tablespoons all-purpose flour Measure lightly and level to avoid a dense cake.
- 1.5 tablespoons unsweetened cocoa powder
- 2.5 tablespoons granulated sugar You can also use half brown sugar.
- 1/4 teaspoon baking powder
- 1 pinch fine salt
- 1 large egg yolk At room temperature for tenderness.
- 5 tablespoons milk Dairy or unsweetened almond milk.
- 1.5 tablespoons neutral oil Or melted butter.
- 1/2 teaspoon vanilla extract
- 1 to 2 tablespoons chocolate chips Optional.
- 1 heaped tablespoon creamy peanut butter For the swirl.
Instructions
Preparation
- Preheat the oven to 350 F (175 C). Place a small baking sheet on the middle rack to heat with the oven.
- In a bowl, whisk together the flour, cocoa, sugar, baking powder, and salt until no cocoa lumps remain.
- Whisk in the egg yolk, milk, oil, and vanilla until smooth and glossy.
- Fold in the chocolate chips if using.
- Pour the batter into the greased mug, filling it about two-thirds full.
- Warm the peanut butter in the microwave for 10 to 15 seconds until soft, or stir vigorously to loosen. Dollop it on the batter and swirl through with a toothpick or knife.
Baking
- Place the mug on the hot baking sheet and bake for 12 to 16 minutes, checking at 12 minutes. The top should look set and a toothpick poked off-center should come out with a few moist crumbs.
- Cool for 5 minutes before enjoying.