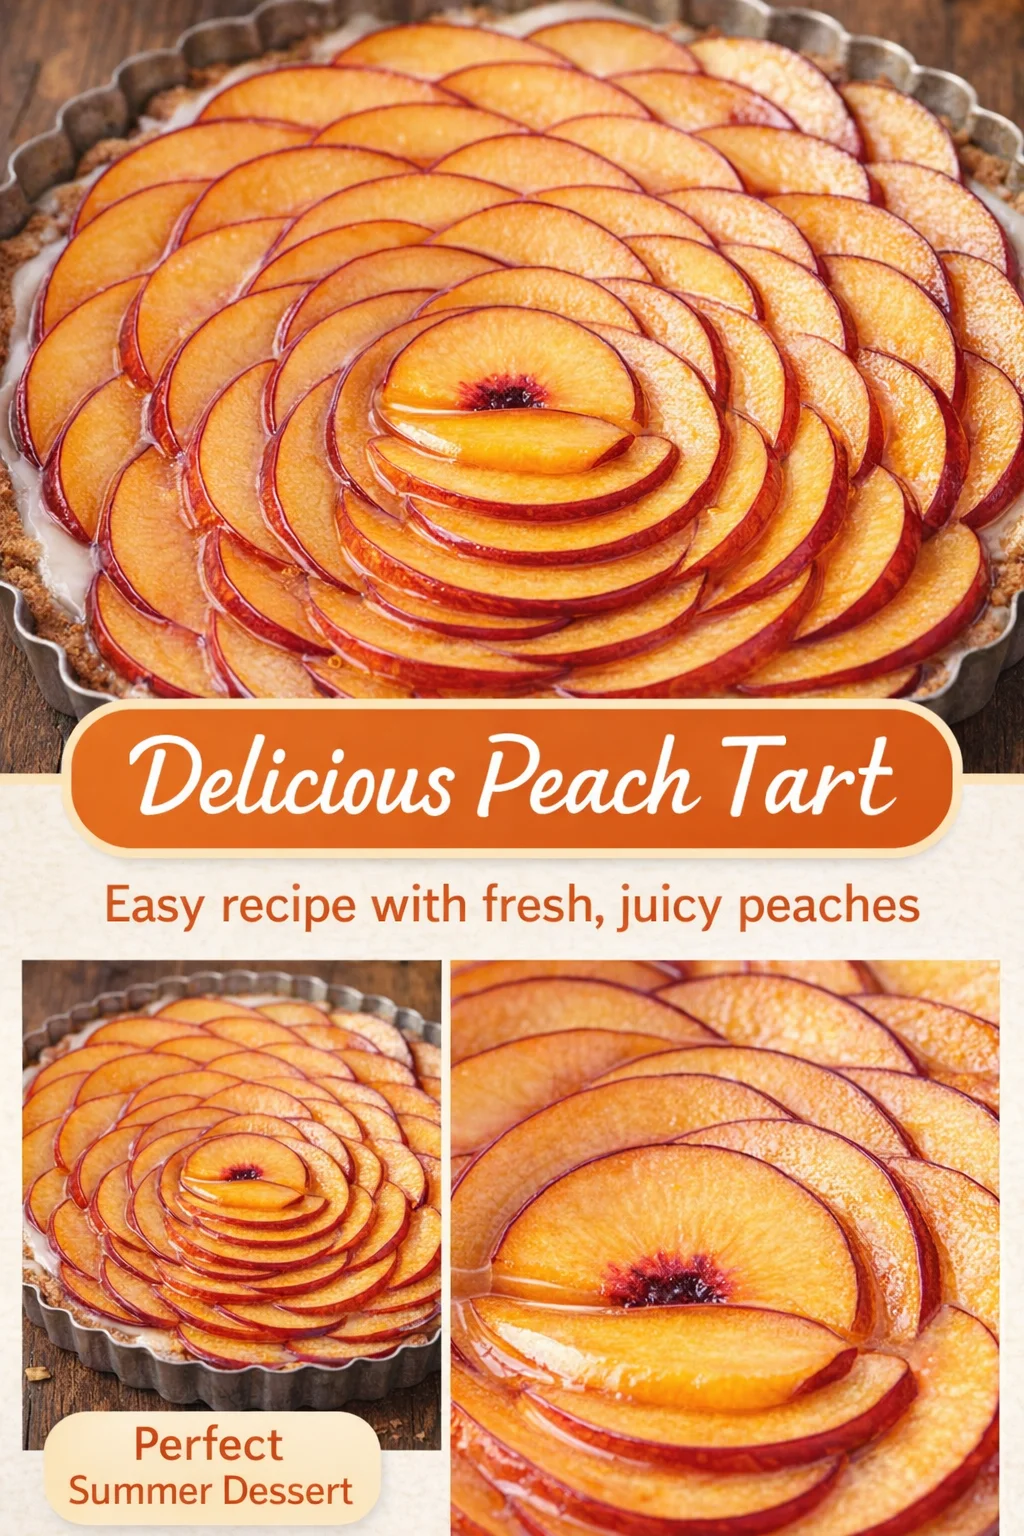
Delicious No-Bake Peach Yogurt Tart Cups to Savor This Summer
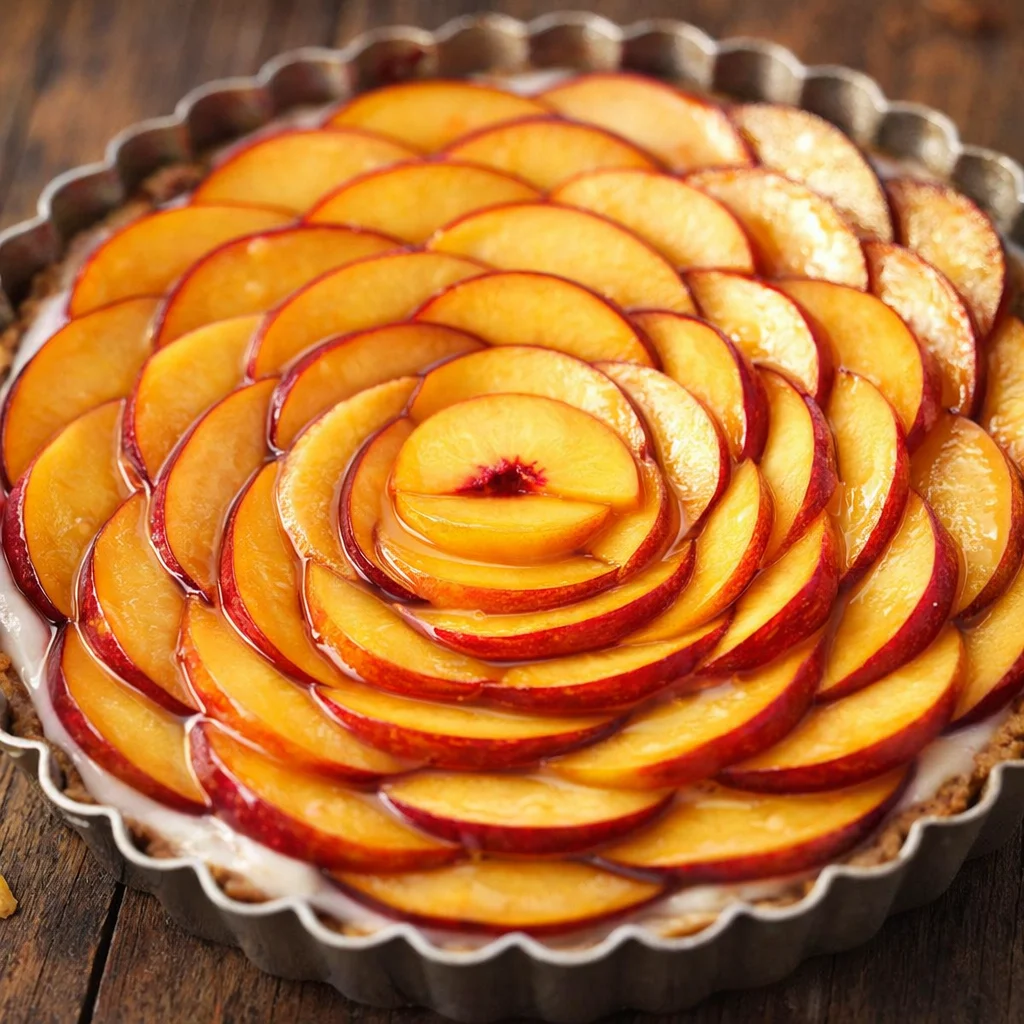
No-Bake Peach Yogurt Tart Cups are my go to answer for those sticky hot summer days when I want something sweet but I do not want to turn on the oven. You know the feeling, you have ripe peaches on the counter, everyone is snacking, and the kitchen already feels warm. These little cups fix the problem fast, and they look like you actually planned dessert. They are creamy, bright, and lightly tangy from yogurt, with that juicy peach flavor that tastes like summer. If you are hosting or just treating yourself on a Tuesday, this is the kind of dessert that makes you happy right away. 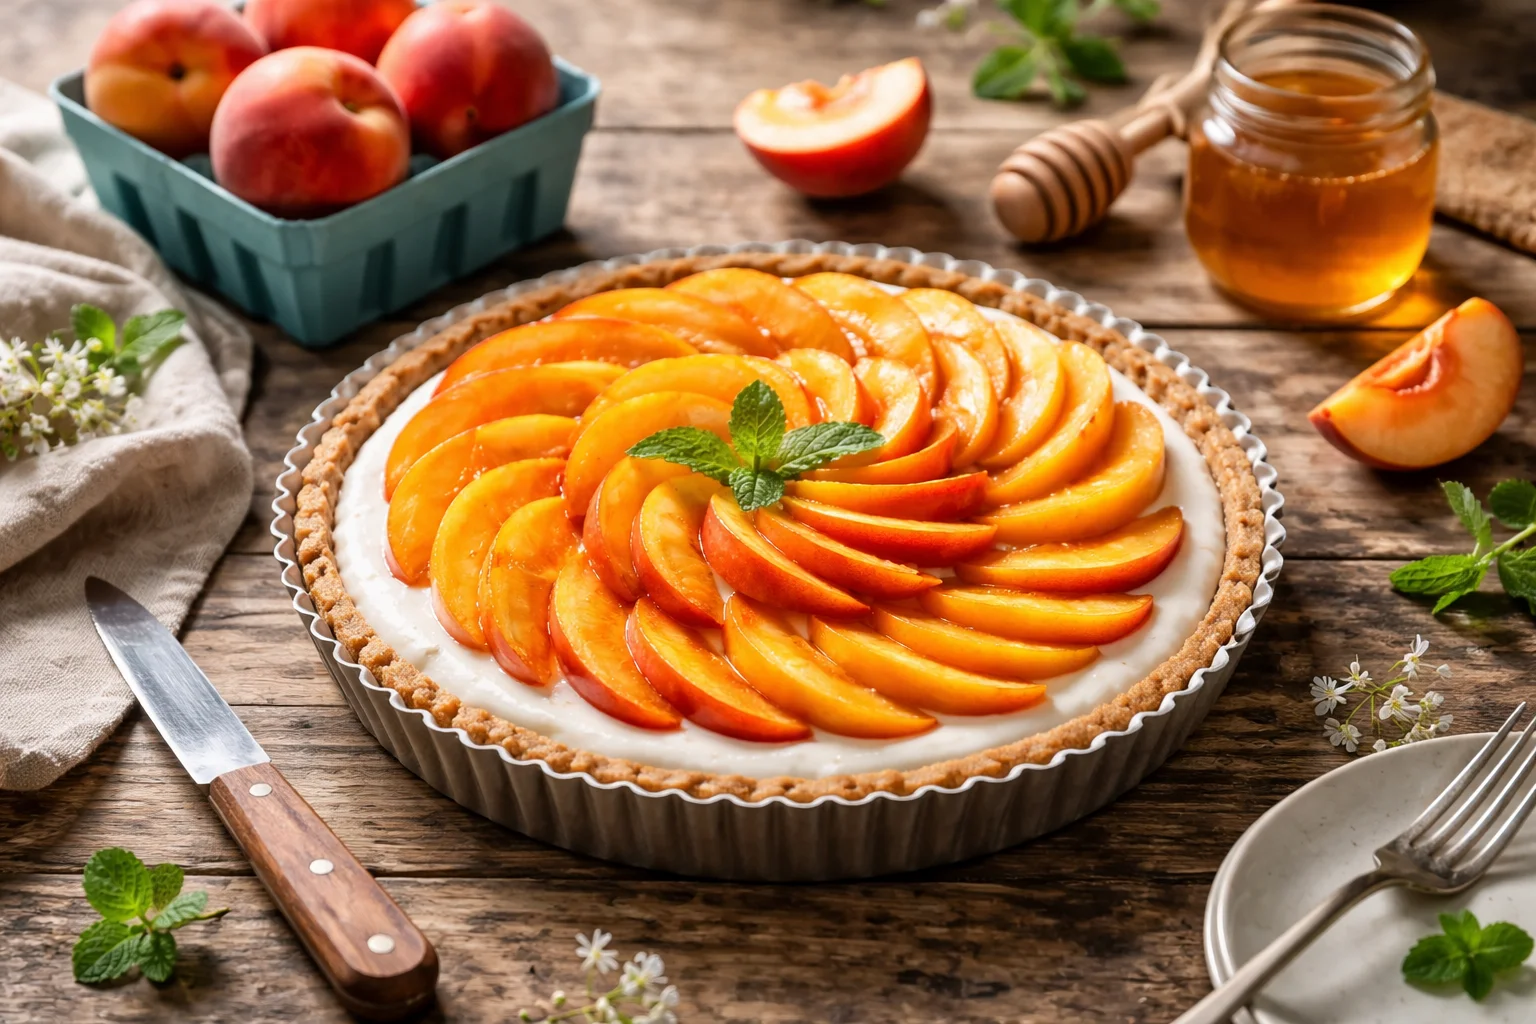
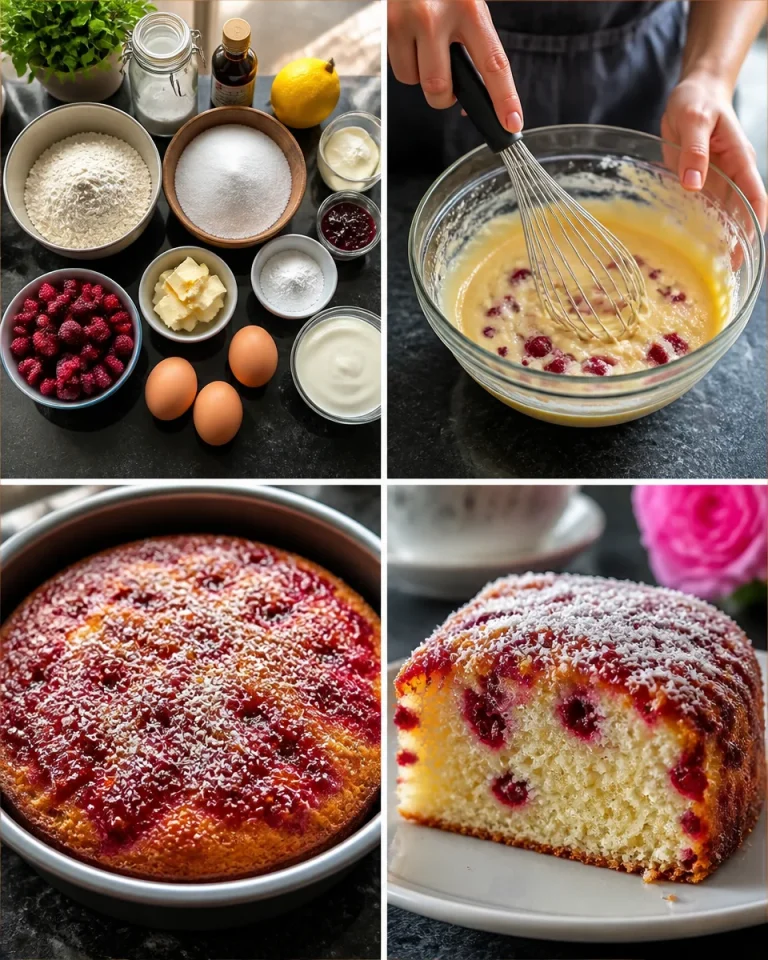
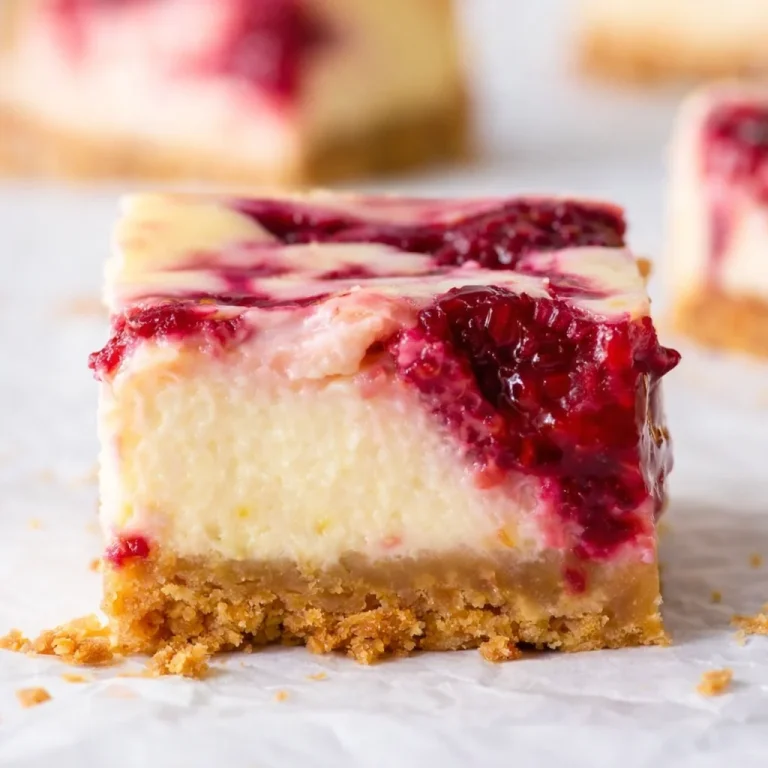
How to Make Delicious Raspberry Rhubarb Yogurt Tarts
Okay, quick note before we get peachy. This section is for when you want to take the same no bake tart cup idea and swap in a different fruit vibe. Raspberry plus rhubarb is one of my favorite combinations when I want something a little more punchy and less mellow than peaches. The method is basically the same as my No-Bake Peach Yogurt Tart Cups, so once you make one version, you can make them all.
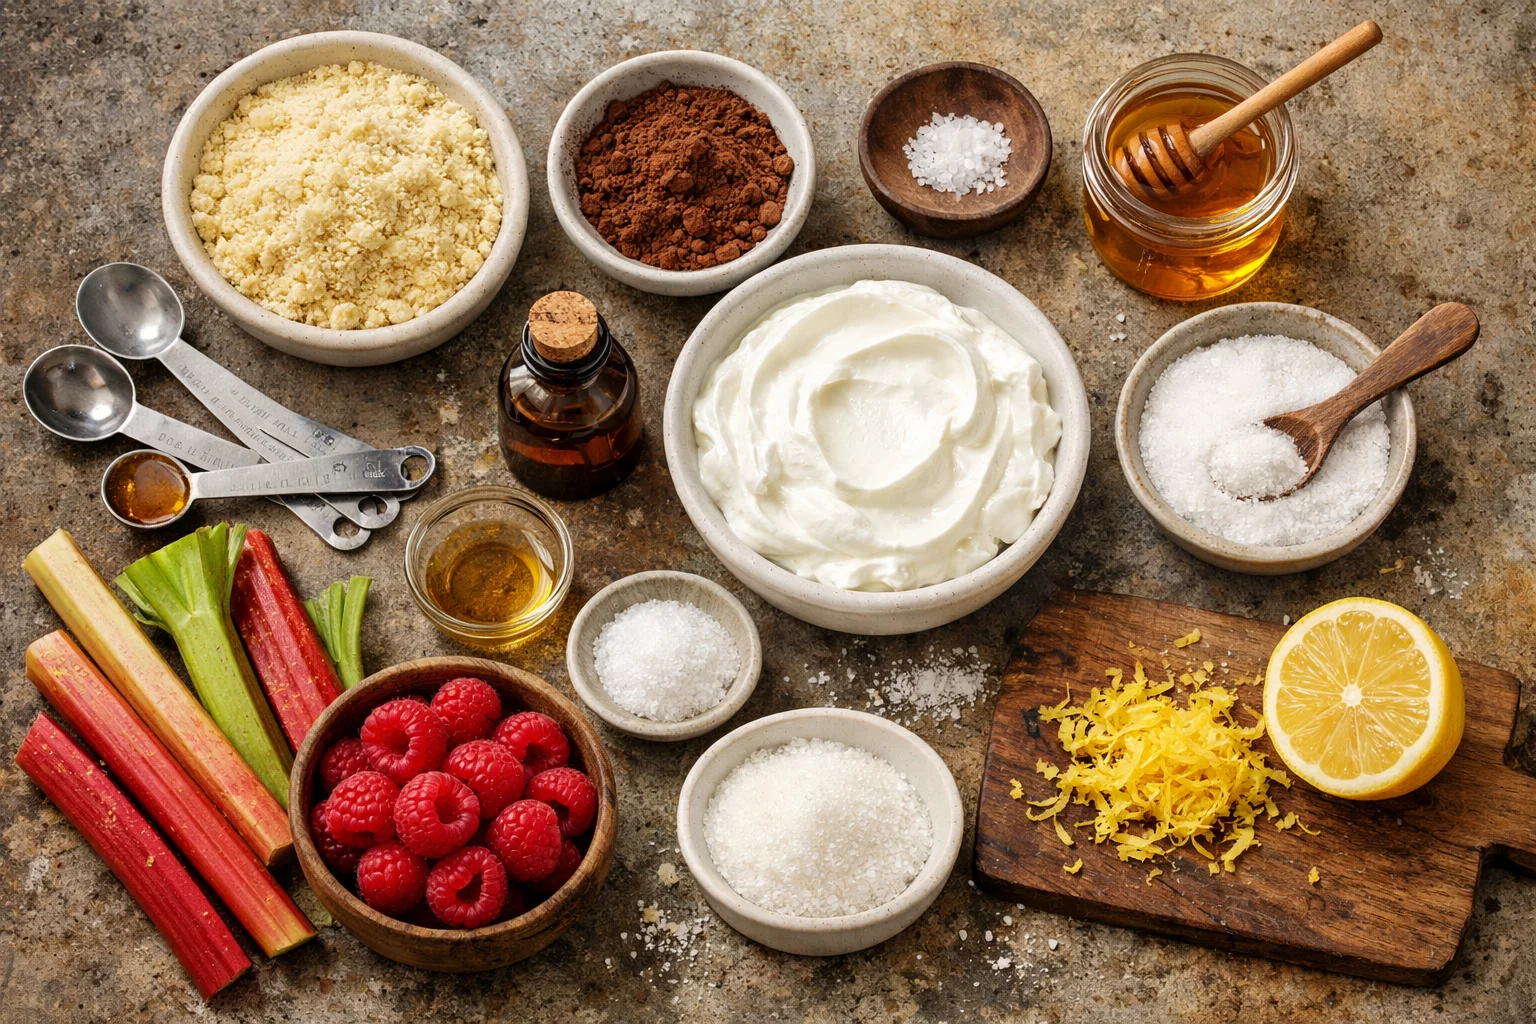
What you will need
I keep this simple and flexible. If you can stir and chill, you can make these.
- Crust: almond flour, cocoa powder, a pinch of salt, and a sticky sweetener like honey or maple syrup
- Filling: plain Greek yogurt, a little vanilla, and a spoon of sweetener to taste
- Fruit layer: raspberries and rhubarb cooked down quickly with a bit of sugar, or use a good store bought jam in a pinch
- Optional: lemon zest for extra sparkle
Here is how I do it. Stir the crust ingredients until it looks like damp sand. Press into the bottom of small jars or muffin liners. Mix yogurt with vanilla and sweetener, then spoon it on top. Add your raspberry rhubarb layer and swirl a little if you want it pretty. Chill at least 2 hours so it sets up nicely and tastes cold and refreshing.
And if you love cute no bake cups in general, you might also like these creamy no bake Greek yogurt cheesecake cups. Same easy energy, different flavor mood.
Tips for Making Perfect No-Bake Tarts
I have made enough no bake desserts to learn what matters and what does not. The good news is that No-Bake Peach Yogurt Tart Cups are pretty forgiving, but a few small tips make them feel bakery level without any extra stress.
Little tricks that actually help
First, press the crust firmly. I use the bottom of a small glass and really push it down so it holds together when you dig in. If your crust feels dry and crumbly, add a tiny bit more honey or maple syrup, like a teaspoon at a time.
Second, use thick yogurt. If your yogurt is runny, the filling will not set as nicely. Plain Greek yogurt is the easiest option. If you only have regular yogurt, you can strain it in a fine mesh strainer or cheesecloth for 30 to 60 minutes in the fridge. It makes a big difference.
Third, taste as you go. Peaches vary a lot. Some are super sweet, some need help. I usually sweeten the yogurt filling lightly, then rely on the peaches for most of the sweetness. A pinch of salt in the filling sounds odd but it makes the flavor pop.
Finally, chill time is not optional. You can eat them right away, sure, but they turn into the dreamiest little dessert after a couple hours in the fridge. The crust firms up and the flavors settle in.
When I am feeling extra, I do a little topping bar situation with toasted coconut, chopped nuts, and extra fruit. That is also when I bring out recipes like these no bake peach coconut cream cups for variety, especially if people like different textures.
Health Benefits of Using Almond Cocoa Crusts
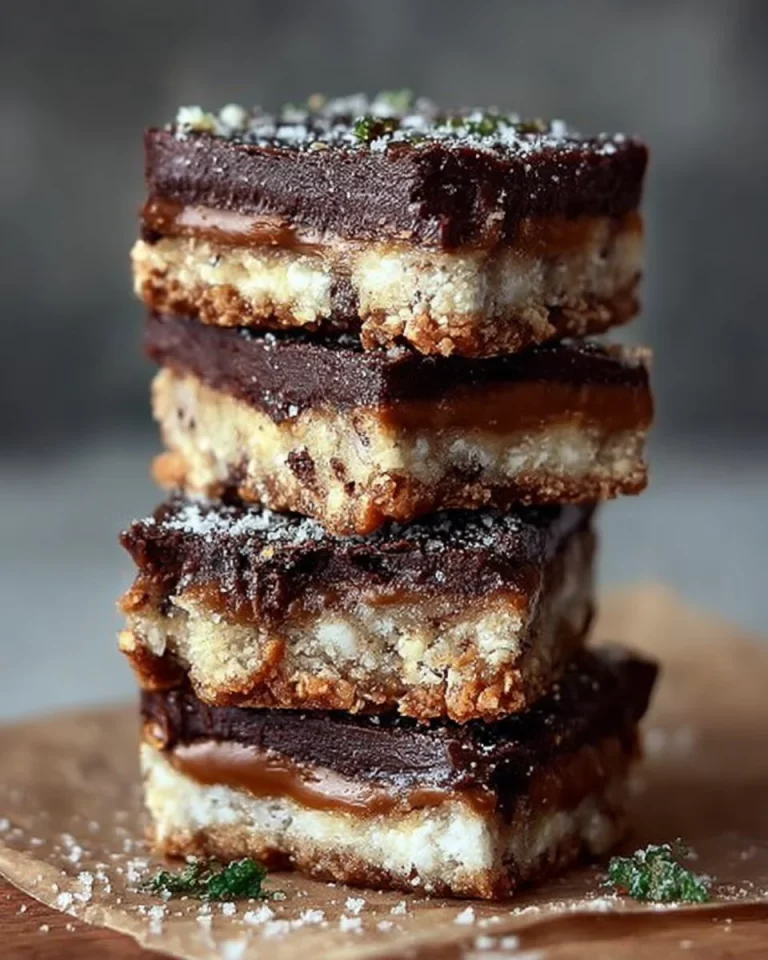
Let us talk crust, because it is easy to think of it as just the base, but it really changes how these cups eat and how satisfying they feel. I love an almond cocoa crust for No-Bake Peach Yogurt Tart Cups because it tastes like a soft brownie cookie, but it is also made from simple ingredients.
Almond flour brings healthy fats and a bit of protein, which helps keep you full. Cocoa powder gives that deep chocolate taste without needing a lot of sugar. And because there is no baking, the whole thing is quick and low effort.
Here is what I personally notice when I use an almond cocoa crust:
It is more filling than a plain cookie crumb crust, so you are not hunting for snacks an hour later.
It tastes rich even if the filling is lightly sweetened, which is great when your peaches are already sweet.
It holds up well in the fridge, so you can prep ahead for gatherings or easy weekday treats.
If you are watching added sugar, this crust is also easy to adjust. You can use less sweetener and rely on the fruit. The cocoa helps it still taste like dessert, even when it is not overly sweet.
Alternative Ingredients for Allergen-Friendly Tarts
I get it. Sometimes you love the idea of tart cups, but your pantry or your body says, not like that. The good news is you can still make No-Bake Peach Yogurt Tart Cups with a few simple swaps.
If you need nut free, try using sunflower seed flour or crushed oats for the base. If you go the oat route, a quick blitz in a blender makes them more crumb like. For a dairy free option, choose a thick coconut yogurt or almond based yogurt. Just make sure it is not too runny.
Some easy swap ideas:
Nut free crust: oat flour plus cocoa powder plus a little coconut oil and maple syrup
Dairy free filling: coconut yogurt with vanilla and a little lemon zest
Lower sugar: use very ripe peaches and just a drizzle of honey, or skip sweetener in the filling
Gluten free: stick with almond flour or certified gluten free oats
One more thing. If you are making these for someone with allergies, check labels on cocoa and yogurt, since sneaky cross contamination warnings show up sometimes.
Creative Serving Suggestions for Breakfast Tarts
Yes, I said breakfast. No-Bake Peach Yogurt Tart Cups can totally be a morning thing if you keep the sweetness gentle. I have had one with coffee on a summer morning and it felt like a tiny vacation, not gonna lie.
My favorite ways to serve them
- Breakfast style: top with granola and extra sliced peaches
- Brunch board: serve in small jars with berries, nuts, and a honey drizzle on the side
- Dessert vibe: add whipped cream or coconut cream and chocolate shavings
- Kids snack: make them in mini muffin liners and let them add toppings
- Picnic friendly: use lidded containers and keep them in a cooler
If your peaches are not perfect, do not panic. Slice them and toss with a tiny squeeze of lemon and a pinch of sugar, then let them sit for 10 minutes. They get juicier and taste more like peak season.
Also, these tart cups are great for making ahead. I usually assemble the crust and filling, then add peaches closer to serving so they stay fresh and bright. If you are storing leftovers, cover them and keep them cold. They are best within 2 days, but mine usually disappear faster than that.
Common Questions
Can I use canned peaches?
Yes. Just drain them well and pat them dry a bit so they do not water down the yogurt layer. If they are in heavy syrup, you might want to rinse and drain.
How long do the cups need to chill?
At least 2 hours. Overnight is even better if you want the crust to get really firm.
What if my yogurt filling tastes too tangy?
Add a little more sweetener and a splash of vanilla. A spoonful of whipped cream folded in also softens the tang if you want it extra mellow.
Can I freeze No-Bake Peach Yogurt Tart Cups?
You can, but the texture changes a bit when thawed. If you freeze them, eat them semi frozen like an ice cream cup. That is honestly pretty good.
What cups should I use for serving?
Small jars, ramekins, or muffin liners all work. Jars are my favorite because they travel well and look cute with the layers.
One last little note before you make them
If you are the type who likes to compare recipes before picking one, I do that too. For another fun take with a similar no bake tart feel, Carla Hall has a lovely Raspberry Greek Yogurt No-Bake Tart that is worth a look, especially if you are in a berry mood.
But if peaches are calling your name, stick with these No-Bake Peach Yogurt Tart Cups. They are cool, creamy, and easy enough to make on a weeknight. Plus, they look like you put in way more effort than you actually did, which is basically my favorite kind of recipe.