Irresistible Flourless Hazelnut Brownie Bars Made with Maple
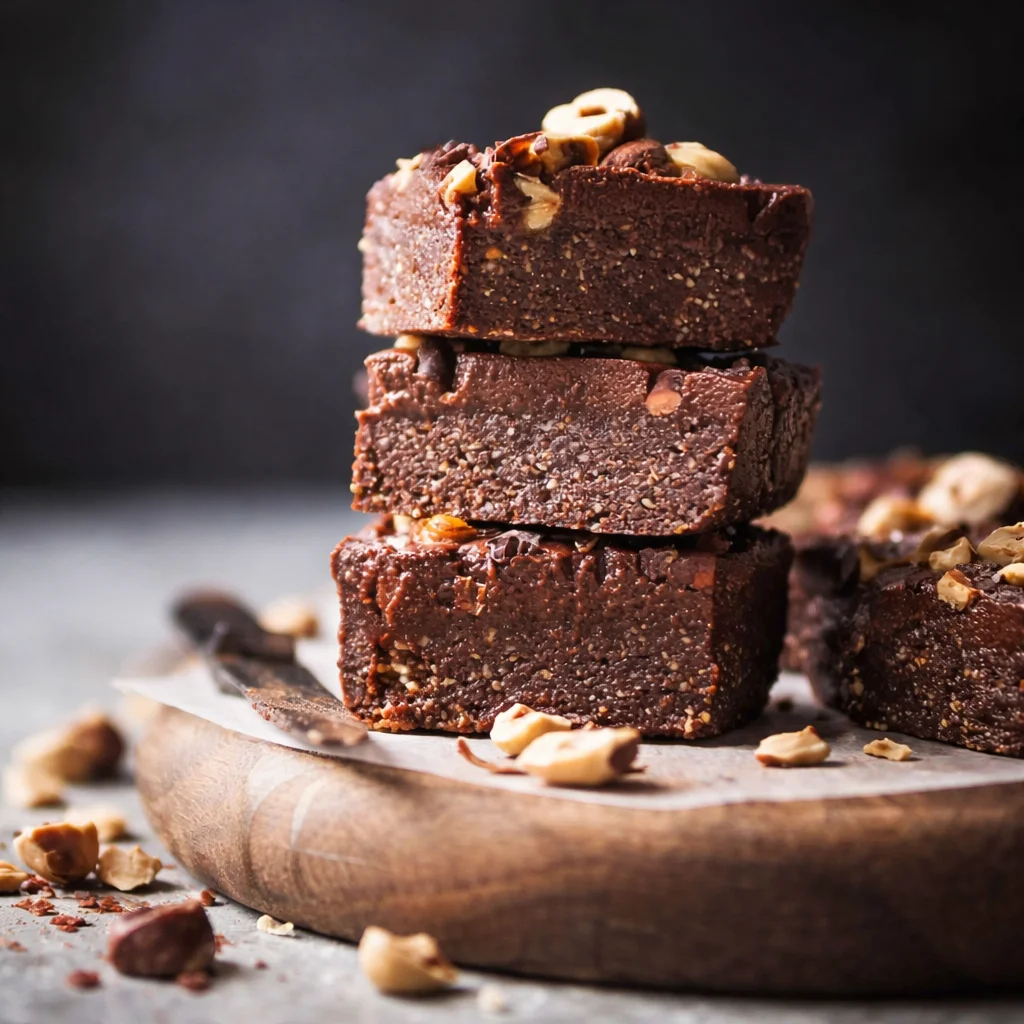
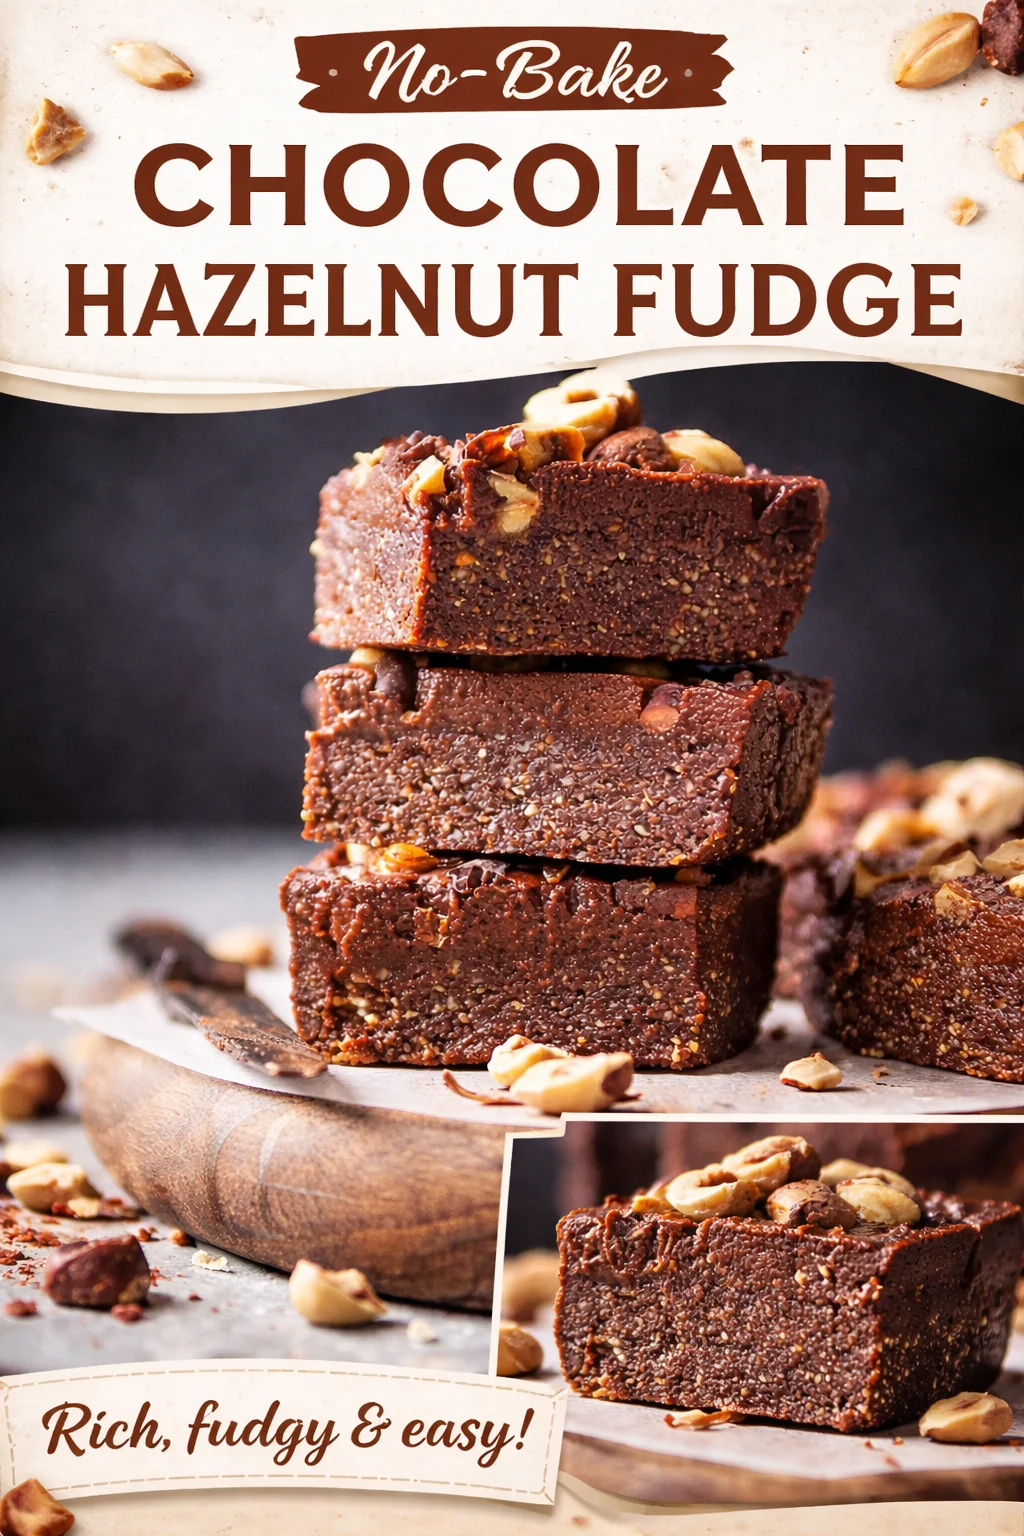
Flourless Hazelnut Brownie Bars (Maple Sweetened) are my answer to that very specific craving when you want something deeply chocolatey, a little fancy, and not weighed down by a bunch of flour. I started making these on weeks when I was trying to “be good” but still needed a real dessert, not a sad snack pretending to be dessert. They come out fudgy in the middle, slightly crisp on top, and they taste like chocolate and toasted nuts had the best day ever. The maple gives a cozy sweetness that doesn’t scream sugar, and the hazelnuts make it feel bakery worthy. If you’ve ever wanted a brownie bar that feels special but still easy, you’re in the right place.
Understanding the Basics of Flourless Hazelnut Brownie Bars Made with Maple
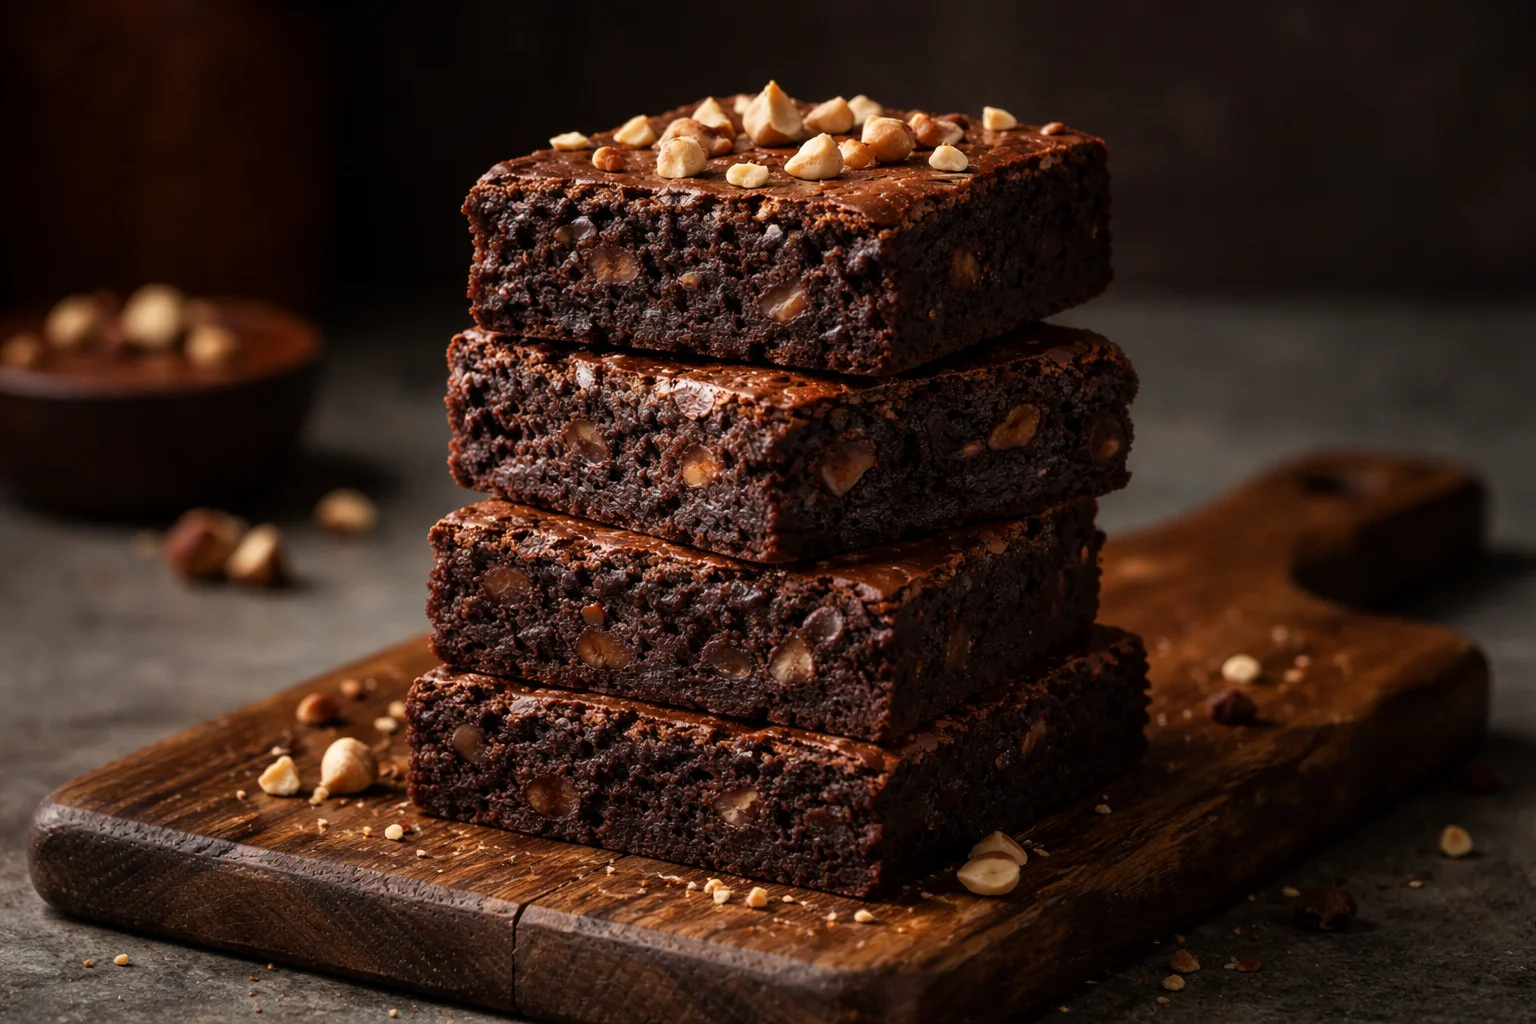
Let’s talk about what makes these bars different, because “flourless” can sound a little mysterious if you don’t bake often. In Flourless Hazelnut Brownie Bars (Maple Sweetened), the structure mostly comes from eggs plus finely ground hazelnuts. Instead of flour giving the bars their body, you get this rich, dense bite that leans extra fudgy.
I like to think of hazelnuts as the brownie’s best friend. When you toast them and grind them up, they bring this warm, nutty flavor that’s basically made for chocolate. Maple syrup is the other key player. It sweetens, yes, but it also adds a little caramel like depth that plain sugar doesn’t.
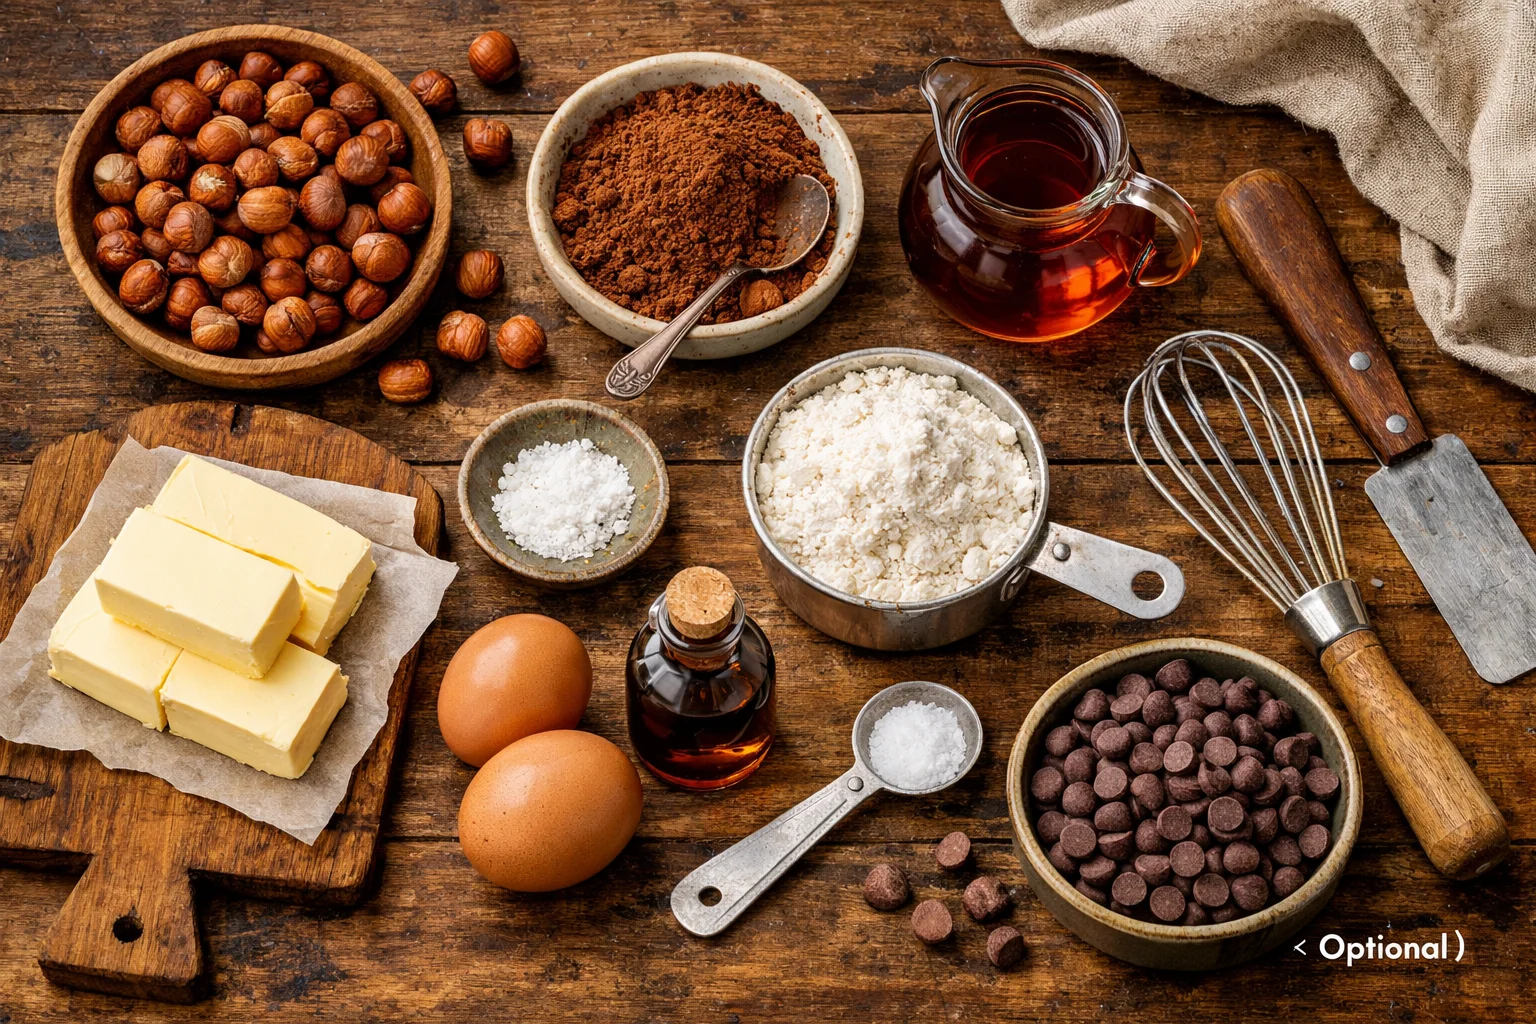
What you will need
- Hazelnuts (raw or roasted, but you will toast them if raw)
- Unsweetened cocoa powder for deep chocolate flavor
- Maple syrup as the main sweetener
- Butter (or coconut oil if you prefer)
- Eggs to bind and lift
- Vanilla extract and a pinch of salt
- Optional: chocolate chips or chopped dark chocolate
Quick side note: if you love dessert bars as much as I do, you might also like these chocolate date nut bars. Totally different vibe, but they’re another great “snacky but still dessert” option.
For pan size, I usually use an 8×8 inch pan for thicker bars. If you use a 9×9, they’ll bake a bit faster and come out thinner. Neither is wrong. Just keep an eye on the bake time.
Key Benefits of Flourless Hazelnut Brownie Bars Made with Maple
The obvious perk is that they’re flourless, which makes them naturally gluten-free as long as your cocoa powder and other ingredients are certified if you need that. But honestly, even if you’re not avoiding gluten, the texture is the real reason to make them. Flourless Hazelnut Brownie Bars (Maple Sweetened) give you that dense brownie chew without turning cakey, and I love that.
Here are a few more reasons I keep this recipe on repeat:
They feel indulgent but not overly sweet. Maple syrup has a softer sweetness than white sugar, so the chocolate and hazelnut flavors don’t get buried.
They slice clean when chilled. If you’ve ever tried to cut warm brownies and ended up with brownie rubble, you’ll appreciate this.
They store well. You can make them ahead for a weekend hangout, a bake sale, or just to “find” in the fridge later.
And if you’re in a bar mood and want something fruity and bright after all the chocolate, these cranberry crumb bars are a fun switch up.
“I made these for a small dinner and everyone asked for the recipe. The maple and hazelnut combo tastes like a fancy chocolate shop brownie, but the steps were actually easy.”
Common Mistakes to Avoid
I’ve made every mistake possible with brownies over the years, so let me save you a little trouble. Flourless recipes are forgiving in some ways, but a few details really matter if you want that perfect fudgy bar.
Mistake 1: Not toasting the hazelnuts. You can skip it, but you lose so much flavor. Toasting makes them smell nutty and rich. I do 8 to 10 minutes at 350 F, then rub off as much skin as I can. It doesn’t have to be perfect.
Mistake 2: Grinding hazelnuts into paste. You want a fine meal, not hazelnut butter. Pulse in short bursts. If it starts clumping and looking oily, stop and scrape the bowl, then pulse again carefully.
Mistake 3: Overbaking. This is the big one. Because there’s no flour, the center should look set but still a little soft. If you bake until it looks totally firm like a cake, it will cool down drier than you wanted.
Mistake 4: Cutting too soon. I know, waiting is annoying. But give them time to cool, then chill if you can. The texture gets denser and the slices look way prettier.
If you’re a “cookie bar for the holidays” kind of person, keep this one bookmarked too: buttery cranberry christmas cookie bars. I make those when I need something festive fast.
Advanced Tips and Strategies
Once you’ve made Flourless Hazelnut Brownie Bars (Maple Sweetened) the basic way, you can tweak them to match your mood. I do this all the time depending on who I’m baking for and what I have in the pantry.
Use chopped dark chocolate plus cocoa. Cocoa brings intensity, but melted dark chocolate adds a glossy, extra fudgy texture. If you do both, keep the bars on the slightly underbaked side.
Add espresso powder. Just 1 to 2 teaspoons makes the chocolate taste deeper. It won’t taste like coffee, it just tastes more like chocolate.
Try a maple salt finish. When the bars come out of the oven, sprinkle a tiny pinch of flaky salt on top. It’s one of those small things that makes people go, “Wait, what is that amazing flavor?”
Chill for bakery style slices. My favorite move is to chill the pan for at least 2 hours, then lift the whole slab out and slice. Clean cuts, no mess.
Freezer trick. If you want super clean edges, freeze for 20 minutes before slicing. Use a sharp knife and wipe it between cuts.
Also, if you want to serve these as a “brownie sundae bar” situation, warm a square for 10 seconds in the microwave and top with vanilla ice cream. It’s not complicated, but it feels like a treat.
Real-Life Examples and Case Studies
I’ve made these bars for a few different scenarios, and they always fit in. The first time I tested Flourless Hazelnut Brownie Bars (Maple Sweetened), it was a rainy Sunday and I wanted something cozy but not a whole layer cake project. They came out so fudgy that I actually laughed a little because I knew I’d be “taste testing” all week.
Another time, I brought them to a potluck where someone needed gluten-free desserts. I labeled them clearly and still watched people hover near the tray like it was the main event. The hazelnut flavor makes them taste like something you’d buy at a nice coffee shop, so they don’t feel like a compromise dessert.
And this is a small thing, but I’ve found they’re a great “bridge dessert” for mixed crowds. You know, when some people want super rich chocolate and others say they “don’t like things too sweet.” Maple syrup keeps the sweetness smoother, so both types of people seem happy.
If you want to make them extra pretty for company, dust the top with a little cocoa powder or add a handful of chopped toasted hazelnuts on top before baking. Nothing fussy, just a little texture.
Common Questions
Can I make these dairy-free?
Yes. Swap the butter for coconut oil. The flavor changes a bit, but it’s still delicious and very fudgy.
Do they taste strongly like maple?
Not strongly. Maple is more of a warm background sweetness. If you want more maple flavor, add 1 extra tablespoon and reduce any other sweet add ins like chocolate chips.
How do I know when they’re done baking?
The edges should look set and the center should not jiggle like liquid. A toothpick should come out with moist crumbs, not wet batter.
Can I use other nuts instead of hazelnuts?
You can, but it will change the whole personality. Almonds work best as a swap. Pecans are tasty too, just a bit softer.
How should I store them?
Keep them in an airtight container. They’re great at room temp for 2 days, but I prefer the fridge for up to 5 days because they get extra chewy and slice nicely.
A sweet little wrap up before you bake
If you’ve been hunting for a dessert that’s simple, cozy, and genuinely satisfying, Flourless Hazelnut Brownie Bars (Maple Sweetened) are such a good one to keep in your back pocket. They’re rich without being heavy, easy to prep, and they feel special enough for guests. If you want another hazelnut inspired treat for comparison, check out Hazelnut No-Bake Brownies {raw, vegan, gluten-free} for a totally different no oven option. Now go toast those hazelnuts, pour that maple, and let your kitchen smell like chocolate for the next hour.
Flourless Hazelnut Brownie Bars
Ingredients
Main Ingredients
- 1 cup hazelnuts Raw or roasted; toast if raw.
- 1/2 cup unsweetened cocoa powder For deep chocolate flavor.
- 1/2 cup maple syrup Main sweetener.
- 1/4 cup butter Can substitute with coconut oil.
- 3 large eggs To bind and lift.
- 1 teaspoon vanilla extract For flavor.
- 1 pinch salt To enhance flavors.
- 1/2 cup chocolate chips or chopped dark chocolate Optional ingredient for extra chocolate flavor.
Instructions
Preparation
- Preheat the oven to 350°F (175°C) and line an 8x8 inch baking pan with parchment paper.
- Toast the hazelnuts for 8 to 10 minutes until fragrant, then rub off the skins.
- In a food processor, pulse the toasted hazelnuts into a fine meal.
- In a large bowl, mix together the hazelnut meal, cocoa powder, and salt.
- In a separate bowl, whisk together the eggs, maple syrup, melted butter (or coconut oil), and vanilla extract.
- Combine the wet ingredients with the dry ingredients and mix until well combined. Fold in the chocolate chips, if using.
Baking
- Pour the mixture into the prepared baking pan and spread evenly.
- Bake for 25 minutes or until the edges look set but the center remains slightly soft.
- Allow the brownies to cool in the pan, then refrigerate for at least 2 hours before cutting for clean slices.