Delicious No-Bake Greek Yogurt Cheesecake Cups to Savor
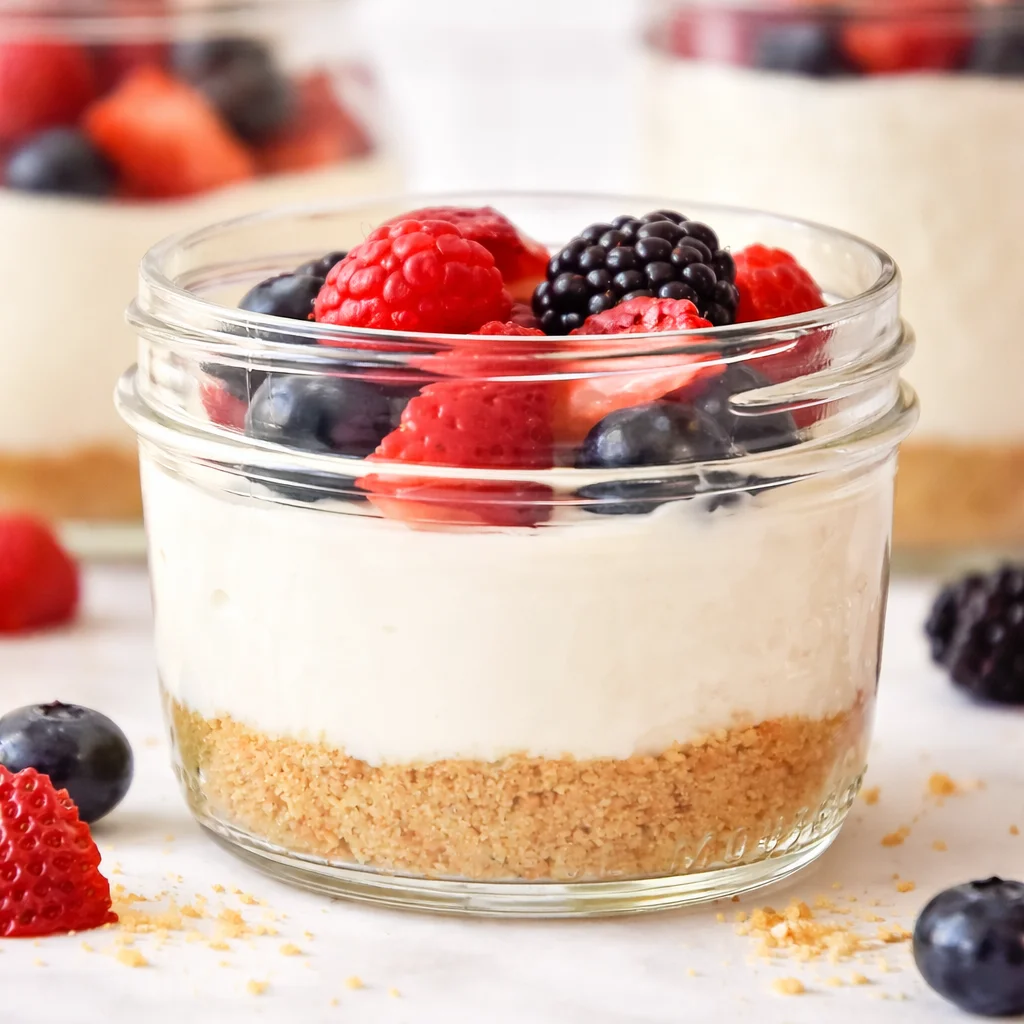
No-Bake Greek Yogurt Cheesecake Cups are my go to dessert when I want something sweet but I do not want to turn on the oven or wash a sink full of dishes. You know those nights when you are tired, you still want a treat, and the idea of baking feels like a whole job? Yeah, this is for that. These little cups taste like a creamy cheesecake parfait, but they are lighter thanks to Greek yogurt and they come together fast. I started making them for last minute guests, and now I make them just because I want one in the fridge after dinner. Let me show you exactly how I make them at home, plus a few easy swaps. 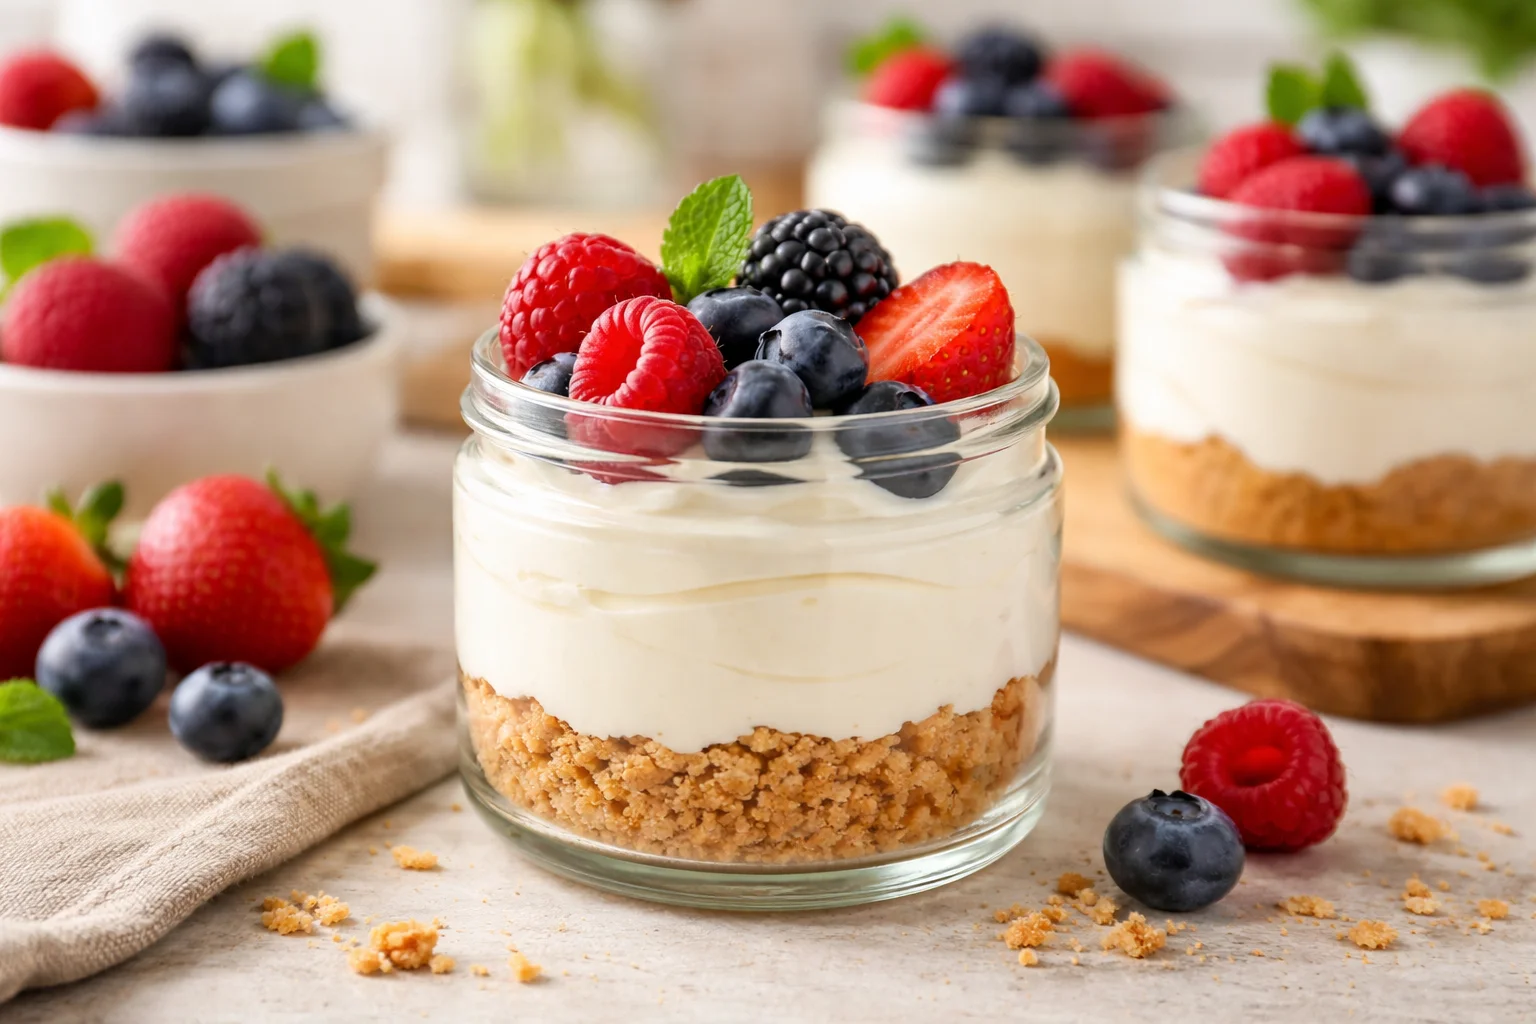
Ingredients and Substitutions
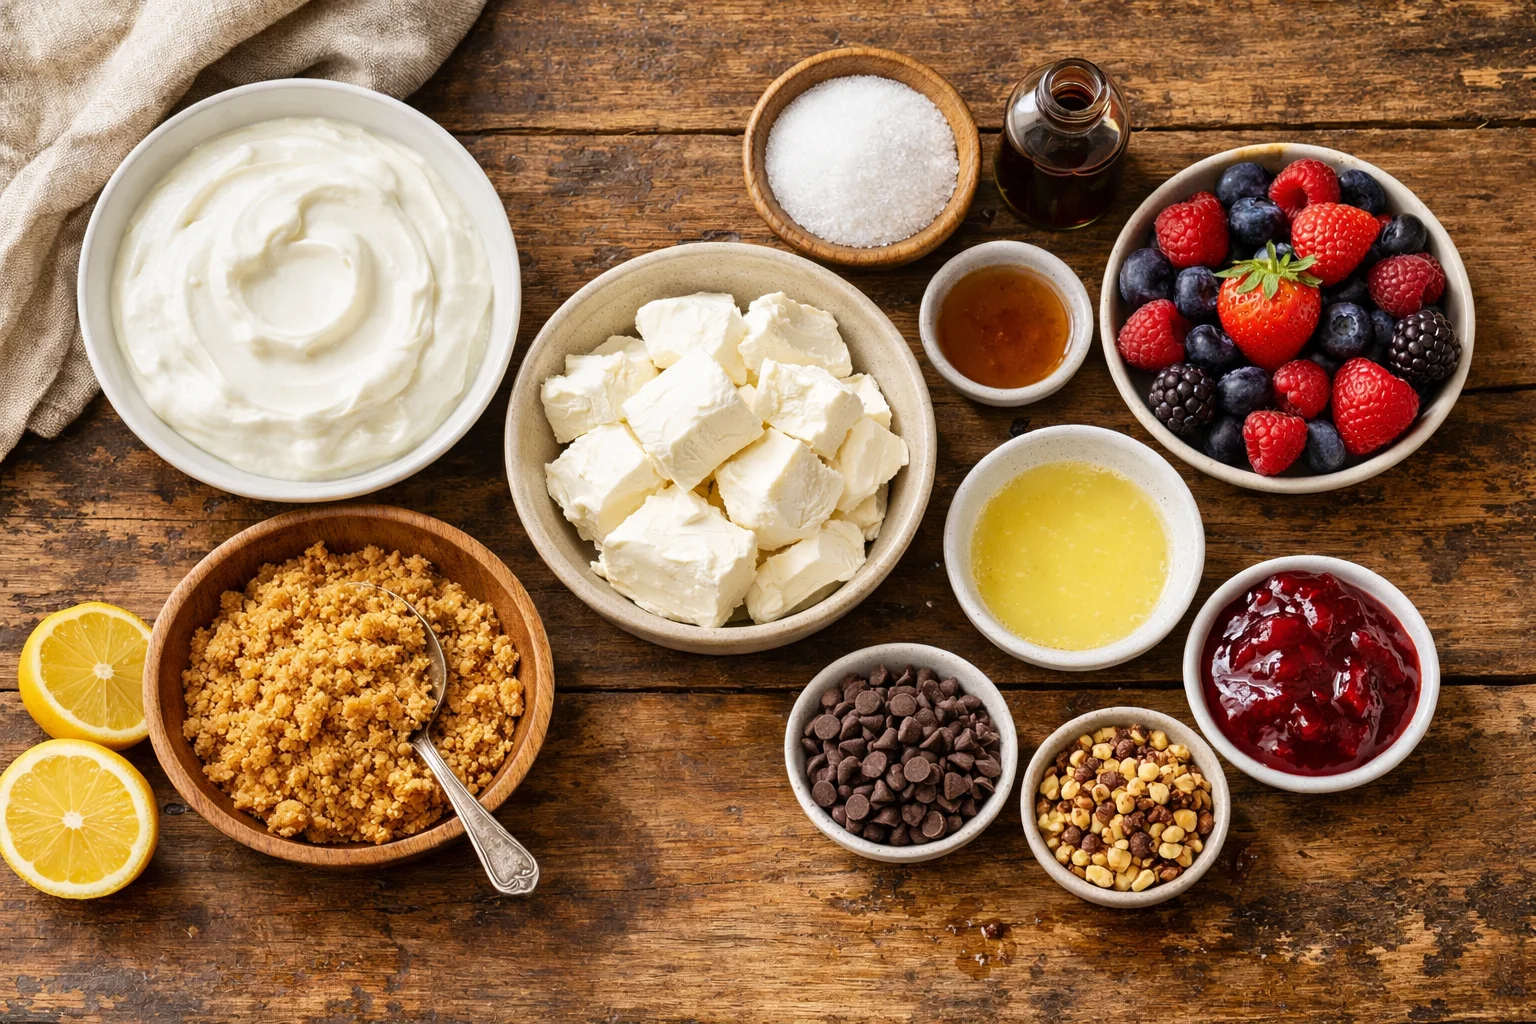
The best part about No-Bake Greek Yogurt Cheesecake Cups is that the ingredient list is short and flexible. If you have a fridge and a spoon, you are basically in business. I will list what I use most often, plus simple swaps that actually work.
- Greek yogurt: Plain works best. Full fat makes it richer, but 2 percent is great too. If you only have vanilla Greek yogurt, cut back on sweetener.
- Cream cheese: This gives that real cheesecake vibe. Let it soften so it mixes smoothly. Neufchatel works if you want it a bit lighter.
- Sweetener: Honey, maple syrup, or powdered sugar all work. Honey is my favorite for flavor.
- Vanilla extract: Makes the filling taste like dessert, not just yogurt.
- Lemon juice: Just a splash wakes up the flavor. Optional, but I always add it.
- Crust: Crushed graham crackers plus melted butter is classic. You can also use crushed vanilla wafers, digestive biscuits, or even granola.
- Toppings: Berries, jam, chocolate chips, toasted nuts, or a little extra crumb on top.
If you are a lemon person, you would probably also love my healthy Greek yogurt lemon loaf cake. Same bright vibe, totally different treat.
One quick note on yogurt: try not to use a super thin yogurt. The thicker it is, the more your cheesecake layer will hold up and feel creamy instead of runny. That is really the whole secret.
How to Make the Cheesecake
This is the part where you get to feel like a dessert genius with almost zero effort. I usually make No-Bake Greek Yogurt Cheesecake Cups right in little jars or small glasses, but muffin cups work too if you want a party tray situation.
Step by step, no stress
Here is exactly how I do it:
1. Make the crust. Crush your graham crackers until they look like sand. Stir in melted butter. Spoon a couple tablespoons into each cup and press it down with the back of a spoon. Pop the cups in the fridge while you mix the filling.
2. Mix the filling. In a bowl, stir the softened cream cheese until smooth. Add Greek yogurt, sweetener, vanilla, and a little lemon juice. Mix until creamy and lump free. If you want it extra smooth, a hand mixer helps, but it is not required.
3. Assemble. Spoon or pipe the filling over the crust. Smooth the top. Add toppings right away or wait until serving.
4. Chill. They taste good immediately, but they taste amazing after at least 2 hours in the fridge. Overnight is even better.
I have made a lot of no bake desserts over the years, and chilling time is the thing people rush. If you can plan even a little, give these time to set. The texture goes from soft to proper cheesecake like.
If you like bite sized cheesecake treats too, my no-bake cheesecake bites are another fun option when you want something poppable.
“I made these for a weekend brunch and everyone thought they were from a bakery. The yogurt makes them feel light, but they still taste like real cheesecake.” – Jenna L.
Variations and Serving Suggestions
This is where No-Bake Greek Yogurt Cheesecake Cups get really fun, because you can change the vibe with one small tweak. I make a basic batch, then I dress each cup differently so everyone gets their favorite. It is also a sneaky way to make a simple dessert feel fancy.
Easy flavor ideas
Berry swirl: Spoon a little strawberry or blueberry jam on top and swirl it with a toothpick.
Chocolate crunch: Add mini chocolate chips and a sprinkle of cookie crumbs.
Lemon pop: Add extra lemon zest and top with crushed graham crackers.
Peanut butter: Stir a spoonful of peanut butter into the filling or drizzle it on top.
If you are in a peanut butter mood, you should peek at these healthy peanut butter Greek yogurt chocolate fudge cookies. They are rich, simple, and totally hit the spot.
Serving wise, I love these for:
- Weeknight dessert straight from the fridge
- Baby showers and brunch since they are already portioned
- BBQs because nobody wants a heavy dessert in the heat
- Holiday trays with a few different toppings
My favorite little trick is to set up a mini topping bar. Put out berries, jam, crushed cookies, and chopped nuts. Everyone customizes their own cup and you do not have to fuss over decorating.
Tips for Best Results
I have made No-Bake Greek Yogurt Cheesecake Cups enough times to know what makes them great and what makes them just okay. These tips are the stuff I wish I had known on the first try.
My real life tips that actually matter
Soften the cream cheese. If it is cold, you will fight lumps. I leave it out about 30 minutes.
Use thick Greek yogurt. If your yogurt looks watery, stir it well or strain it for a bit. Thickness equals creamy cheesecake texture.
Do not over sweeten at first. Taste the filling, then add a little more sweetener if you need it. Toppings like jam can add sweetness too.
Chill long enough. Two hours is good, overnight is best. The filling firms up and the flavor gets better.
Press the crust down. This keeps it from floating into the filling and makes it feel like a real cheesecake base.
If you want the cleanest look, pipe the filling in with a zip top bag. Snip the corner and you have a quick DIY piping bag. Not required, but it makes the layers prettier.
Storage and Freezing Instructions
These are a dream for make ahead plans, which is honestly why I keep coming back to them. No-Bake Greek Yogurt Cheesecake Cups hold up well in the fridge, and they travel better than you would think.
Fridge: Store covered in the refrigerator for up to 4 days. I like using jars with lids because they do not pick up random fridge smells.
Toppings: If you are making them ahead, wait to add crunchy toppings until right before serving so they stay crisp. Fruit and jam are fine to add earlier.
Freezing: You can freeze them, but the texture changes a little because yogurt can get a bit icy. If you do freeze, freeze without fresh fruit on top. Thaw in the fridge overnight. I still enjoy them, but I prefer them fresh from the fridge.
Transport tip: If you are taking these somewhere, keep them cold in a cooler bag and bring toppings in a separate container. Then you can top them at the last minute and they look perfect.
Common Questions
Can I make these without cream cheese?
You can, but it will taste more like a sweet yogurt parfait than cheesecake. If you want the cheesecake vibe, keep at least some cream cheese.
Do No-Bake Greek Yogurt Cheesecake Cups taste tangy?
A little, in a good way. The sweetener and vanilla balance it out. If you want less tang, use vanilla Greek yogurt and reduce sweetener.
What is the best crust if I do not have graham crackers?
Crushed vanilla wafers, digestive biscuits, or even granola work. Just make sure you have enough butter to help it hold together.
How do I make them higher in protein?
Use a high protein Greek yogurt and go a little heavier on the yogurt than the cream cheese. You can also add a spoon of protein powder, but add it slowly so the filling stays smooth.
Can I make this as one big dessert instead of cups?
Yes. Press the crust into a small pan, spread the filling, and chill. Cups are just easier for serving and portioning.
A sweet little dessert you will actually make again
If you try these No-Bake Greek Yogurt Cheesecake Cups once, you will get why I keep them in regular rotation. They are simple, creamy, and you can make them feel fancy with whatever toppings you have around. If you want to compare my method with another version, check out No-Bake Cheesecake Greek Yogurt Cups – Project Meal Plan because it is always fun seeing how other home cooks build their cups. Now go grab a few jars, mix up that filling, and give yourself a dessert that feels like a treat but does not steal your whole evening. 
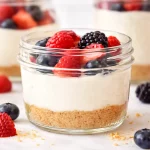
No-Bake Greek Yogurt Cheesecake Cups
Ingredients
For the crust
- 1 cup crushed graham crackers Can substitute with crushed vanilla wafers or digestive biscuits.
- 4 tablespoons melted butter Necessary for holding the crust together.
For the filling
- 8 ounces cream cheese Soften before mixing.
- 1 cup plain Greek yogurt Full fat recommended for creaminess.
- 1/3 cup sweetener (honey, maple syrup, or powdered sugar) Adjust to taste.
- 1 teaspoon vanilla extract Enhances dessert flavor.
- 1 tablespoon lemon juice Optional but adds brightness.
Toppings
- berries, jam, chocolate chips, toasted nuts, or extra crumb Use as desired.
Instructions
Preparation
- Make the crust by crushing graham crackers and mixing with melted butter until combined.
- Spoon a couple of tablespoons of the crust mixture into each cup and press down with a spoon. Refrigerate while preparing filling.
- In a bowl, mix softened cream cheese until smooth. Add Greek yogurt, sweetener, vanilla, and lemon juice. Mix until creamy and lump-free.
- Spoon or pipe the filling over the crust in each cup. Smooth the top.
- Chill in the refrigerator for at least 2 hours before serving.